Woodworking progress
I’m slow at woodworking. Probably because I’m new(ish) to it and because I like to take my time and think through what I’m going to do before I do it. At this stage though, I’m limited to the progress I can make based on the number of clamps I have and the amount of time it takes for the glue to dry. That doesn’t mean nothing has been done since I last posted a few days ago though, in fact I’ve made quite a bit of progress and I’m about to move on to the next steps.
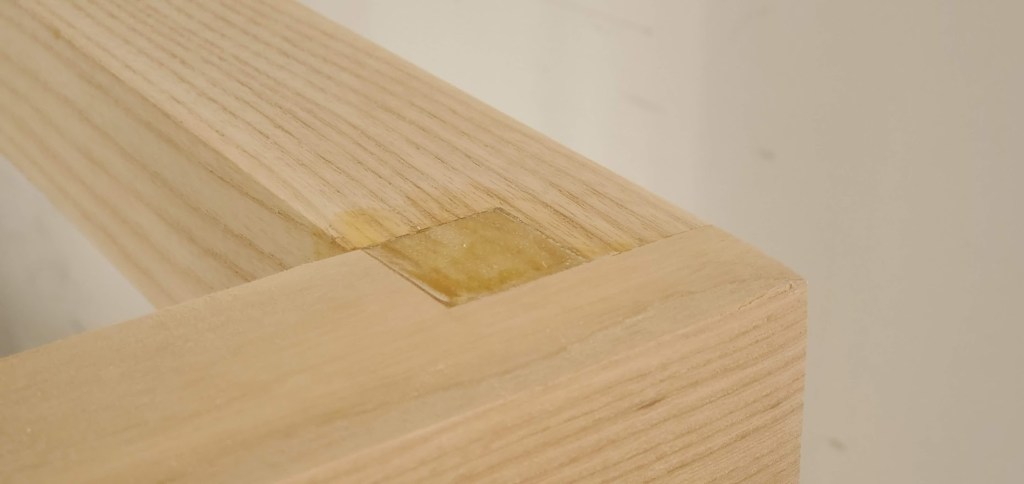
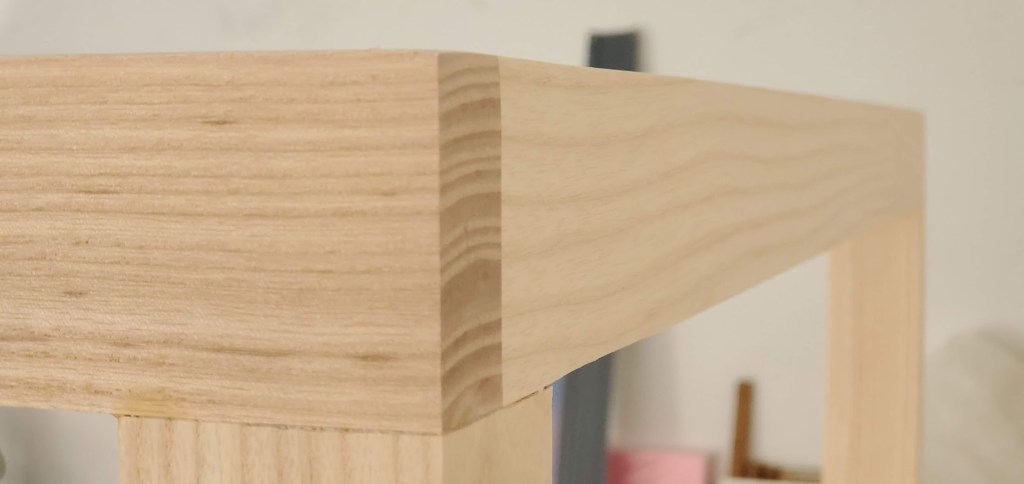
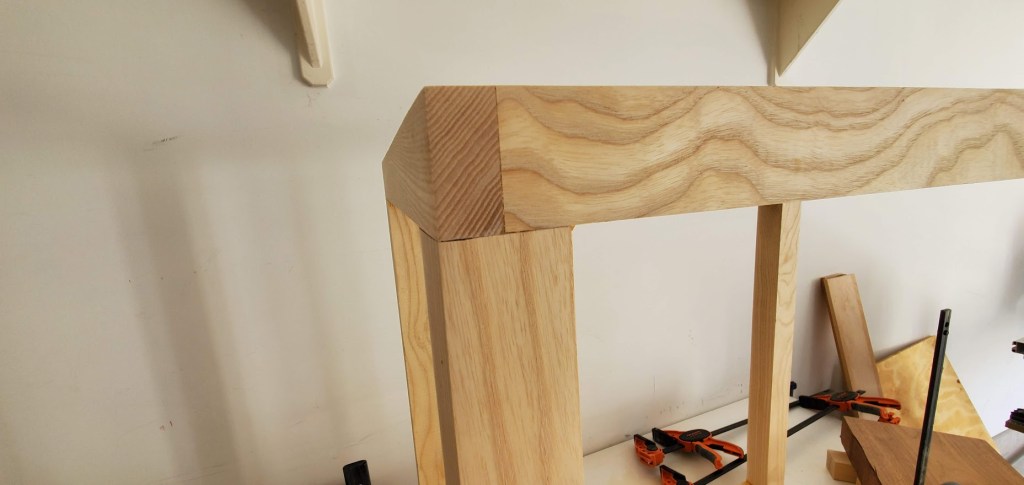
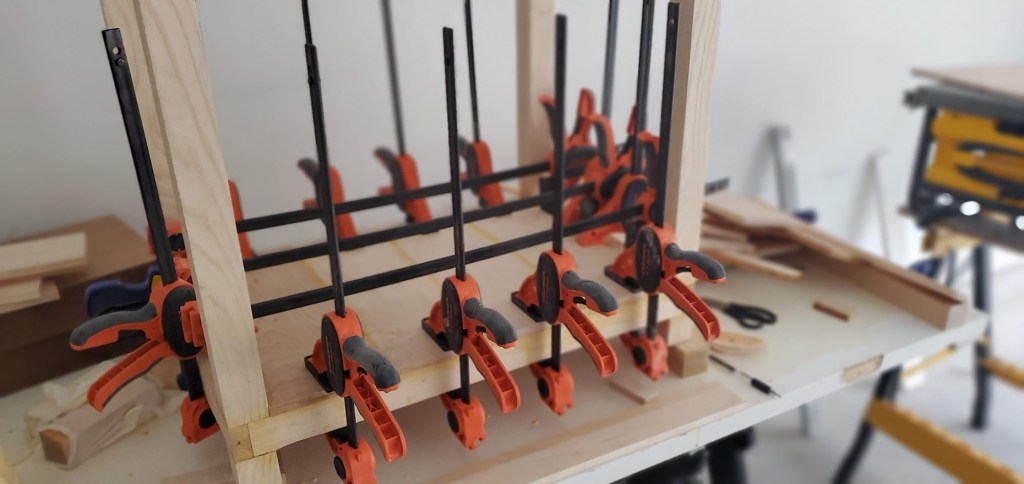
First let’s take a look at a few of the joints I glued together. I realized last time I showed anything off it was just a single joint. Granted it was the best looking out of the bunch, but the rest don’t look too terrible either. They’ll all be hidden anyway when it’s all said and done, but I still want to do a good job, so I try to get nice tight fitting joints when I can.
I probably over engineered the entire thing because I really don’t want it to break. It already weighs quite a bit and the top that I have for it is going to be even heavier. For a reminder, this will be the top when I glue the two pieces together.
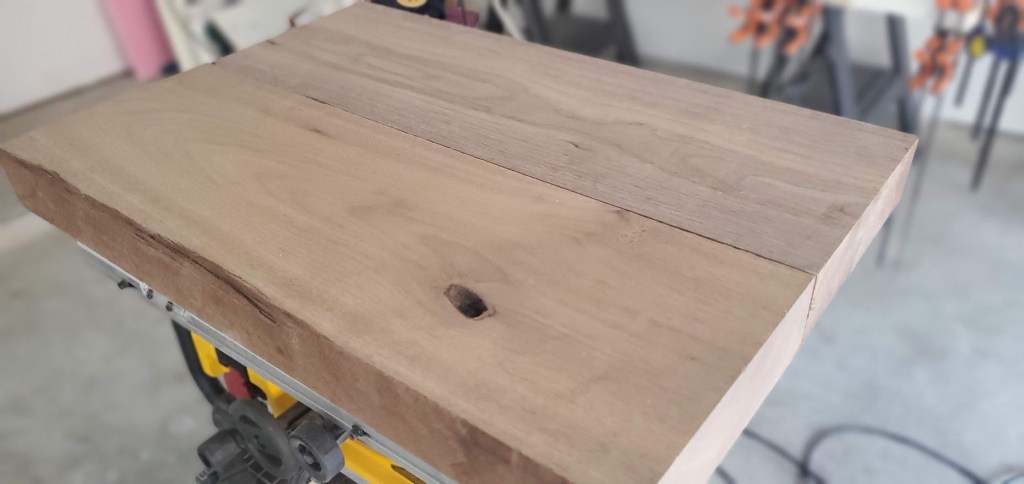
It’s darker than it looks in the photo and when I stain it and seal it, it will look even better. I’m excited and that knot, I probably shouldn’t keep it showing, but I love it so it will be incorporated in the final top. I really like it! It’s a heavy chunk of wood too, at three inches thick it will make a substantial top.
You may wonder, how do we glue two pieces of wood together and get it to look like one solid piece? Well the cuts need to be made straight, but when you have two nicely cut surfaces they join pretty easily and the seam is very hard to see when they are glued and sanded, right now in the photo above you can clearly see the joint, but they aren’t glued and definitely not sanded so they are perfectly fitted. The photo below shows the result of what I’m going to do.
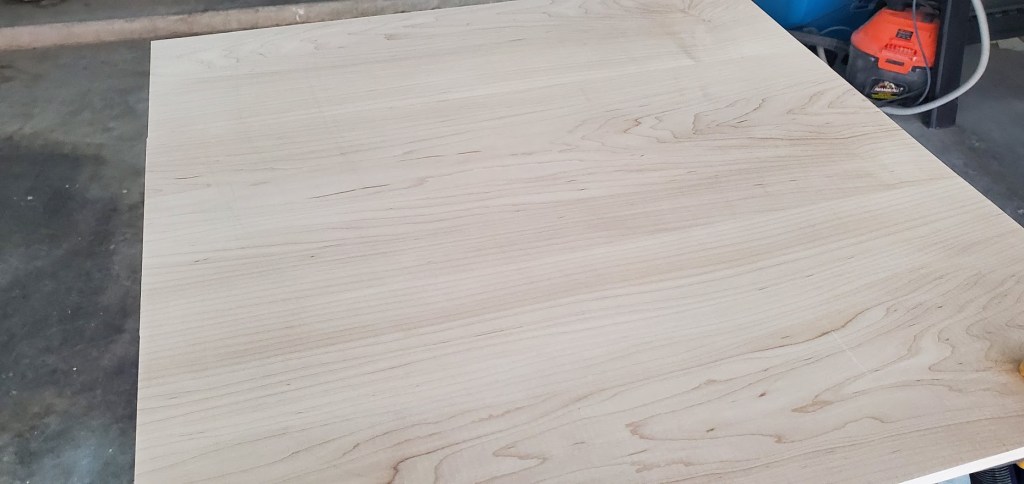
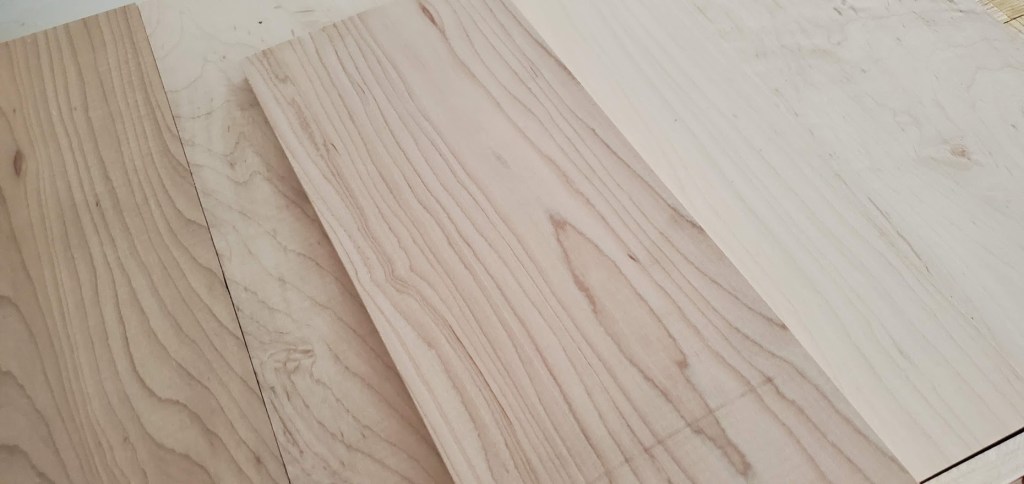
This piece started off as three separate pieces of wood. Below is a photo showing the size of the individual planks of wood. They came in slightly different sizes (both widths and lengths), but the ones I used for this were probably some of the widest planks I got. Technically the door wood all came from the same plank too. The point isn’t to get the wood in the exact size you want. Instead you get enough board feet to make what you need plus a waste factor (since you need to cut to size or you will inevitably mess something up along the way). I’m happy to say that after all the cutting everything to the correct length and overshooting the width, I had exactly enough for this project with just a touch left over. The leftover will come in handy if I mess something up. I cut to length first and overshoot the width because I like to cut to width once I’m done with the piece (gluing and what not). I feel like I have a better control over the final width and it gives me a tighter fit, but that’s just me.
Since wood doesn’t naturally come this size (or if it does it’s at a cost) we glue smaller pieces together to form a sheet. This is not to be confused with plywood, which comes in sheets but is not solid wood. Once you glue the pieces together and sand them the only real way to tell them apart is to look for the grain mismatch, which I tried to minimize. This piece will be cut into two and used for the doors for my vanity.
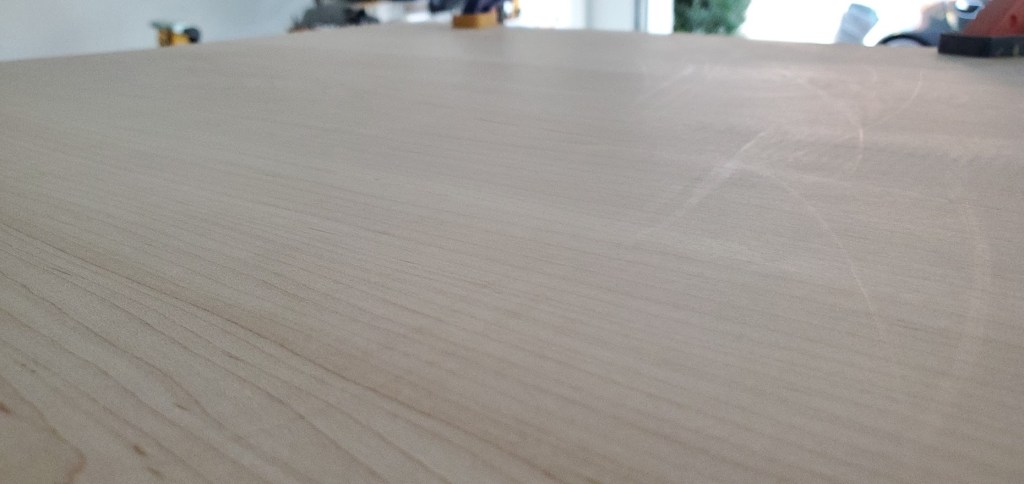
Above is another shot if it so you can see just how well the pieces fit together once they’ve been sanded. I still have to clean this piece up, cut, stain, and seal, but at this point the hard part is over.
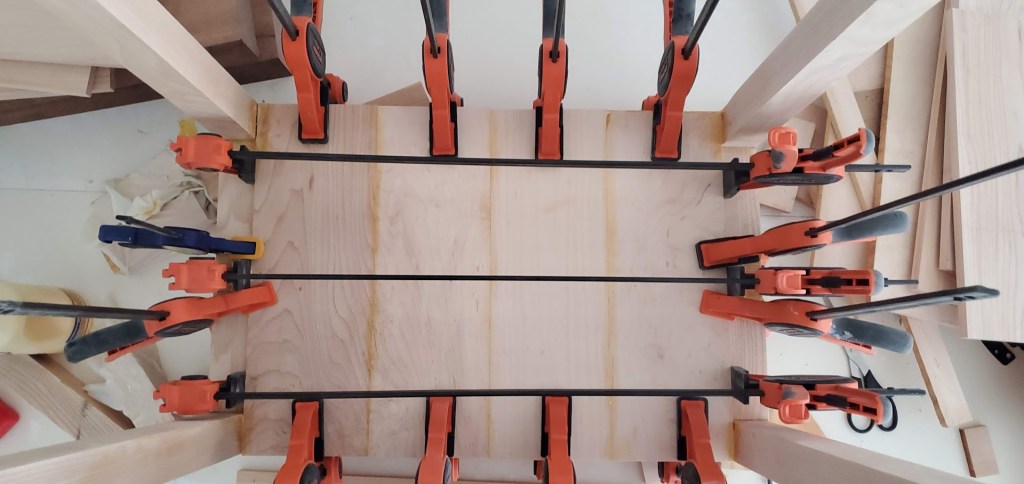
The last bit of progress I made was gluing in the bottom to the vanity. You can see a shot of it looking down at the top of the post, but here’s a better shot to help orient you.
In this case I glued the planks together to form the bottom, but I didn’t sand the top of it. Instead I glued it in place and I’ll sand the top of it after its dry. This is just a preference really, I could’ve sanded it prior to gluing it in place, but I’ll accidently get a glue spot or something on the top which means I’ll have to go back and sand it again anyway. I wanted to have it in place prior to sanding that way I only have to sand the once even if I get glue on it.
The bottom was a very lucky and happy accident. I cut the boards to length and ended up with the exact width I needed as if by magic. I don’t know how often something like that happens, but I think it’s a good omen. At the very least it saved me from making one cut and the time it takes to set everything up to make that one cut, so I’ll take it.
The bottom is four pieces (the planks weren’t as wide as the ones I used for the door so I needed a fourth) and since I didn’t have a ton of wood to choose from at this point I went with a darker grain color to lighter (from left to right). If you look closely though the grain pattern matches up somewhat nicely, that was somewhat from planning and organizing the planks and somewhat from luck.
Today the clamps come off and I plan to start gluing the sides on and possibly glue the top together. I’ve been hesitant to start that project because I only have the wood for the single top since it wasn’t cheap and I really don’t want to screw it up.
While there’s still a lot to do, it’s finally looking less like a big pile of cut wood and more like something I would use in the house. I’m excited to finish this project and it’s been really good for my mental health to be able to get back into doing it again. This time of year is particularly hard for me and any time I can find a sense of peace is a good time for me.


But enough about us, what about you?