Even more woodworking!
Once again we’re switching topics, because why not? We’re entering perilous territory here folks. It’s almost time for the dreaded door install. Doors and drawers are hard! On the brightside today you’ll see I did a test fit and it went well. There’s still a bit to be done before I can stain/finish the piece, but the end is nigh! Once again it’s time to talk about some wood.
There’s something magical about going from a giant pile of wood to something almost fully assembled. The amount of prep that went into cutting everything made me feel like I would never get to the assembly step. If I’m being honest I had debated about just scrapping the entire project and count it as a failure because it was taking so long and because I had no time to work on it in the rough three months or so of school. Dark times indeed!
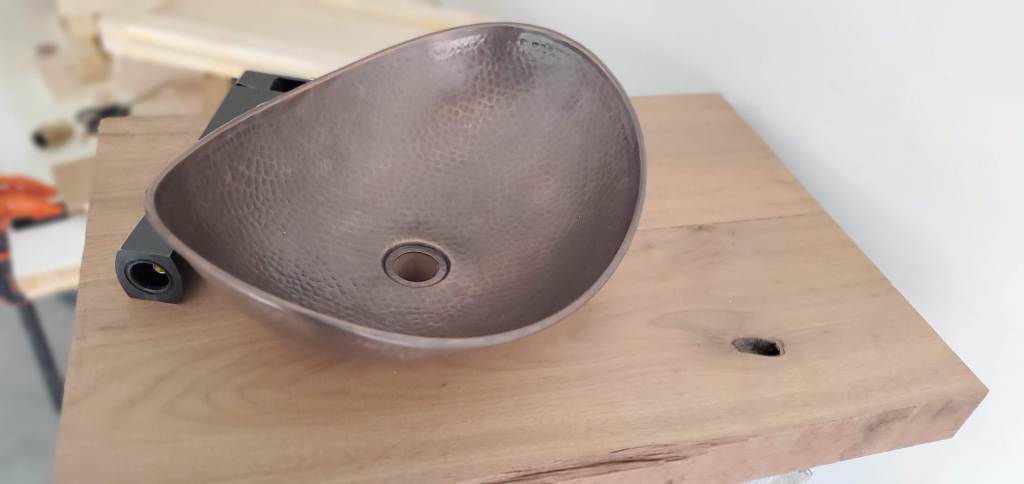
Thankfully I had some time and motivation to dive back into it over the winter break. Call me stubborn, but I’m not one to give up easily. I’ll either finish it or fail spectacularly, there’s rarely anything in between for me. For my first attempt at building something with wood, it’s turning out pretty good! As a reminder, we’ve made one of the “scary” cuts for the sink bowl. I call them scary because I only have enough wood for the project, I don’t have any for screwing something up. I still had the faucet cut to make, so let’s look at how that went.
Since I didn’t have a template to follow or anything I had to determine where I wanted to place the faucet by sight. I added the bowl in the place I wanted it and then I tried to place the fauset where I thought it should go. This took a little bit because I needed to make sure everything was lined up properly. Once I had the spot I wanted I marked the cut I needed to make and it was off to my handy drill press to cut into the second gigantic chunk of wood. At this point you may be wondering why I picked a three inch (~76 mm) slab to be the top, well there was a height I was trying to reach and I needed the extra thickness to hit that height.
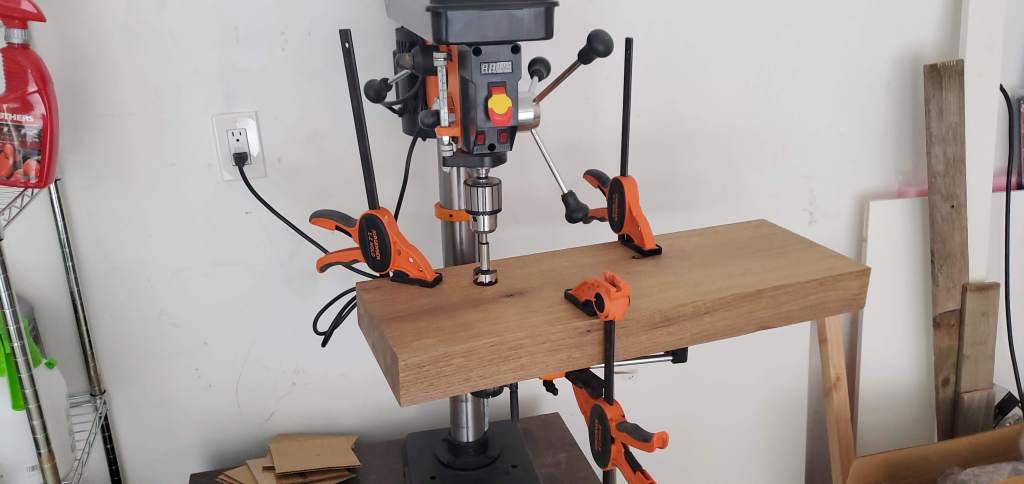
It’s important to clamp the piece down because you don’t want to bump it while you’re cutting into it. With wood the RPM for my drill press is a somewhat slow ~610 RPM. So I wasn’t worried about the bit catching and moving the piece exactly, I was more concerned with me bumping the piece as I was making the cut. I also had to raise the piece off the bench to make the cut because I could hit the bench underneath if I didn’t. I’ve done a lot of metal working in the past so this wasn’t anything new for me, but it was different not having all the fancy tools I normally have access to in school.
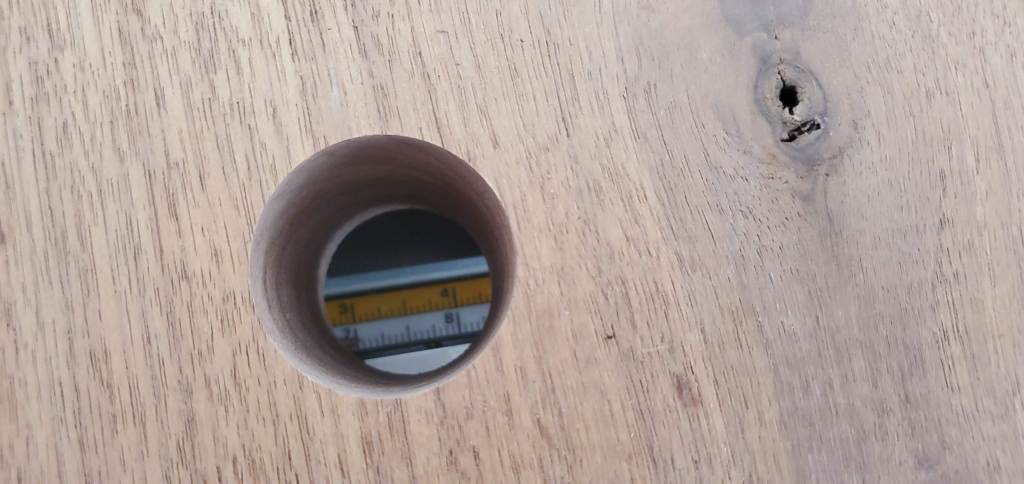
As expected I made my cut, which this one has a slightly smaller diameter than the previous, but it was just as big of a pain to drill out. I think the end result is good though and due to the thickness of the wood I needed to get a straight cut, without the drill press there’s a high chance I would’ve cut at an angle and completely ruined my piece.
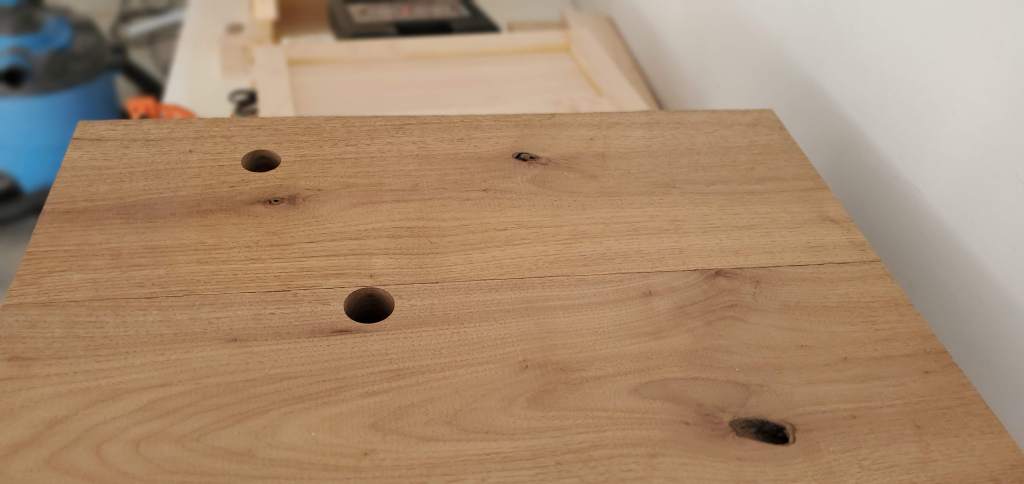
There’s the hole placement on both pieces and with the holes drilled I can finally glue these two pieces together to form the top for my vanity. First what I did was raise the piece off my workbench with some wood. Since I’m gluing I didn’t want them directly on the bench because I wanted to run clamps underneath so if I raised them before I glued them I wouldn’t have to try to maneuver clamps under my giant piece of wood which would then be dripping with glue. It would’ve been a mess, so amature tip, don’t do it!
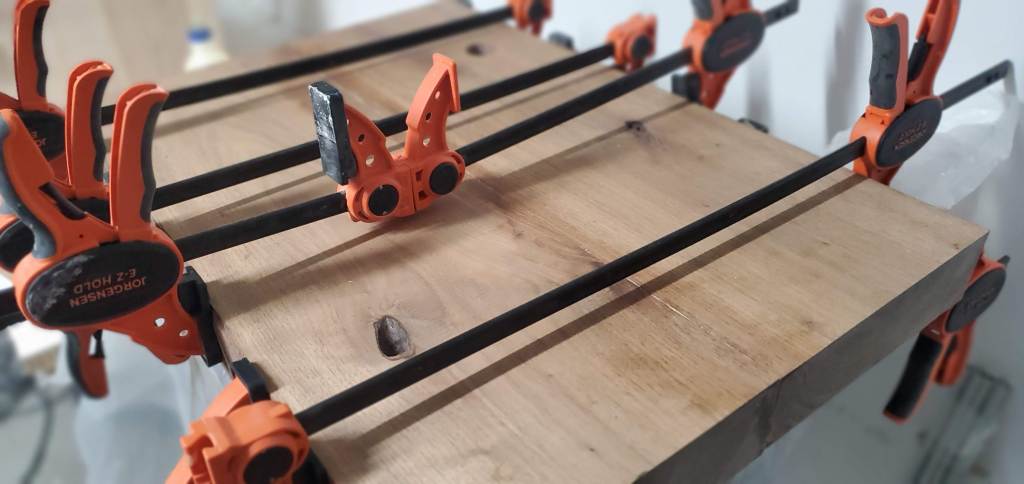
Here’s one shot I got as I was in the process of clamping. I really like these clamps because if the piece I’m working with is too big for the clamp I can put two of them together giving me a longer clamp. You can see that by the second clamp with the jaws reversed in the center. It’s super handy since I can’t afford a ton of clamps and different sizes.
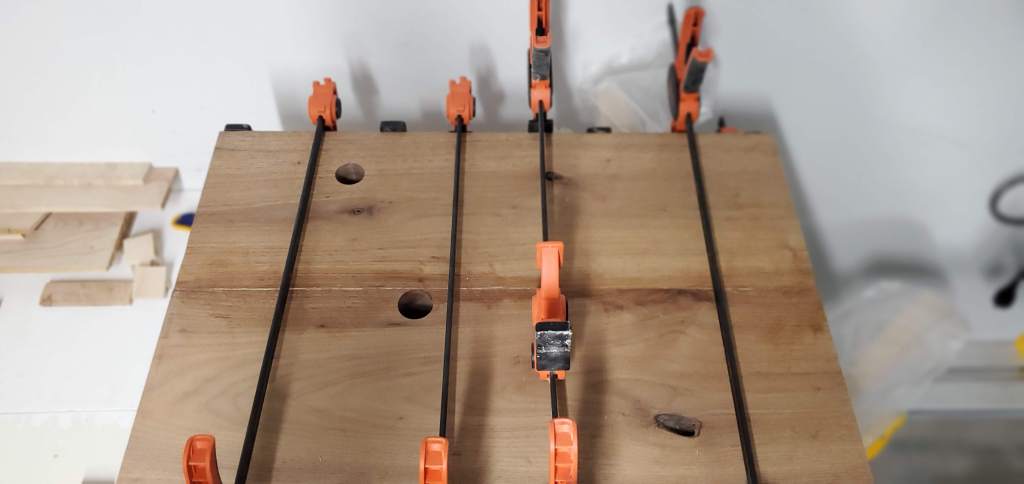
Here’s a better shot of the final clamping. I used eight clamps, which as usual is probably overkill, but I would rather clamp too much than not enough especially with the size of this piece and the fact that I’m using medium duty clamps and not the heavy duty I should probably use on a piece this size.
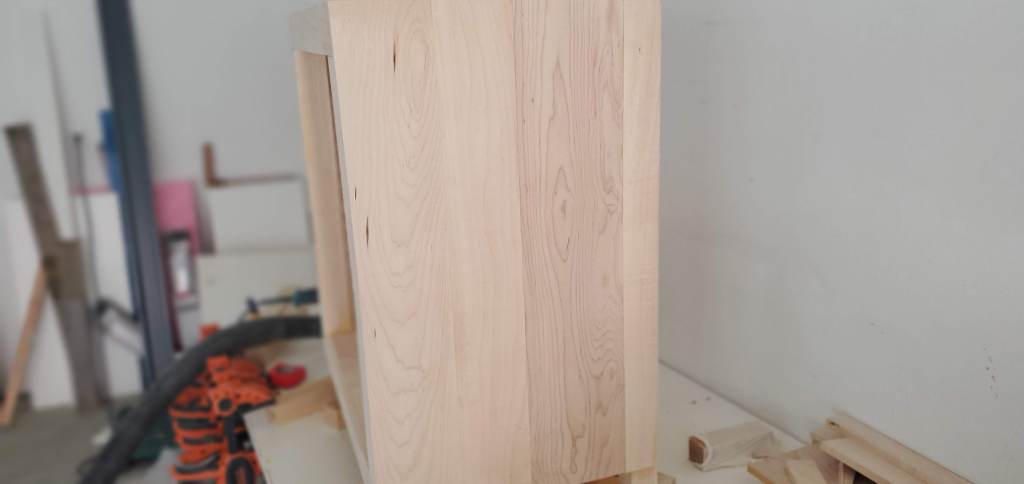
With the “scary cuts” done I can move on to gluing the last bits to the vanity itself. I saved these for last and it may or may not have been a good idea. I probably should’ve saved the top piece for last and glued the sides first, but I didn’t have wood enough to make the sides for the front frame until I cut the sides of the vanity and used the scrap. If that sounds a little confusing the photos will clear things up.
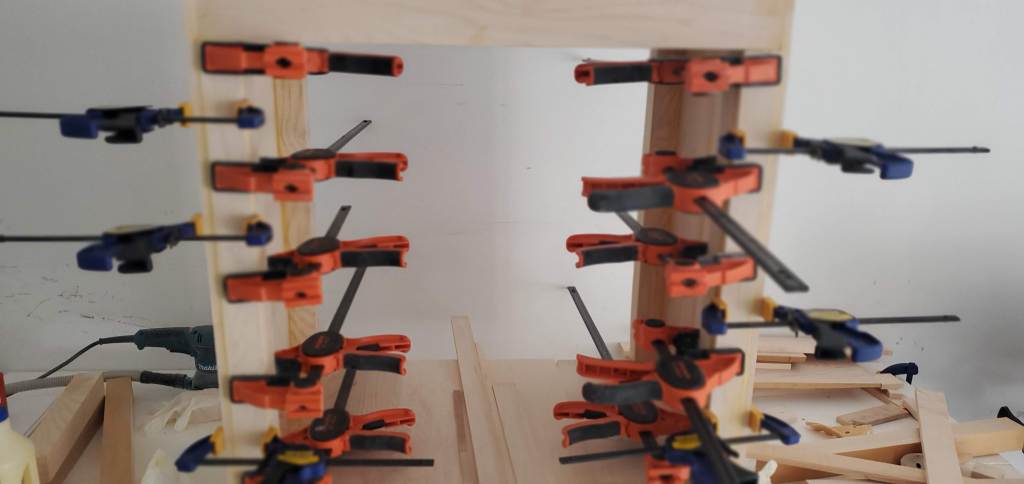
Those side pieces make the front even and hide the frame behind them. The frame is ash while the rest of the wood is hard white maple, so while the color is close, I wanted to have the maple outside since it’s going to be a little more robust and just look better in my opinion.
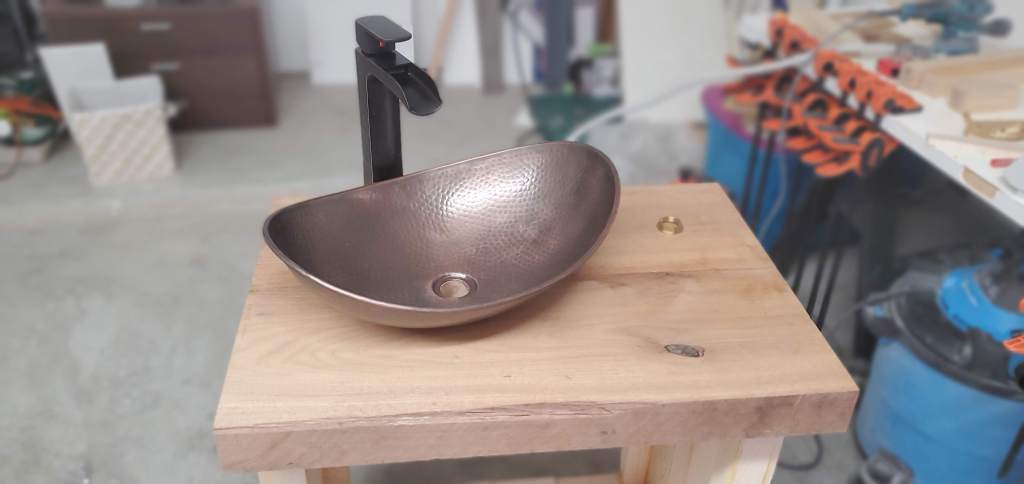
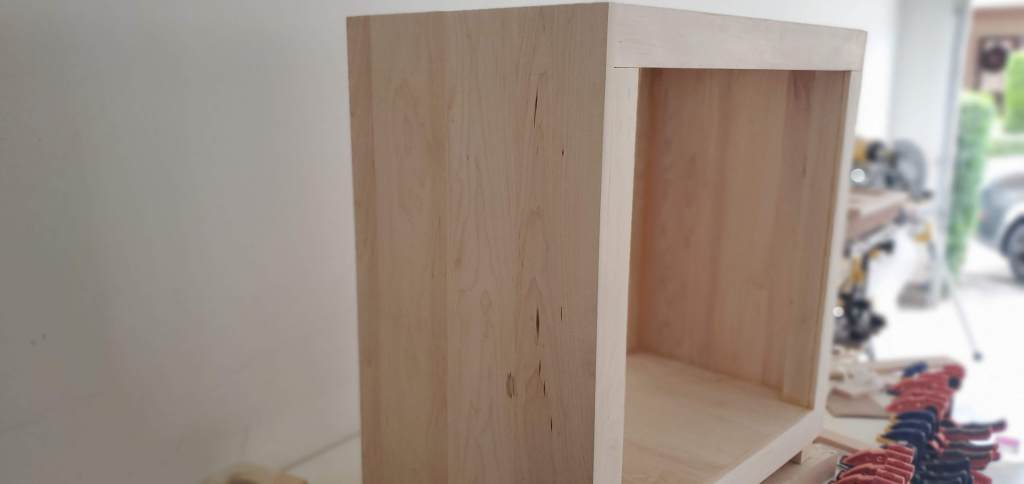
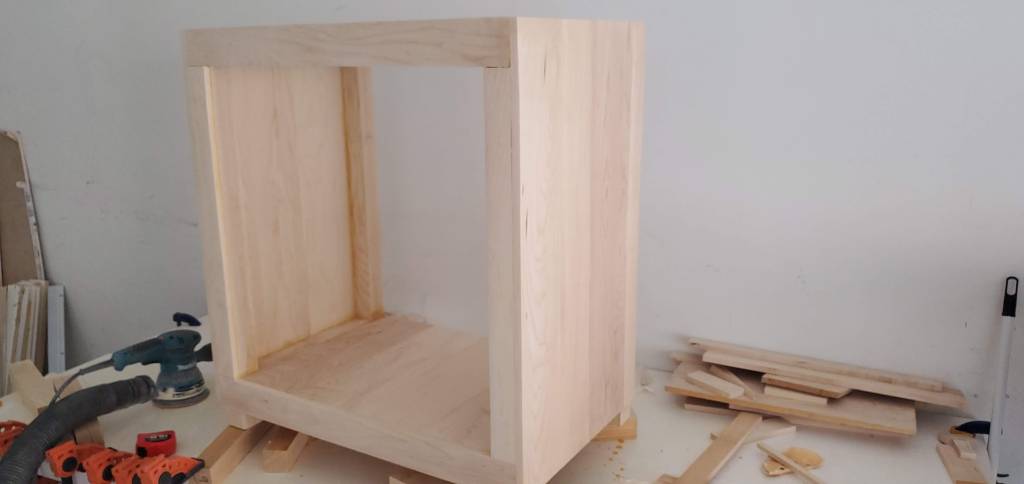
Once everything was dry I could do the big test. I took the vanity down from the bench, sat the top I just glued together on it and did a mock up with the sink and faucet to make sure it all still made sense, fit together correctly, and looked the way I wanted it to look. This was an exciting time because while I’m not 100% done it did give me a glimpse into what it is going to look like when I am done!
As I mentioned before I needed the thicker top to get the height right. I triple checked my measurements and while I had a minor freakout that it would be too low, this verified that it was the perfect height. The bowl and the faucet fit exactly where I wanted them and overall I think it’s going to look great when I finally finish it.
At this point I could move on to the finishing steps, but first I wanted to test fit the doors and make sure they are going to work. While it wouldn’t have been the end of the world if they were too big, if they were too small I would have to get more wood and as a poor college student, that wouldn’t happen any time soon. So I popped in the doors to do the test fit and… well the photo should be an indication.
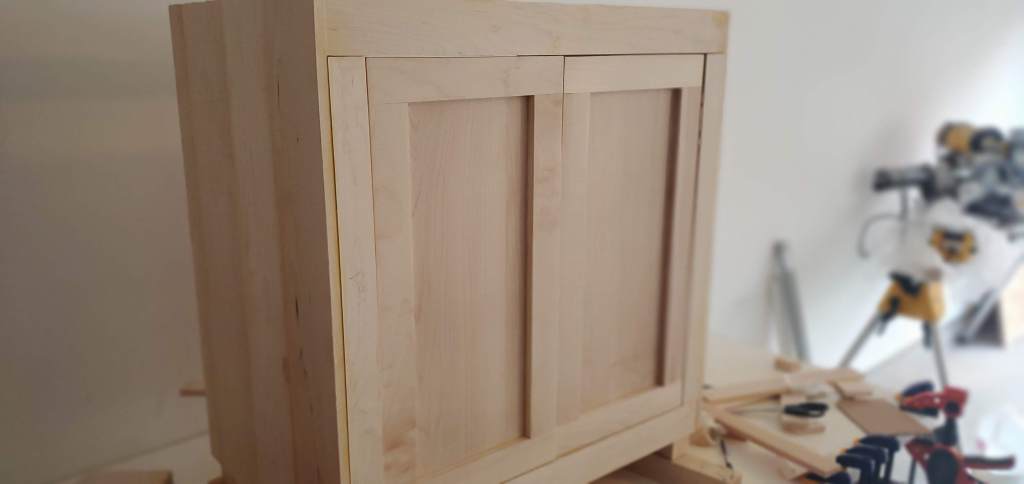
The fit isn’t perfect, it’s a little too tight, but I would rather deal with that then the opposite. So now I can move on to the finishing steps. Once I have the vanity cabinet the way I want it, I’ll install the door hinges and adjust the doors on the piece.
The order of operations here will be to sand all the areas I can with the random orbital sander, sand out the corners by hand (since you can’t do that with the random orbital sander without damaging the piece), fill gaps with some filler, sand some more, attach the hinges for the doors, attach the doors, and size the doors appropriately. Like I said doors and drawers are hard!
Now in a perfect world if I had been a master woodworker I would need to sand lightly and be done with it. I’m not a master woodworker so roughly two hours later I had sanded everything I could with the random orbital and now everything was flush, flat, and sanded.
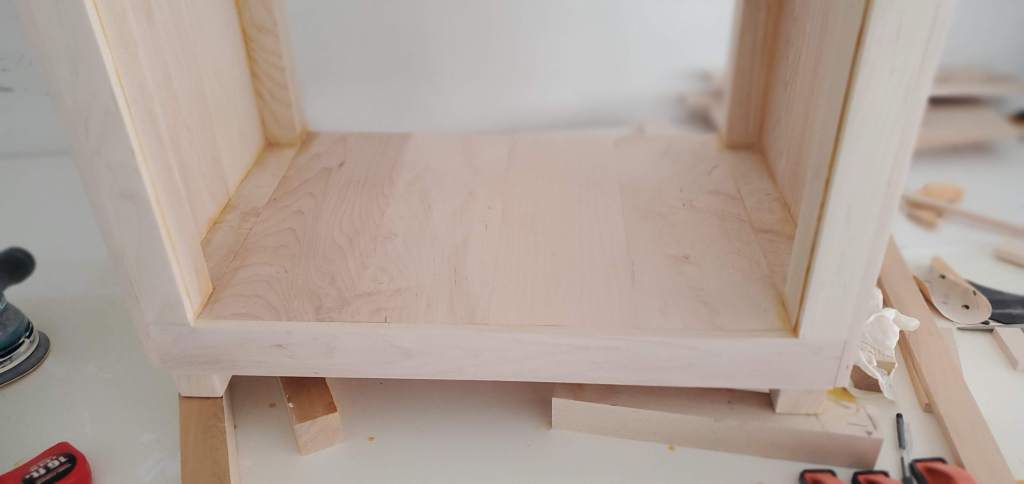
Overall I think it’s looking very nice for my first real woodworking project. Today I plan on sanding out the edges (as you can see from the photos above the inside edges need a good sand to remove the glue stains). That will probably take a few hours, maybe more. Then I can focus on filling in the gaps on the front. They aren’t too bad, but I really want a tight looking fit so I’ll fill them so they don’t look as noticable. Then I can do my final sand before I add the hardware. That sand will be quick since I just need to go over the gaps. After the doors are installed I can take it all apart, stain, seal, and I’m done…?!
It’s been a slow going project, but I’m glad that I’ve finally hit this point. It’s been a long road and I’m finally closer to the end than the beginning. While I probably over engineered this thing I wanted to build a piece that would give me a chance to practice my woodworking and I wanted to build a piece that would last. I’m happy to say that I hit both of those goals (I think anyway).
I’ll probably do one more post showing the door fitting steps and then one final post after its stained and assembled, but that will be the last of the woodworking projects you hear about here.. for a while at least. Just until I can get more wood for the next project! This was a lot more enjoyable than I was expecting, normally I’m more of an electronics kind of person, so I guess I learned something new about myself.


But enough about us, what about you?