Woodworking Update
Since it’s vacation time I’ve switched gears to doing some woodworking projects I enjoy that don’t really benefit anything. Maybe that’s the wrong way to look at it, learning a new skill is beneficial, but I guess what I really mean is that it’s a hobby I find relaxing. Crafting something is an interesting experience and while I still have a few days of work left (at least!) I’m almost done and it feels good.
This was a project I started over the summer. I’m not ashamed to admit it’s taken me a LOT longer than someone who’s skilled, but you don’t become skilled overnight so I’m sure I’ll get faster eventually. The point is I underestimated how much time it would take me to build my vanity project so I got started over the summer and it sat in my garage for a few months. Not going to lie, it was a little depressing having it sit there like I would never finish it. Yet another project that never ended.
That all changed this last week though! I’m back at it and we’re finishing this even if it kills someone, I say someone because it surely won’t kill me (insert evil laugh). We’re at the final stages, I’ve squared up and glued the frame together, it came out very nicely too (here and here). You need to give wood glue ~24 hours to dry before you can handle it so I’m limited to what I can get done by the number of clamps I have and the order of glue operations. Basically I can’t glue on the sides until I have the frame done, can’t glue on the bottom and sides at the same time or I wouldn’t have anywhere to clamp, things like that.
Well I glued most of the bottom in place (here), but I had two pieces that I wanted to glue in separately to make sure I had a tight fit to the frame so a couple of days ago I glued those pieces in place. That means the bottom for this project is completely glued into place now. The photo below shows what that looks like. I’ll still need to go and sand all the glue spots off and clean things up a little. I admit it, it looks like a mess at the moment, but some sanding should clear a lot of that up.
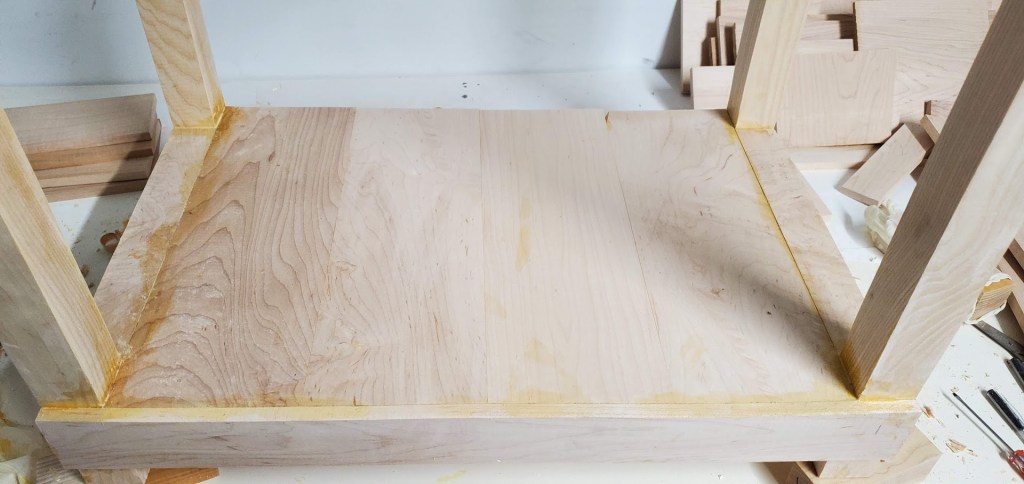
Here’s another shot from the side, the two strips I’m talking about here are the thin ones on the end, you can see the dried glue from it. From the photo below you can see that the pieces fit in nicely and there’s no real gap between the wood and the frame from the top (it overhangs a little, but I sanded it flush, you’ll see why in a minute).
So that was a days worth of waiting, yep woodworking takes a lot longer than you think sometimes or maybe I should plan better, either way that got glued into place and my bottom looks good! Yesterday I cut to length my sides and started the gluing process for that. In this case I want to glue the wood planks on individually instead of laminating them together then gluing the side on in one sheet. I feel like this will give me more control over the end result and ensure that I get a good tight fit. We’ll have to wait and see in the end if that’s the case, but for now I think it’s working.
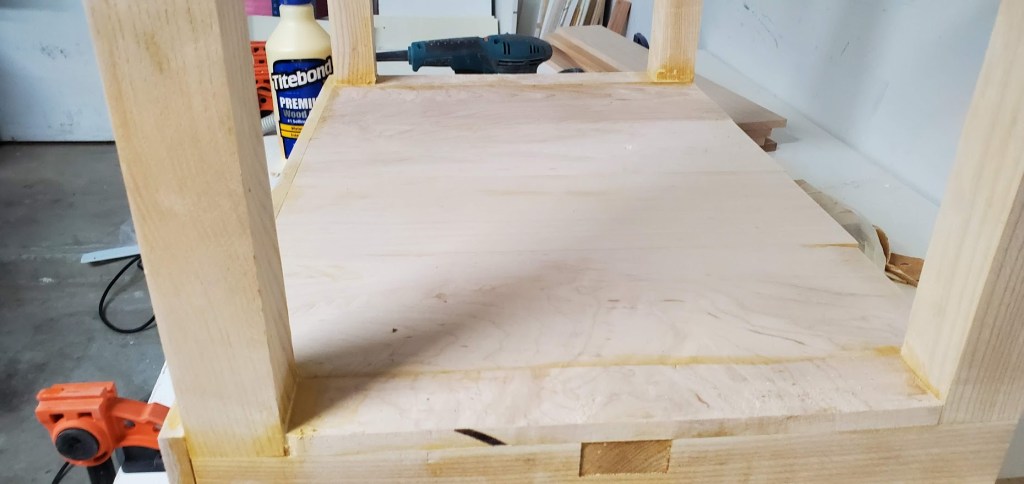
The photo above is from the inside of the vanity cabinet, there is a slight overhang that I made to accommodate the doors, you’ll see when we get to that step why that was added, but basically it’s to cover the end grain since that’s a standard woodworking thing (having the endgrain showing is ugly to some I guess, I don’t mind it, but I wanted to be “professional” whatever that means). Anyway I’ve glued on two of the four boards for the sides, I want to take my time with this, but I also ran out of clamps. I’m probably over clamping it, but I would rather over clamp than under clamp.
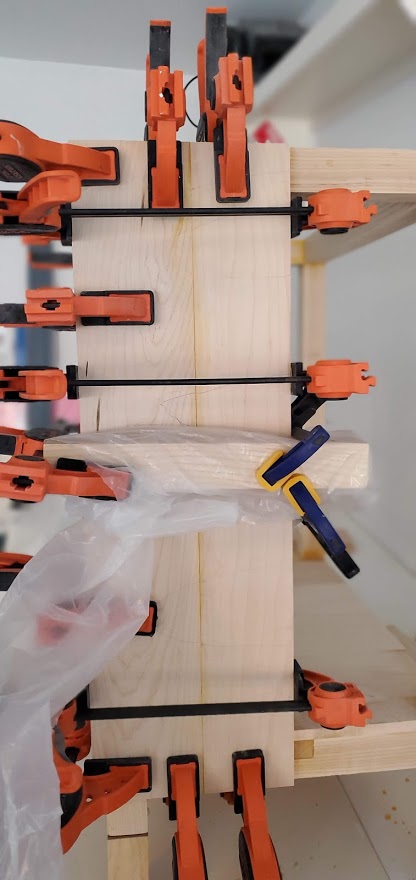
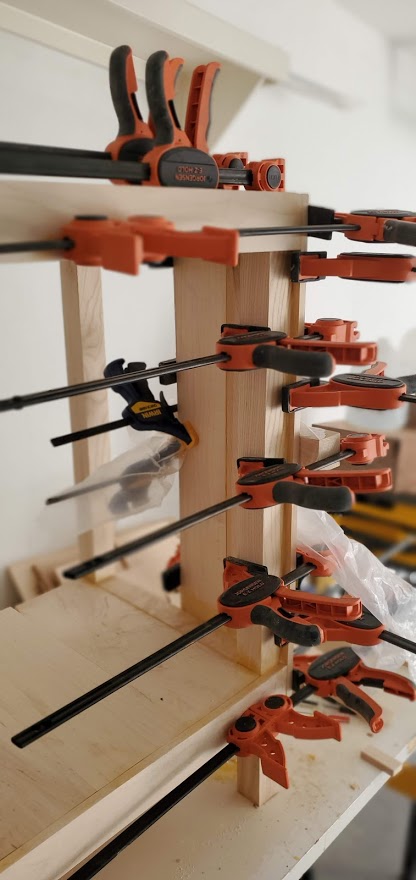
Here’s what I’m working with on the outside.The second board had nothing to clamp to (no frame) so I clamped along the edges to properly laminate it to the first board (on the left). The wood piece that is covered in plastic helps keep the two planks aligned. If one is warped slightly I’ll have more work once they are glued evening out the piece so I would rather have the boards line up. I should probably invest in more clamps one day when I have money (I mean who has money, am I right?), but for now these are all I have. Clamps are surprisingly expensive. With the front done and the size finalized I could finally cut the doors! While I don’t have any photos of the during, I have an after photo.
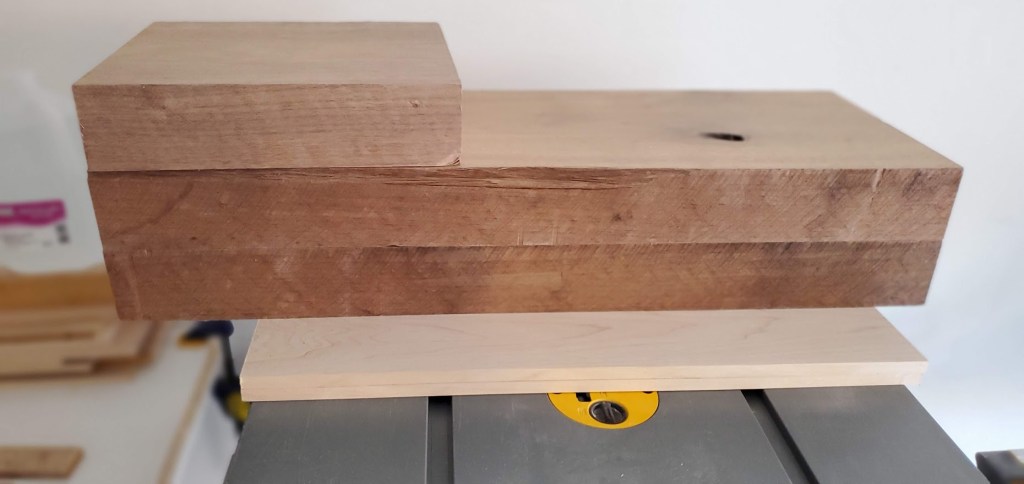
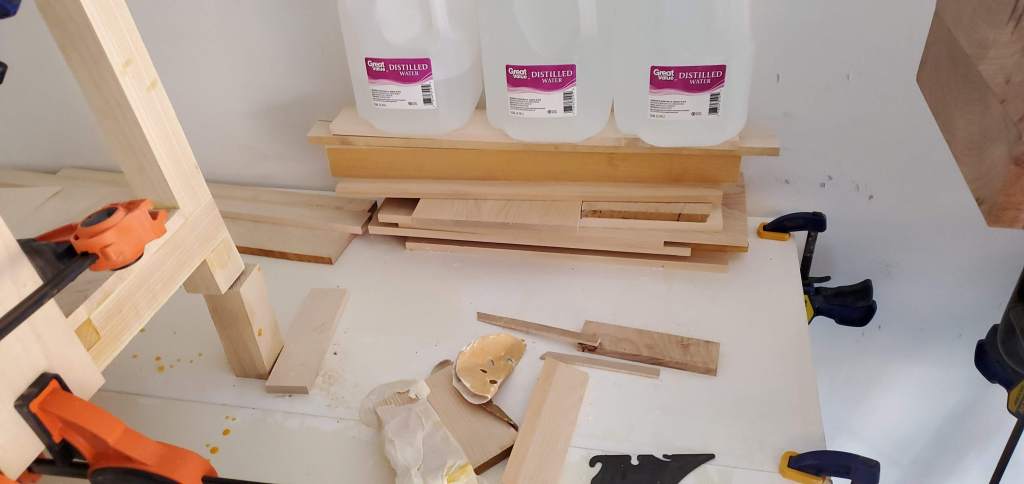
Right now the doors are sitting under the wood I’m using to make the top. Thick wood won’t warp like the thinner cuts will, this will make sure that the doors stay flat while they wait for me to install them. I did something similar in the photo at the beginning of the post to make sure everything was flat before I attach it. It’s not a huge deal if it has a slight warp to it, but if it’s extremely warped it can cause some problems so best to make sure everything is flat now before I end up with some weirdly curved door. Thankfully the top is so heavy it makes a perfect weight for the boards and will keep them from curling.
So that’s where I left the project as of yesterday. Today my plan is to do one of two things, I’m either going to finish gluing together the rest of the side, or I will start on the other side. I’m starting from the front and working my way to the back so if I mess anything up in the back, it won’t be seen. I am leaning towards starting the other side today since I feel like that would be easier because I would just flip the clamping arrangement I’m using now, whereas doing the back I may need a different arrangement for the clamps. Doing it that way I may even be able to glue the back half on both sides at the same time (if the number of clamps allows it).
Thankfully with the doors cut and the sides going on this project is almost done! The scary part will be cutting into that giant top to install the sink, but I need to do it eventually, so maybe I’ll be doing that today as well. Sure progress is slow, but any progress is good and I’m feeling pretty good with where I am in the project now. It’s nice not to focus on school for a bit. With that, I should started on the progress for today.


But enough about us, what about you?