Woodworking progress
Well I went a little overboard yesterday. Really I got into a good groove and the vanity project is almost complete. Today I’m attaching the last few boards, drilling one more hole into the top (for the faucet) and if I can, I’ll glue the top together. Then all that’s left is the finishing and the fitting. Yeah, I got a lot done, so let’s take a peek at the progress I’ve made since we last talked about the project.
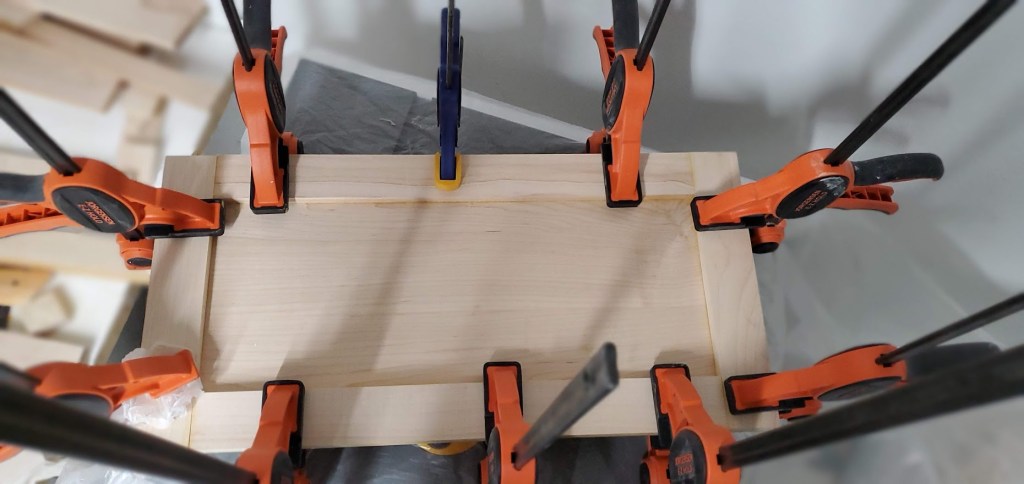
Things were a bit slow going, I wanted to take my time to make sure everything fits correctly and that there are no issues. I’ve been getting better at this (see: faster), but I’m still learning. When we last left the project (here) I had glued the bottom in and started on the sides. I only had half of one side glued in the last time we talked about it, but yesterday and the day before I managed to glue in the rest of the sides.
For the back half I didn’t need to use so many clamps for the middle pieces, which was nice. It meant that I could quickly glue in the rest of the side boards.

Since that middle board is only glued on the top and bottom, the side clamps are used to help glue it to the side of the previous board. Overall it worked out really well and the boards lined up nicely so there shouldn’t be too much sanding to get a good solid looking surface.


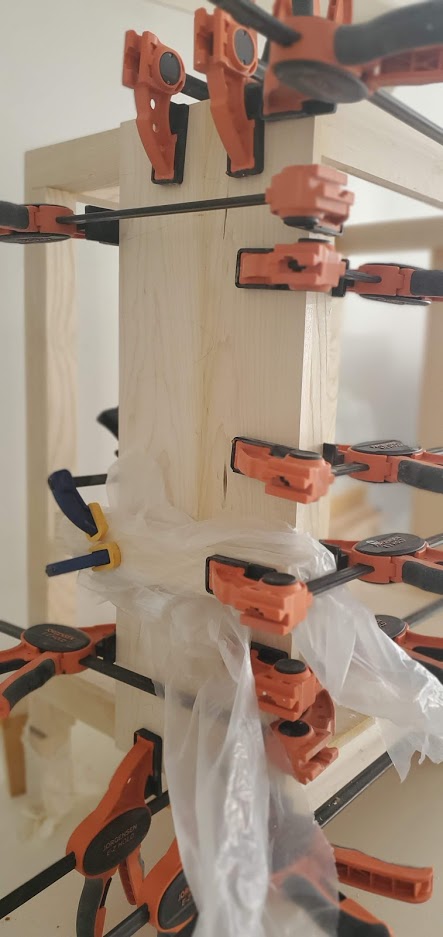
I also got creative with my clamp usage so I could glue up the door frames. I wanted to add a piece of wood to frame the doors. I like the look and want to do the same in the kitchen and rest of the house, so this was good practice for that project (whenever I get to it). I could’ve used miter joints to connect these, but I really liked the look of a butt joint so I went that route instead, hopefully I don’t offend too many seasoned woodworkers with that choice.

Here’s a shot of the other door, glued and ready for finishing. Now both doors should be done, the sides are done, and all I need is some trim for the front!

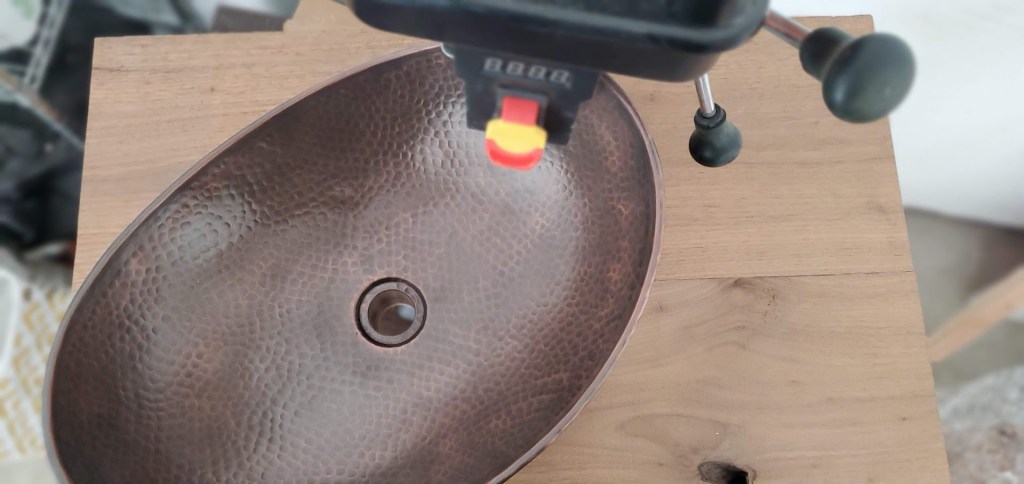
At this point I was running out of things to do. So I decided it was time to make the scary cut. I only have enough wood for one go at the top. It’s 3 inch thick walnut and due to the price I got just enough for the project with a touch extra in case I needed to remove some of the end bits. Basically I can’t screw this up or I ruin the entire block of wood (for the designated purpose anyway) and because I don’t have the money to replace it, I wouldn’t have a way to finish the project.
The rule here is measure twice, measure twice more, measure a few more times just to make sure it didn’t change when you weren’t looking. Then measure a few more times just because maybe you forgot the number and didn’t catch it. Oh draw the hole on the board that’s a good idea. Wait why doesn’t my bit size match up with the hole I drew? Why did I draw a circle for the hole and not just mark the center? How do I find center again? What is the meaning of life? How do I cut a hole? What even is a hole? Is it the absence of something, or am I replacing what was there with something else? Next we question existence. Then finally make the cut, piece of cake. Was I worried? Phhh never! Play it cool… here’s the result

I had to make the cut before I glued it all together because my drill press wouldn’t allow for a cut that far into the wood (yes, I bought a drill press to make just this cut and yes I had to save forever to buy it). Thankfully the hole for the sink isn’t quite center because I needed space for the faucet, but it was close to the end and this is why I got the drill press, I mean look at that hole!

And then we can bump up the two pieces that make up the top and set the sink on it to test it all out and make sure measurements didn’t change in the universe in the time it took to measure and cut.
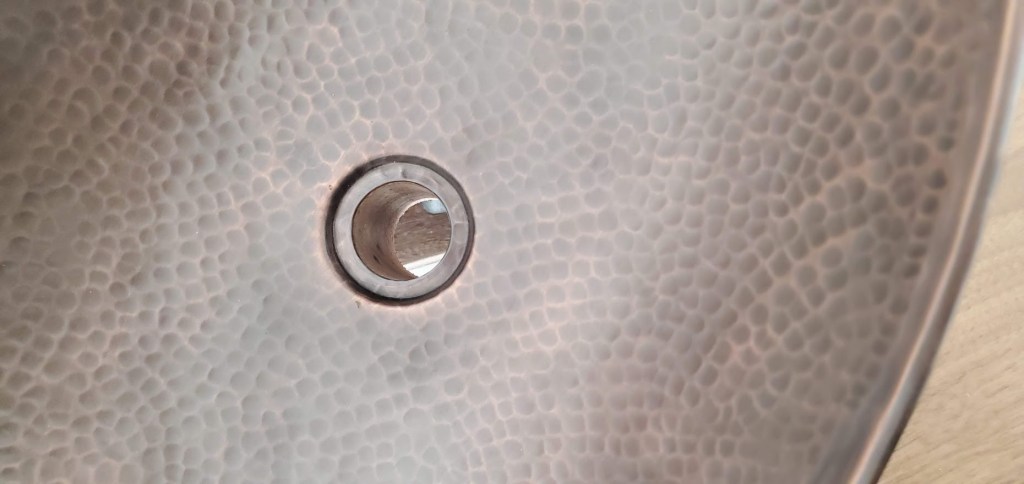
Because the top is so thick I needed a very straight hole or the pipe I need to run through the top wouldn’t fit, here’s what it looks like close up.
At this point I breathed a sigh of relief and called it a day. Today I still have a few pieces to get done and one more scary cut to make, this time for the faucet. Once that is done all the scary bits are over and I can glue the top together, which is still slightly scary, but not as scary as making a cut into the giant block of wood I only have one of. Not quite done, but I’m a lot further along than when I started, if that makes any sense at all.
Time to get to work, but you should know that woodworking is fun and not at all stressful.


But enough about us, what about you?