PC build part six, now with more bends!
Yep, still working on the hard tube bends. It’s a lot… harder than it looks! Pun fully intended. Today I have good news and bad news. The bad news is there’s still some work to be done before I get to pressure test and finally finish this build. The good news is there’s only one bend I need to make and one or two I would like to redo if I have enough tubing for it.
When I last left off, I had three of the tubes bent, it was a good start, but from my standpoint they were the easiest bends to get done so the rest of the bending was going to get progressively harder as I went. I’ll spoil it now, I have one bend left that needs to be finished before it’s usable (assuming no leaks) and ideally I would rebend at least one (possibly two) of the tubes again since I’m not 100% happy with how they came out.
I realized yesterday I took absolutely zero during photos of the work I was doing, so as a helpful how-to guide this has been pretty useless from a visual perspective. So I snapped a few photos of the during process for one of my bends. First, you need to measure and cut the tube to longer than you need, I always add a few inches because I will inevitably mess something up and it’s hard to get an exact length needed when it’s so… bendy. Then the core goes into the tube. This keeps it from crushing or deforming so you end up with a nice round looking tube in the end. I used a little bit of distilled water to wet the core and put it in, it goes in pretty easily without it, but I do it anyway and hope that it helps taking it out when I’ve finished the bend. Note, don’t insert the core all the way into the tube, there is no easy way to remove it if you do! Always leave a good amount to help you pull it out after the bend.
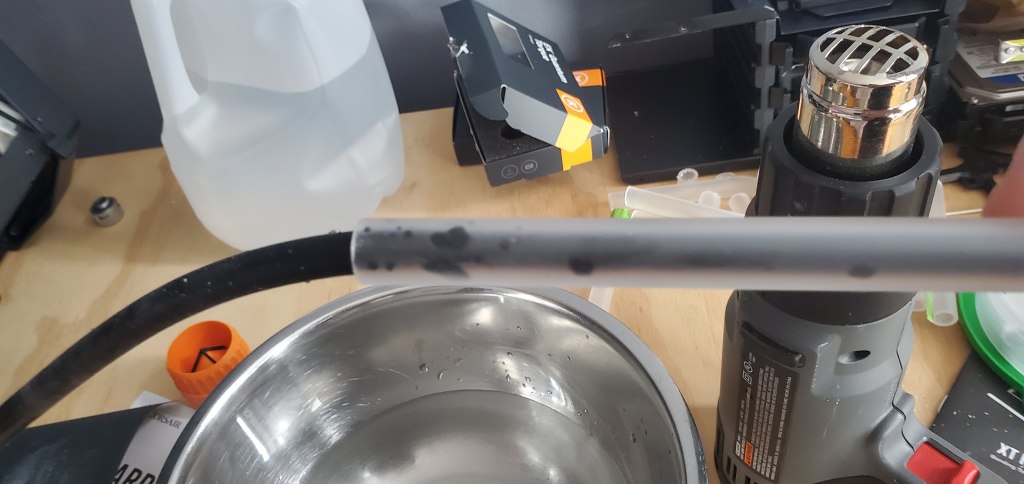
Next you heat the tube. Now I don’t have photos of this step explicitly, but literally all I do is turn on the heat gun (pictured above pointing up) then heat the area I want to bend (and the surrounding area to help it conform). Once the tube starts to go limp noodle, which is always longer than I want to let it heat, then I make my bend using the fancy mandrel tool that I got in this kit. This was a 90 degree bend so I bent it, tried to pull the tape off, and get a photo. The tape gunk stuck to the tube in the photo, it’s not blistered thankfully! I got it all off afterwards (in subsequent photos you’ll see it minus the nasty).
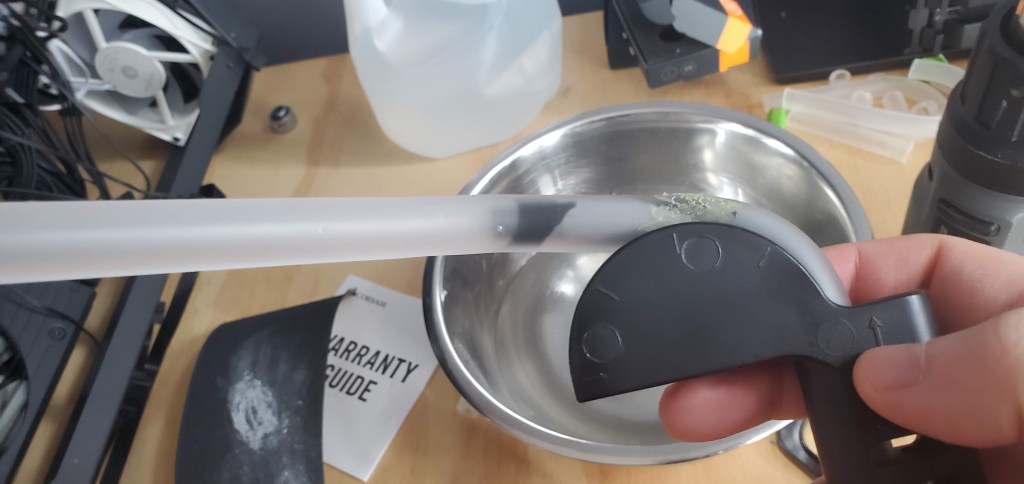
Notice the core is only slightly past the bend. I’ve learned the hard way that the more you insert the harder it is to get out, so only put the core in far enough that you’ve got it covered where you’re bending. Once you are happy with the bend hold it for about a minute, maybe two depending on how hot the tube got. This will keep it from relaxing its shape and it will give you a nice 90 degree bend where you put it. The tool has marks for 45, 90, and 135 degree, but if you go the full length, you can get 180 degree bends like I did for the reservoir return line bend. It’s actually a very cool little tool so I’m glad I spent the extra ~$50 USD for the kit. If you want the kit you can find it (as of this writing anyway) here. Note that isn’t a sponsored link or anything corsair doesn’t know I exist, so I don’t make money off the link, I just want to share.
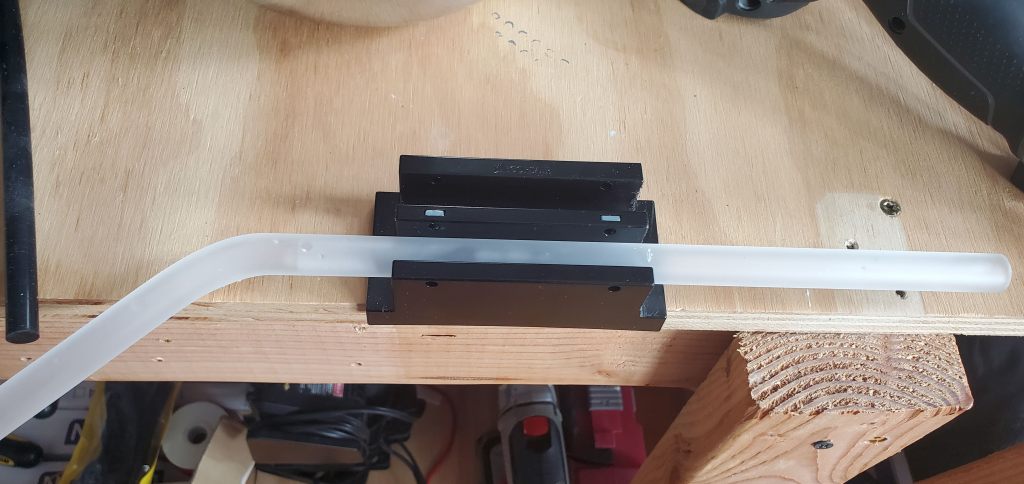
I had one other 45 degree bend that needed to go into this tube, but once I was finished, I could cut to size. This is the shot of the vice tool thing that holds the tube so I can cut it to size. I cut it slightly longer then cut, check, cut, check until I’m happy with it, but if you’re feeling bold go ahead and measure twice, cut once. Just be sure you’re okay with failure, you can always remove tube, you can’t add, so be careful.
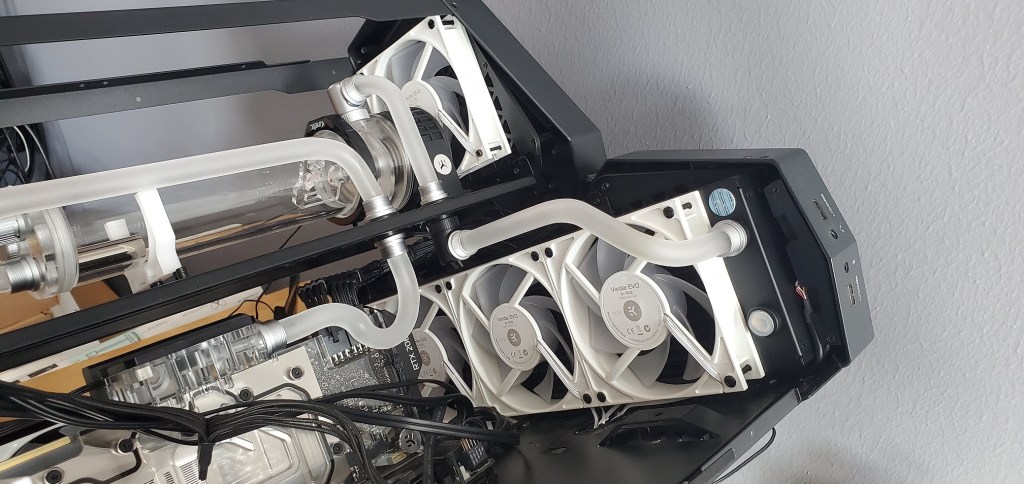
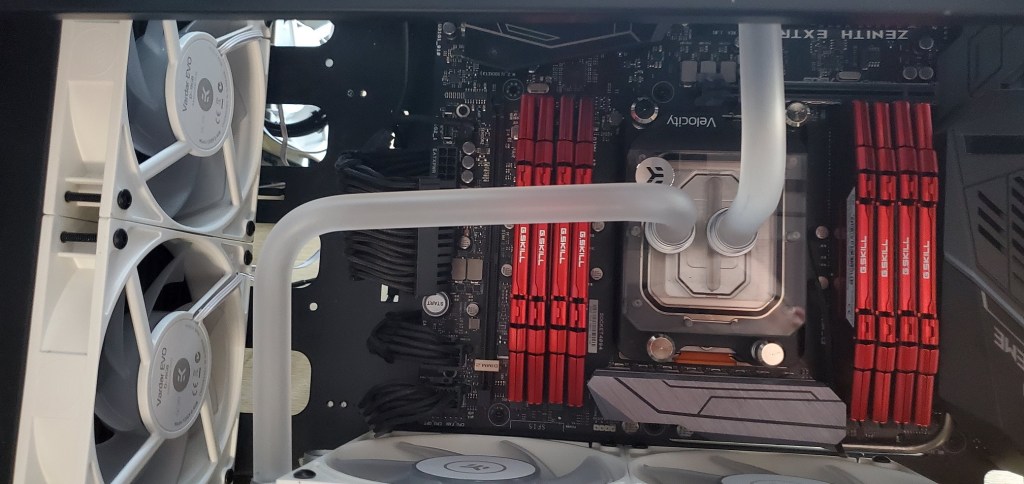
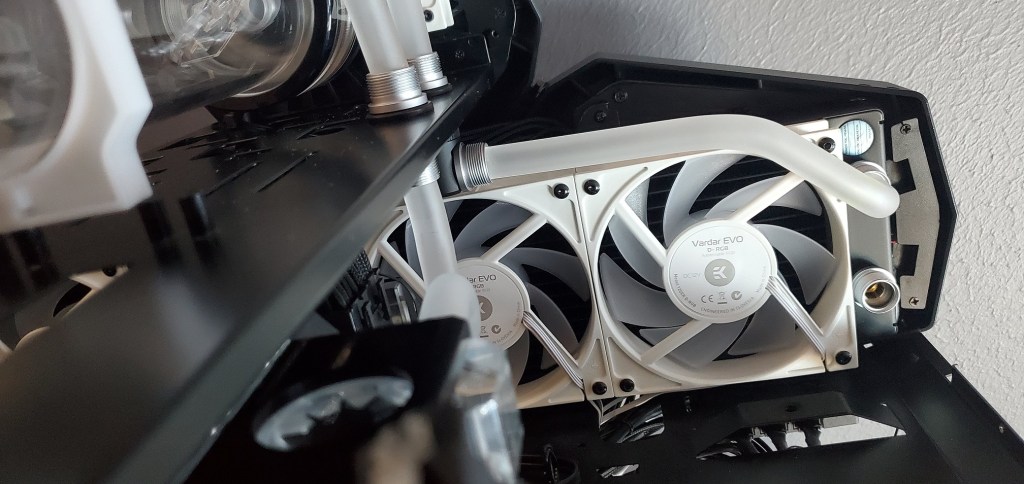
I’ve gotten slightly better at bending tube, I’m still obviously a novice, but I feel like I’m getting better. The good news is I got this bit cut, bent, bent again, then sized right the first time. I didn’t have to redo any of it and it looks good. How do you know you have a good tube? Well first it connects the two things you want to connect, but also you need to check alignment. Is the tube at an angle? Does the tube get forced into the fittings? Things like that. Since I’m doing the work and I want to do it right, I’m trying to get nice bends and straight runs so I took a few photos to show what that should (roughly) look like. It’s probably not perfect, but it’s the best I have done so far and I think it looks good enough that I can’t tell if it’s angled or not. To that end, here’s a few different angles showing how the fit looks. To me it looks like it is parallel to the radiator from the front and top and it appears to run true from the pass-through fitting to the inlet of the radiator (no weird angles or twists. So I’m very happy with how this one came out (notice the tube is clean here too, no tape residue thankfully).

So like the story went yesterday, I had two boxes of tubing and went though basically one whole box yesterday when I cut the tubes for the inlet and outlet of the pump. I was nervous that I wouldn’t have nearly enough tube to finish the job, but it appears that I may just have enough after all. I have more coming, so it would be nice to redo the return line to the reservoir, which to me I feel like the 90 going to the pass-through fitting is bent slightly too soon so it goes into it at a slight angle. It’s stupid and I will probably just leave it if I’m being honest, but it does bug me a bit.
Anyway getting off topic. I managed to screw up a few other bends after this guy, so much for getting on a winning streak, but some of the scrap was the perfect shape to redo the outlet from the pump, which was also on my “probably should rebend” list since I felt like the bend came a little too early so it went into the pump at an angle. Honestly looking at it now it may just be because the angle needs to be so sharp that I can’t do any better, but I recut it and I feel like this version looks better.
The old version, which I feel like the tube was angled going into the pump outlet 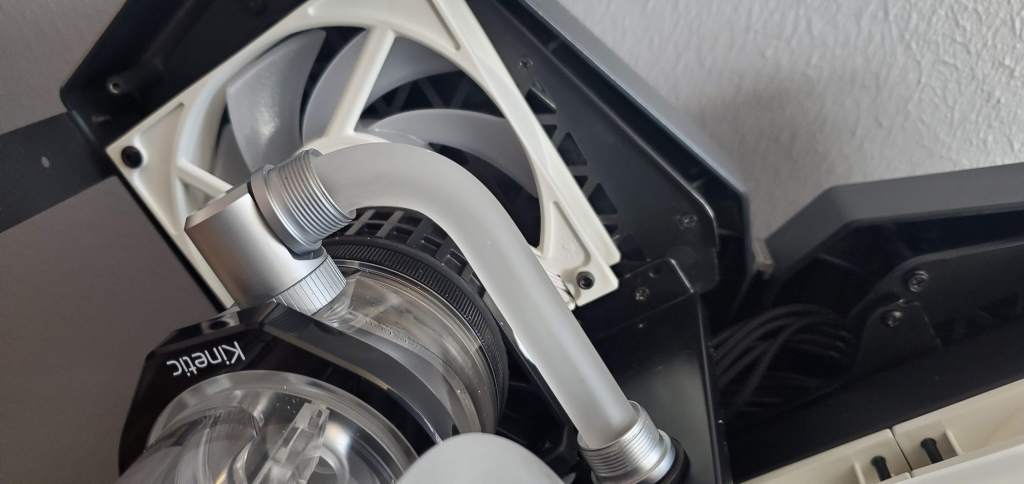
This is the new version, which looks very similar I will give you that, but I think the tube goes into the pump outlet fitting more straight on.
Now that I got that done I could focus on the other side of things, namely the CPU and graphics card portion of the loop. Side note! Loop order doesn’t really make a huge difference. So it’s best to run the order that makes the most sense for your loop. Originally I was going to run from the big 480mm radiator to the CPU, from the CPU to the second 240mm radiator, then to the GPU. That makes no sense now that I’m looking at it so instead I’m running from the 480mm radiator to the 240mm radiator, then to the CPU, then to the GPU, and back to the pump.
But Alex you say, won’t that mean hot water is going to the GPU? Yes and no, water has a high heat capacity and with the level of fluid flow you never really hit the saturation point, so the water going into the GPU will be slightly warmer and the GPU itself my run 1 degree C warmer, if that, but it doesn’t make a huge difference because you’re already running significantly cooler than you would from an air cooler or an AIO cooler. Therefore instead of getting crazy (er) with my bends, I’m going to keep it simple(ish) and run it the way that makes the most sense for my loop setup.
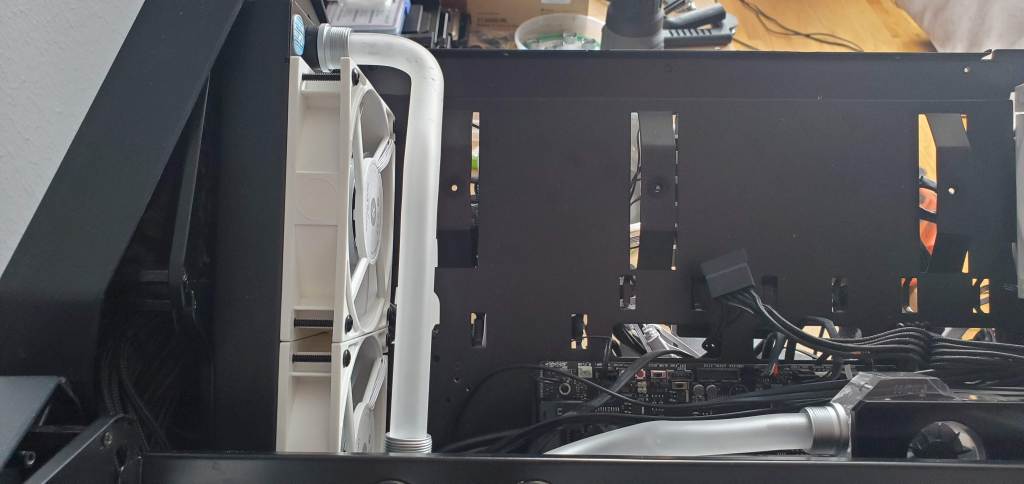
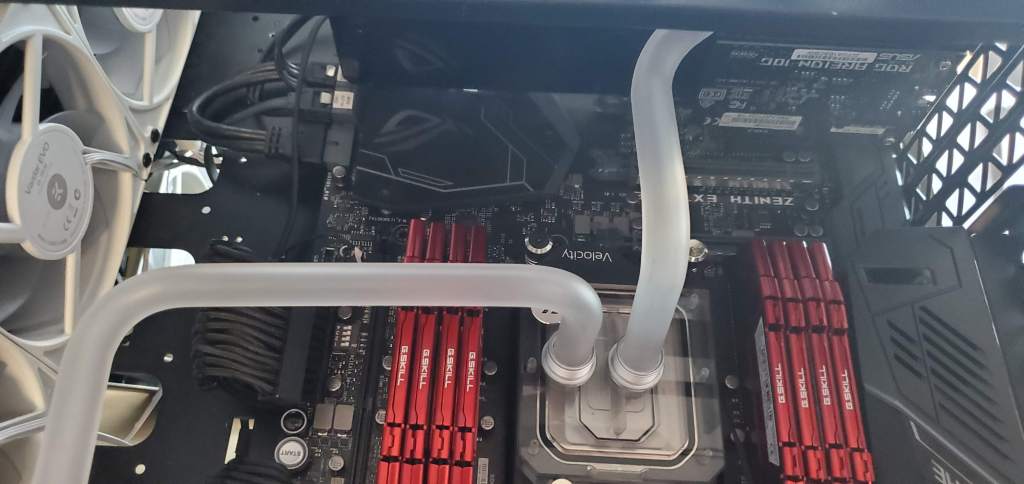
That said we are increasing difficulty of bends, so things are going to get progressively harder and I still have one bend (at least) that needs to be done, the hardest run of them all, the one going from the 480mm radiator to the 240mm radiator. It’s not that there are a lot of bends (there are), it’s that the run is so long. I’ve already attempted it because I really wanted to get it done and screwed it up twice, so I decided to focus on the other still very hard, but comparatively easier bends. Here we have the photos showing me going from the outlet of the radiator to the inlet of the CPU.
After making the bend I wanted to verify the second was in the correct place 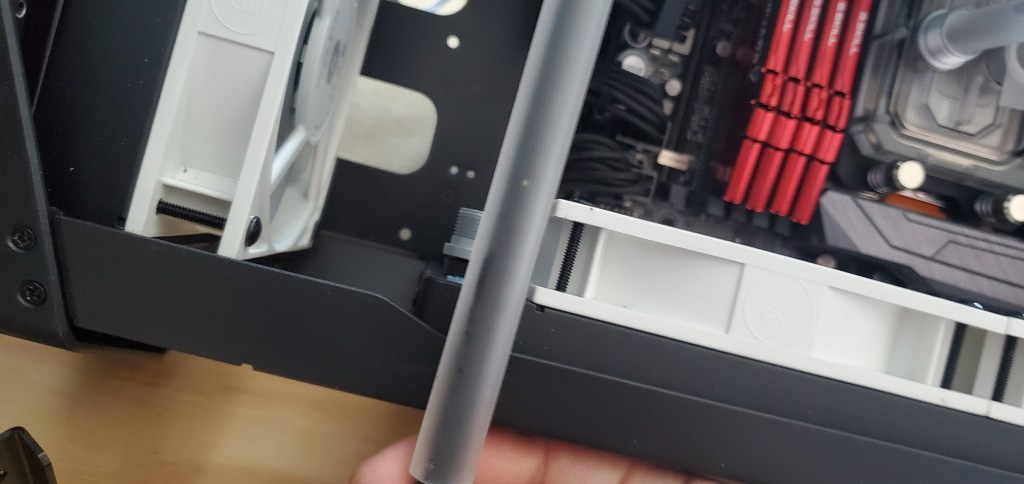
See how the tube runs directly to the inlet? 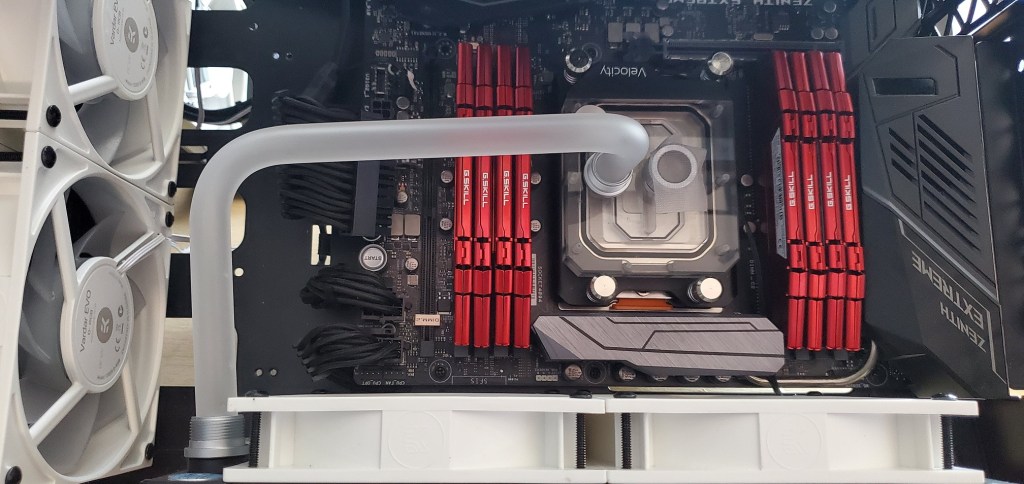
And we have it installed!
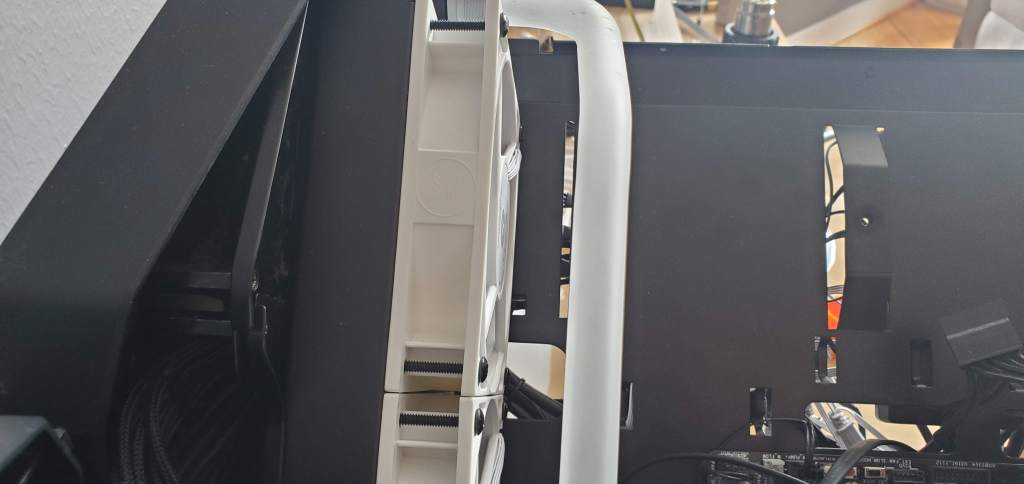
The bend above looks good, but I bent the second bend (going to the radiator) slightly too late. It’s not very noticeable here, but trust me I was off by just a few millimeters and it sucks. I may or may not redo it depending on how noticeable it is when I add in the run connecting the two radiators, because then you’ll definitely notice if it’s as bad as I think it is.
Once I had that cut I was ready to move on to the outlet from the CPU to the inlet of the graphics card (which is on the backside). This was a very difficult bend and I screwed it up a few times. So many times in fact, that I only have a single 1m tube left for the remaining “long run” connecting the two radiators, meaning I may not have enough to do the rebends until the tubes show up over the weekend (hopefully) and I’m not sure I want to wait that long so we’ll have to wait and see. Anyway jacked up the graphics card run a few times, but I got something semi decent on the… third? I think this was the third attempt.
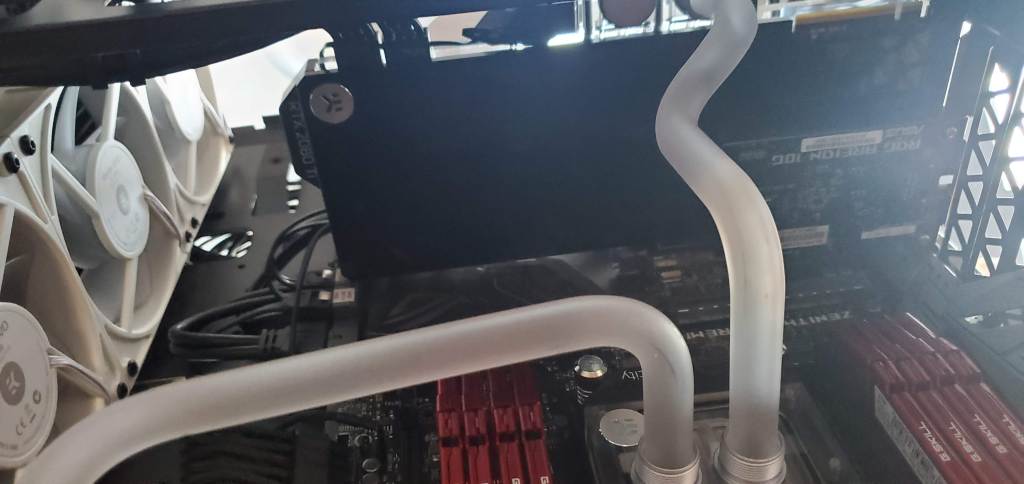
The tube from the CPU to GPU (graphics card) wasn’t a simple 90 degree bend and straight run, nooooo of course not. Instead I had to do a 45 degree bend, a second 45 degree bend, then put the 90 degree bend, but none of it was easy and so you can see why this one took some serious effort even after all my practice with the other tube bending attempts.
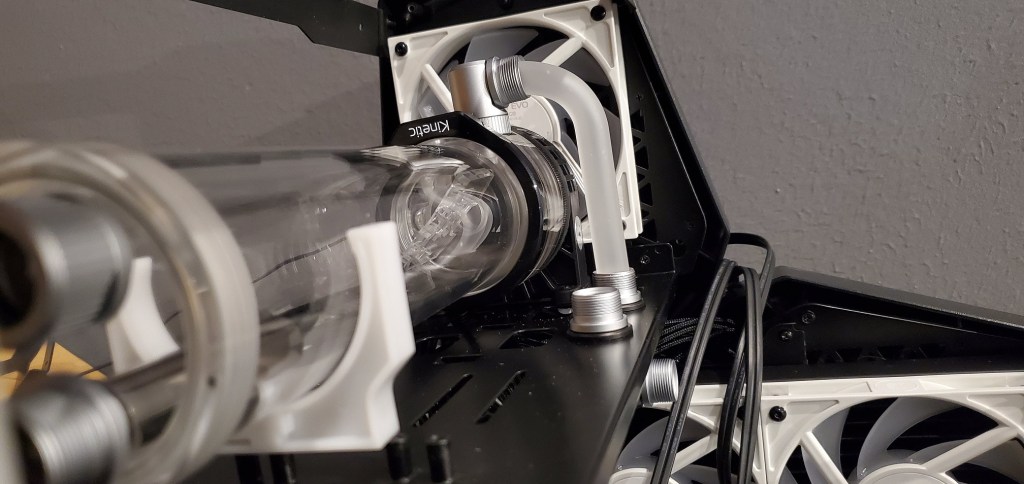
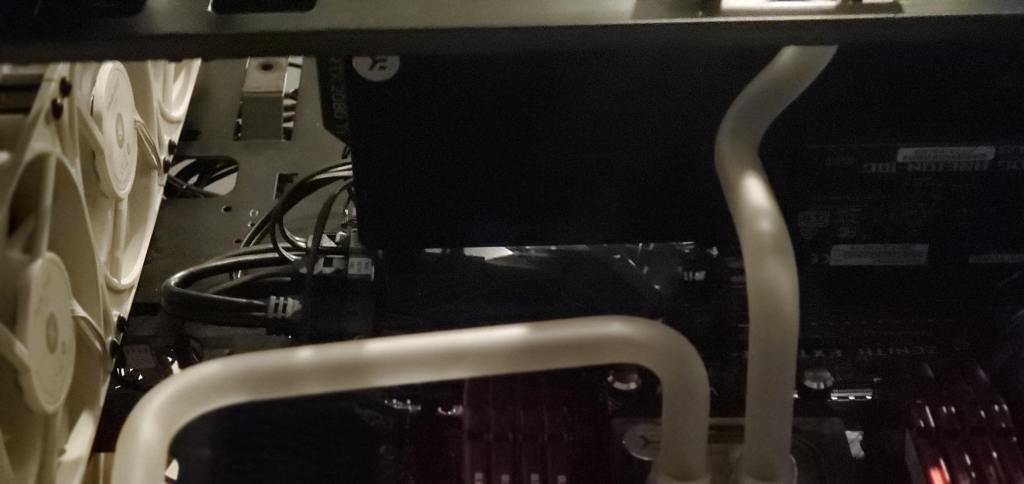
Just for fun I decided to get a few better photos from the outlet of the graphics card to the bottom pass-through fitting. I now that the front shots make it look like it’s straight, but this tube was a pain to get right, but I got incredibly lucky with this one. See how the tube is u shaped AND turned inward slightly to reach the pass-through? Yeah, nothing in this case directly lined up! What the hell.

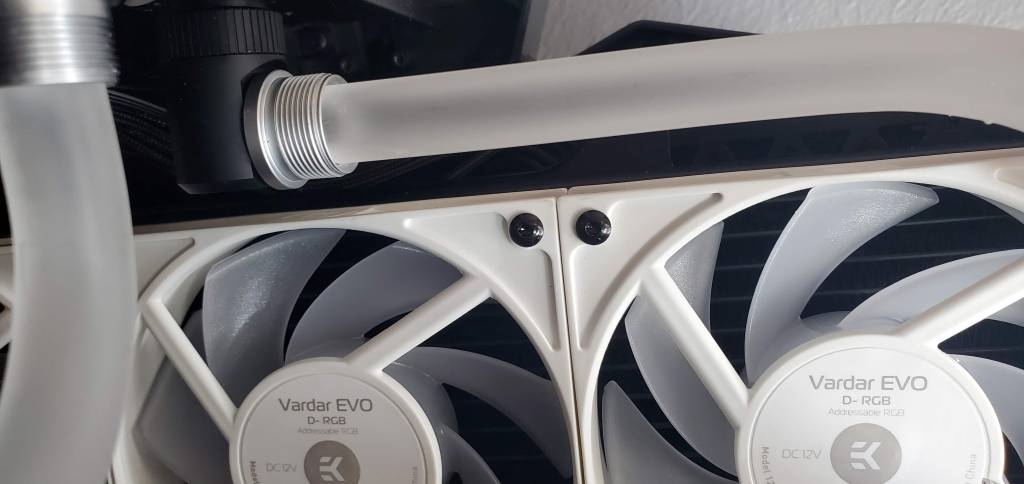
Bonus, you can see the cool bend I made going to the inlet for the radiator, really proud of that one!
So with that, we’re near the leak check and fill stage, which means the build is almost (finally) done (hopefully) assuming I don’t run into any other problems with cables, the new lighting setup, etc. This has been a huge headache for me since I need the computer badly and the longer its down the more work I have piling up for me. I’m not sure if I can get the final bend in today, but we’ll see. The testing may not come to the weekend anyway, but as long as I’m close to being done I’m happy.
While this has been (and continues to be) a significant amount of work, I’m glad I went this route, not only will the case look cool, but I’ll have something very functional and I won’t have to worry about ripping out another AIO watercooler again. Plus I can show it off and I enjoy building things so while there’s been a lot of frustration that went into this, it was also an enjoyable experience. I’m just ready for it to be over now is all.
I assume that with practice I could do this much faster (if I ever chose to do this again) so maybe it won’t be so bad if I ever decide to replace this computer case (and hardware) for something else.


But enough about us, what about you?