Computer rebuild
Okay, lots of work and not a lot of time to do it in, but today I thought I would show off the internals of my computer since I had to swap out the watercooler for one that wasn’t garbage. This is a follow up to this post, so with the background out of the way, let’s go!
Before I shut her down for the last time, my computer was idling at a scorching 60ish degrees celsius, which is ~30 degrees higher than it should be and exactly where it should be when I’m pushing it to its limit, not when I just turned it on. Tracing the problem was easy, my watercooler is shot, just like so many others who had the same make of watercooler (for those of you who didn’t read the last post, stay away from enermax they are garbage!!!!!).
Obviously I couldn’t let my computer limp along because: 1) I needed it for the work I have to get done in (oh no) 3 days and 2) I could ruin the CPU if I let it run that hot for long periods of time. To solve the problem I ordered a replacement. The new one is unfortunately NOT full coverage like I wanted (I even checked the measurements to make sure it would be and they lied to me!), but I needed to get it replaced ASAP and if it doesn’t work in the long run I can begrudgingly swap it for yet another one or bite the bullet and make a custom water cooling solution.
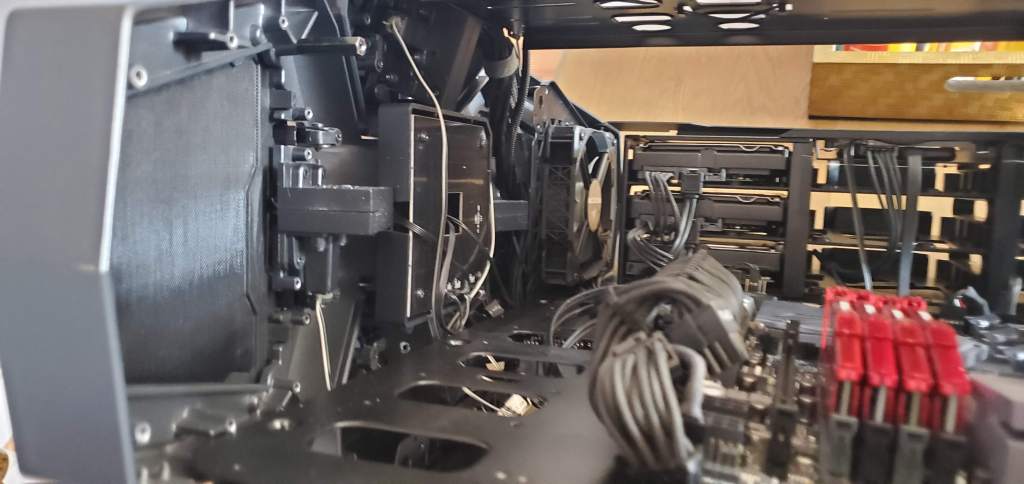
All that said, let’s dive into what I did. First I needed to remove the outer case portions. My computer has a unique shape to it so there are 4 outer covers that come off to give access to different portions of the computer. I removed all of them because why would I do that to myself!? Seriously, you want to have as much access as possible when doing things like this so I took them all off. In the end I had something that looked like this…
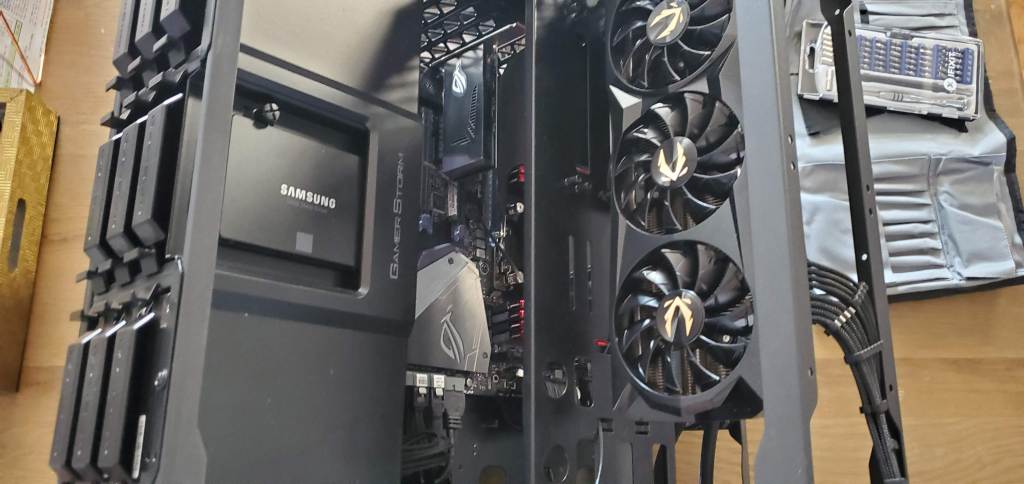
From here I could access the motherboard, if my CPU is the brains of the computer, the motherboard is the nervous system. Here’s a photo!
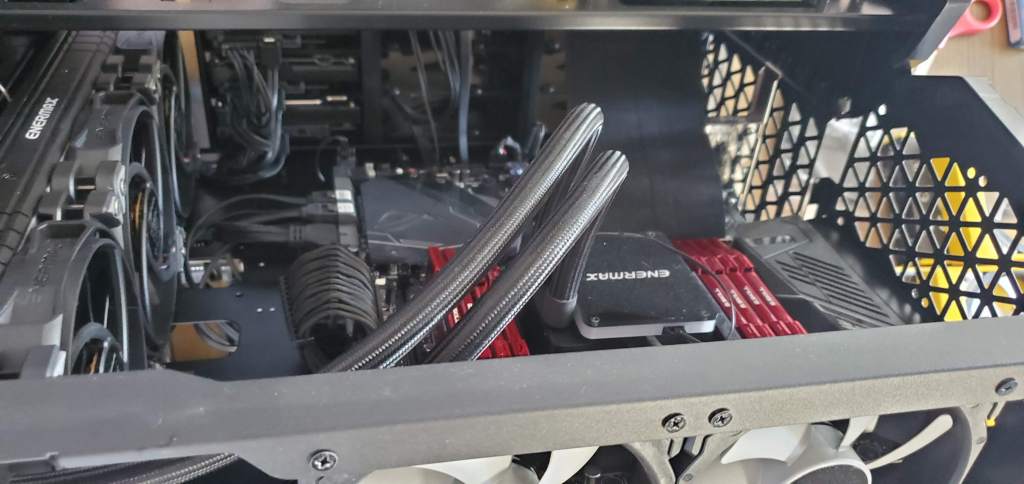
From here it was a matter of removing the water cooler, which is made up of the tubes connected to the big block between the ram (ram is red) and the radiator (the thing on the left with the three fans attached to it). Here’s a blurry photo of the radiator as I was trying to remove it.
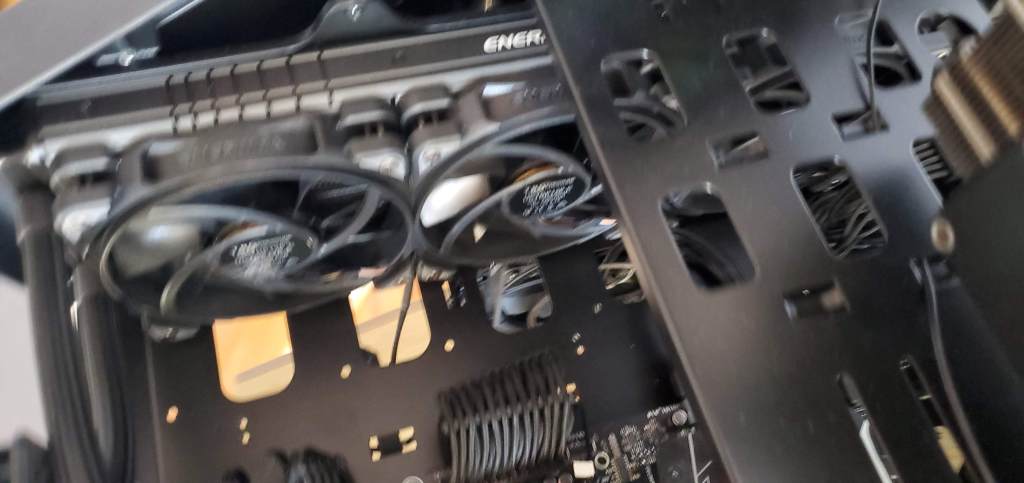
And like magic after a few screws and a lot of wires, it was out!
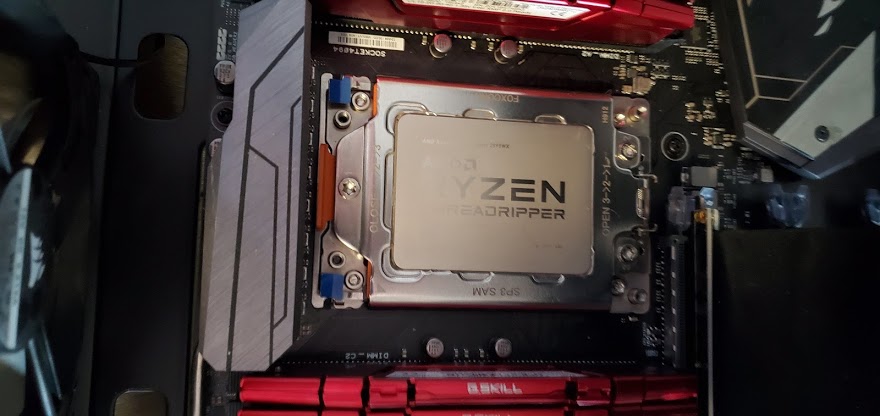
Then I needed to remove the block from the CPU and give it a good clean since it had thermal paste on it, some rubbing alcohol and about 50 paper towels later and my CPU was as clean as it was when I got it.
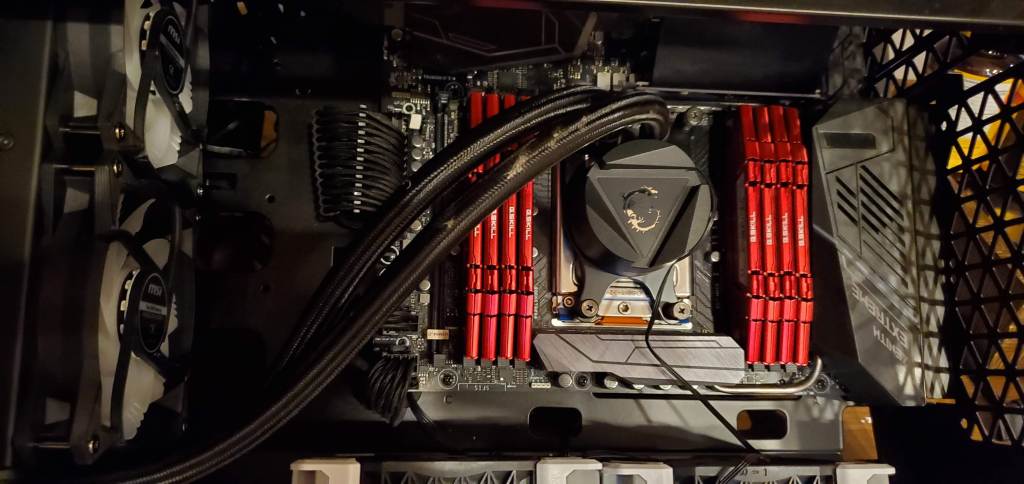
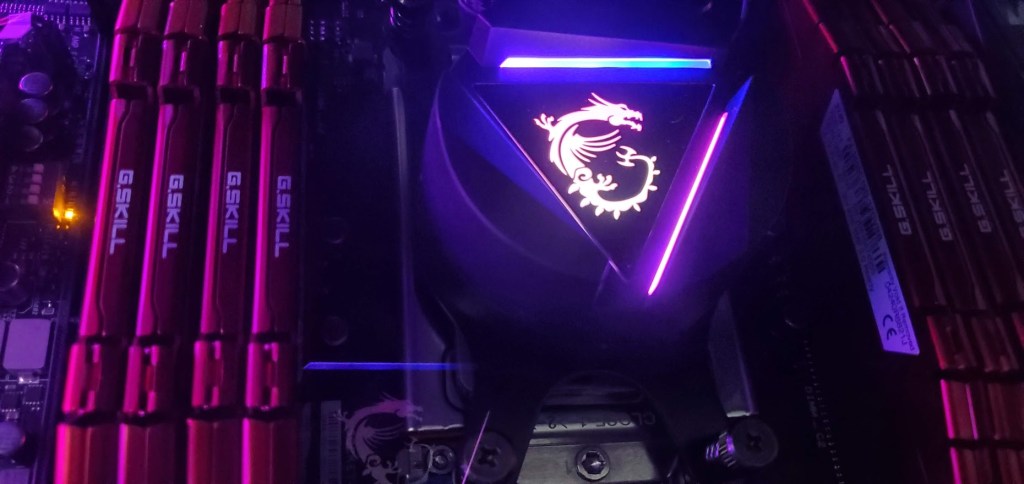
Reassembly was basically the same thing in reverse, but this cooler had fancy RGB lighting (like most do these days) so I had to wire it in slightly different, but here’s the finished install.
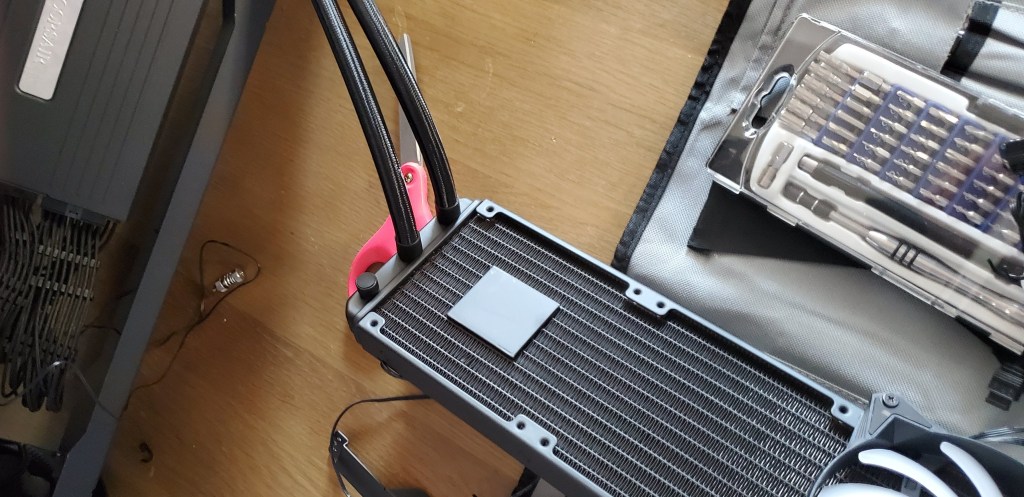
This is a MSI Mag coreliquid 360R. They do things a little differently, the pump that moves the water around on the old watercooler was built into the block that attaches to the CPU, this one puts the pump into the radiator. They say it helps improve life of the pump since it’s not on top of all that heat. I mean, I sort of see the logic, but we’ll see. Here’s a shot of the radiator prior to install. The big black square on the radiator holds the pump.
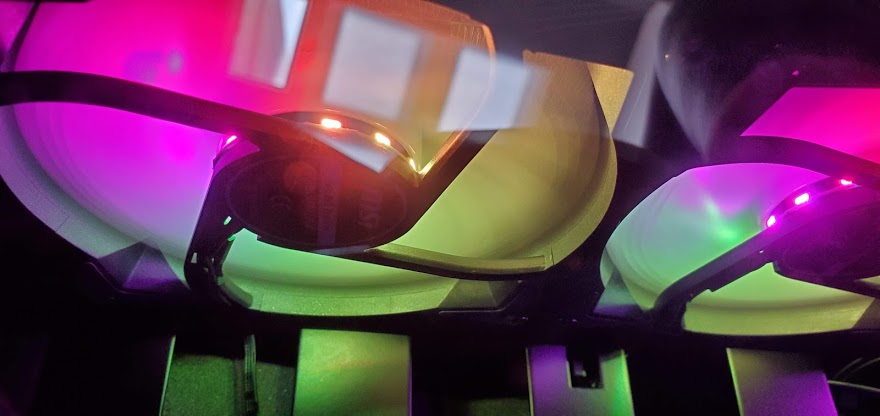
Now, what good is having RGB lighting if I don’t show it? Here’s a few photos I just took of the computer on. It’s bright and colorful, but I don’t mind really. If it bothered me I could turn it off, but I enjoy colorful computer stuff so I’ll leave it since it’s not hurting anything.
And there you have it! One new watercooler installed and ready to go. As for the temps? Well right now as I write this it’s idling at a much chillier 28 degrees celsius and under load the old water cooler maxed out at 81 degrees (that’s when it starts throttling my CPU to make sure I don’t break anything). This peaked last night at 34 degrees celsius, so while it’s not full coverage like I wanted, it does the job much better than the old failing one and even if I have to go through this whole mess again at least I have something to get me to my deadline.


But enough about us, what about you?