Part three, extreme PC modding!
It’s no secret, it’s been a hell of a week for me. To help distract me (unsuccessfully) I decided to do some of the major mods to the PC that needed to happen in order to get everything the way I want it for the final assembly. I’m hoping tomorrow will be that day, but there are still (STILL) parts I’m waiting on, so it may be a photo finish. If not, well I can always finish is during the week or next weekend (probably).
Instead of counting days I just called this post part three, because technically it’s day… 8…??!!?? of the build, but I haven’t been focused on it like I can do over the weekends, so part three it is since days don’t give you a good sense of how long this would take to do yourself. Hint, if you get everything together correctly BEFORE the build, it will go a lot quicker than the way I am doing it. So quick recap and let’s dive into the state of my computer now.
I was having overheating problems. It sucks, but what’s worse is this is the second time this has happened in two years. To solve the problem, I am installing a custom watercooling loop into the PC to make sure everything runs cool and I can just flush the fluid and change it out regularly instead of ripping out a new AIO (all-in-one) watercooler every time it clogs… and boy how they have been clogging! You can read about the latest overheating issues here. So I planned the build (here), and last weekend I started the build (day one here) (day two here).
It’s been a journey, but here we are near the finish line. I would be saying that with more confidence, but one of the parts I really needed got lost in the mail or was delivered to the wrong address so instead of getting those yesterday, I’m left wondering how long it will take to get replacements (and if I’ll even get those, the mail has been extra spotty lately for some reason). Before we get into what I’ve done so far, today the plan is to install the water pump (finally) and I will get the chance to do the tubing! That will be fun because it means the end is close! We’ll get into what the part is that I’m missing and why it’s important, but for now let’s look at where we are with the computer.
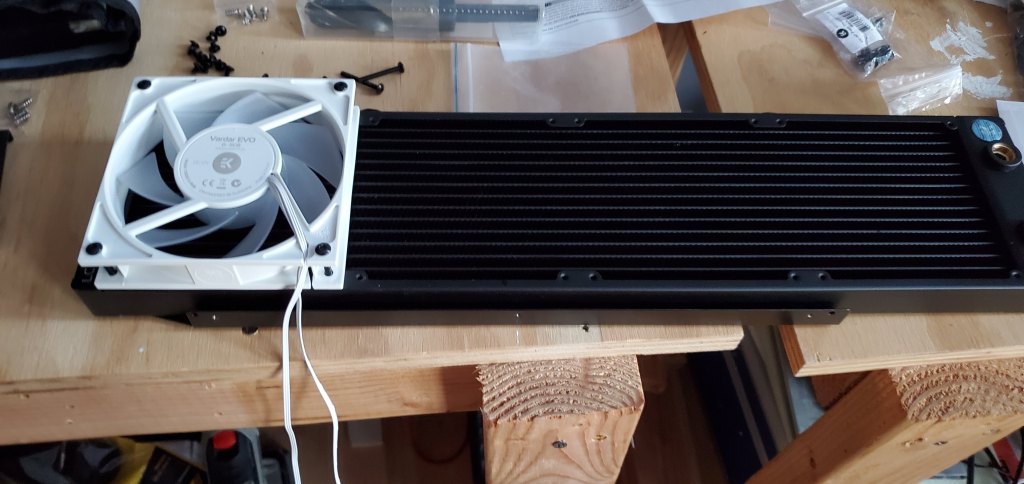
The last time I wrote about this, I had discovered that the radiator I ordered (the larger of the two) wouldn’t fit the bracket designed to hold the damned thing. So I ordered a replacement and started the exchange for the one I have. The new radiator will be thinner, but it will also be longer, meaning the bracket needed to undergo a bit of a modification, but nothing nearly as complicated as the modifications needed to make the thicker radiator fit. First thing first though, when the new radiator showed up I did a quick test fit to make sure that my measurements were correct. There wasn’t a lot of room for error, in fact there was nearly zero room for error, so I crossed my fingers and popped it into place.
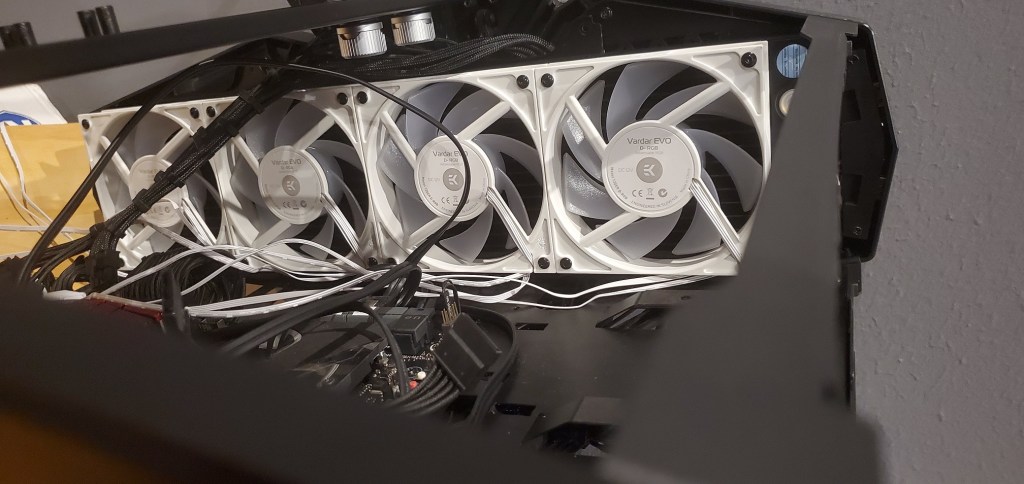
The new radiator is 480mm long and will span the full front of the computer. At that size, I can fit four 120mm fans on it, so it will just look cleaner I think to go the full length since I need to make other modifications elsewhere if I want to run the tubing the way I want to run it.
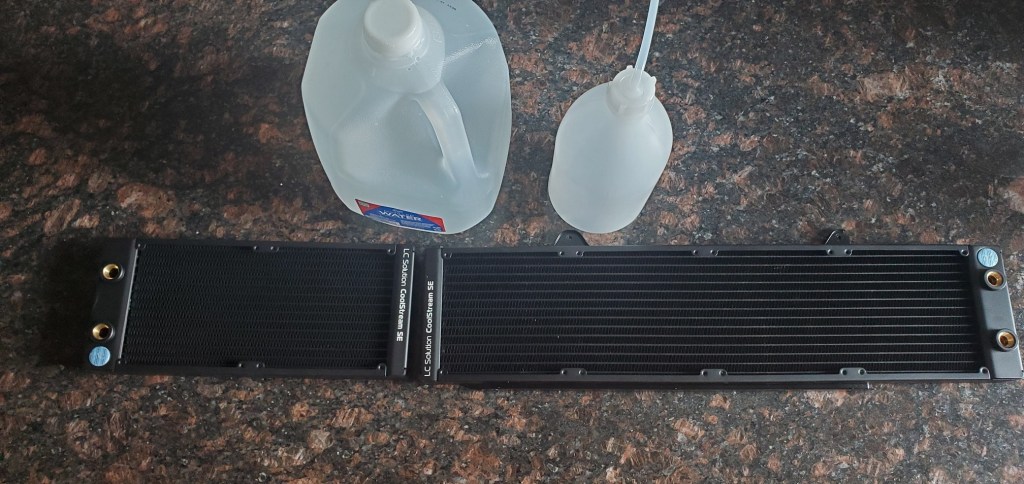
Now EKWB says that you don’t need to flush the radiators, you can just throw them on and go, but better safe than sorry. To flush the radiators you need some distilled water, in my case I put a full gallon through the two of them and that was probably me being lazy if anything. The good news is that even after I flushed, nothing extra came out (you can filter the water using a coffee filter if you’re curious to see if there was really anything inside, which I was). The photo below shows the radiators before I flushed them, the bottle with the tube on the right is a fill bottle, I wanted to wash it out a little as well since I will be using it to fill the loop. Better safe than sorry, but to be fair probably not needed.
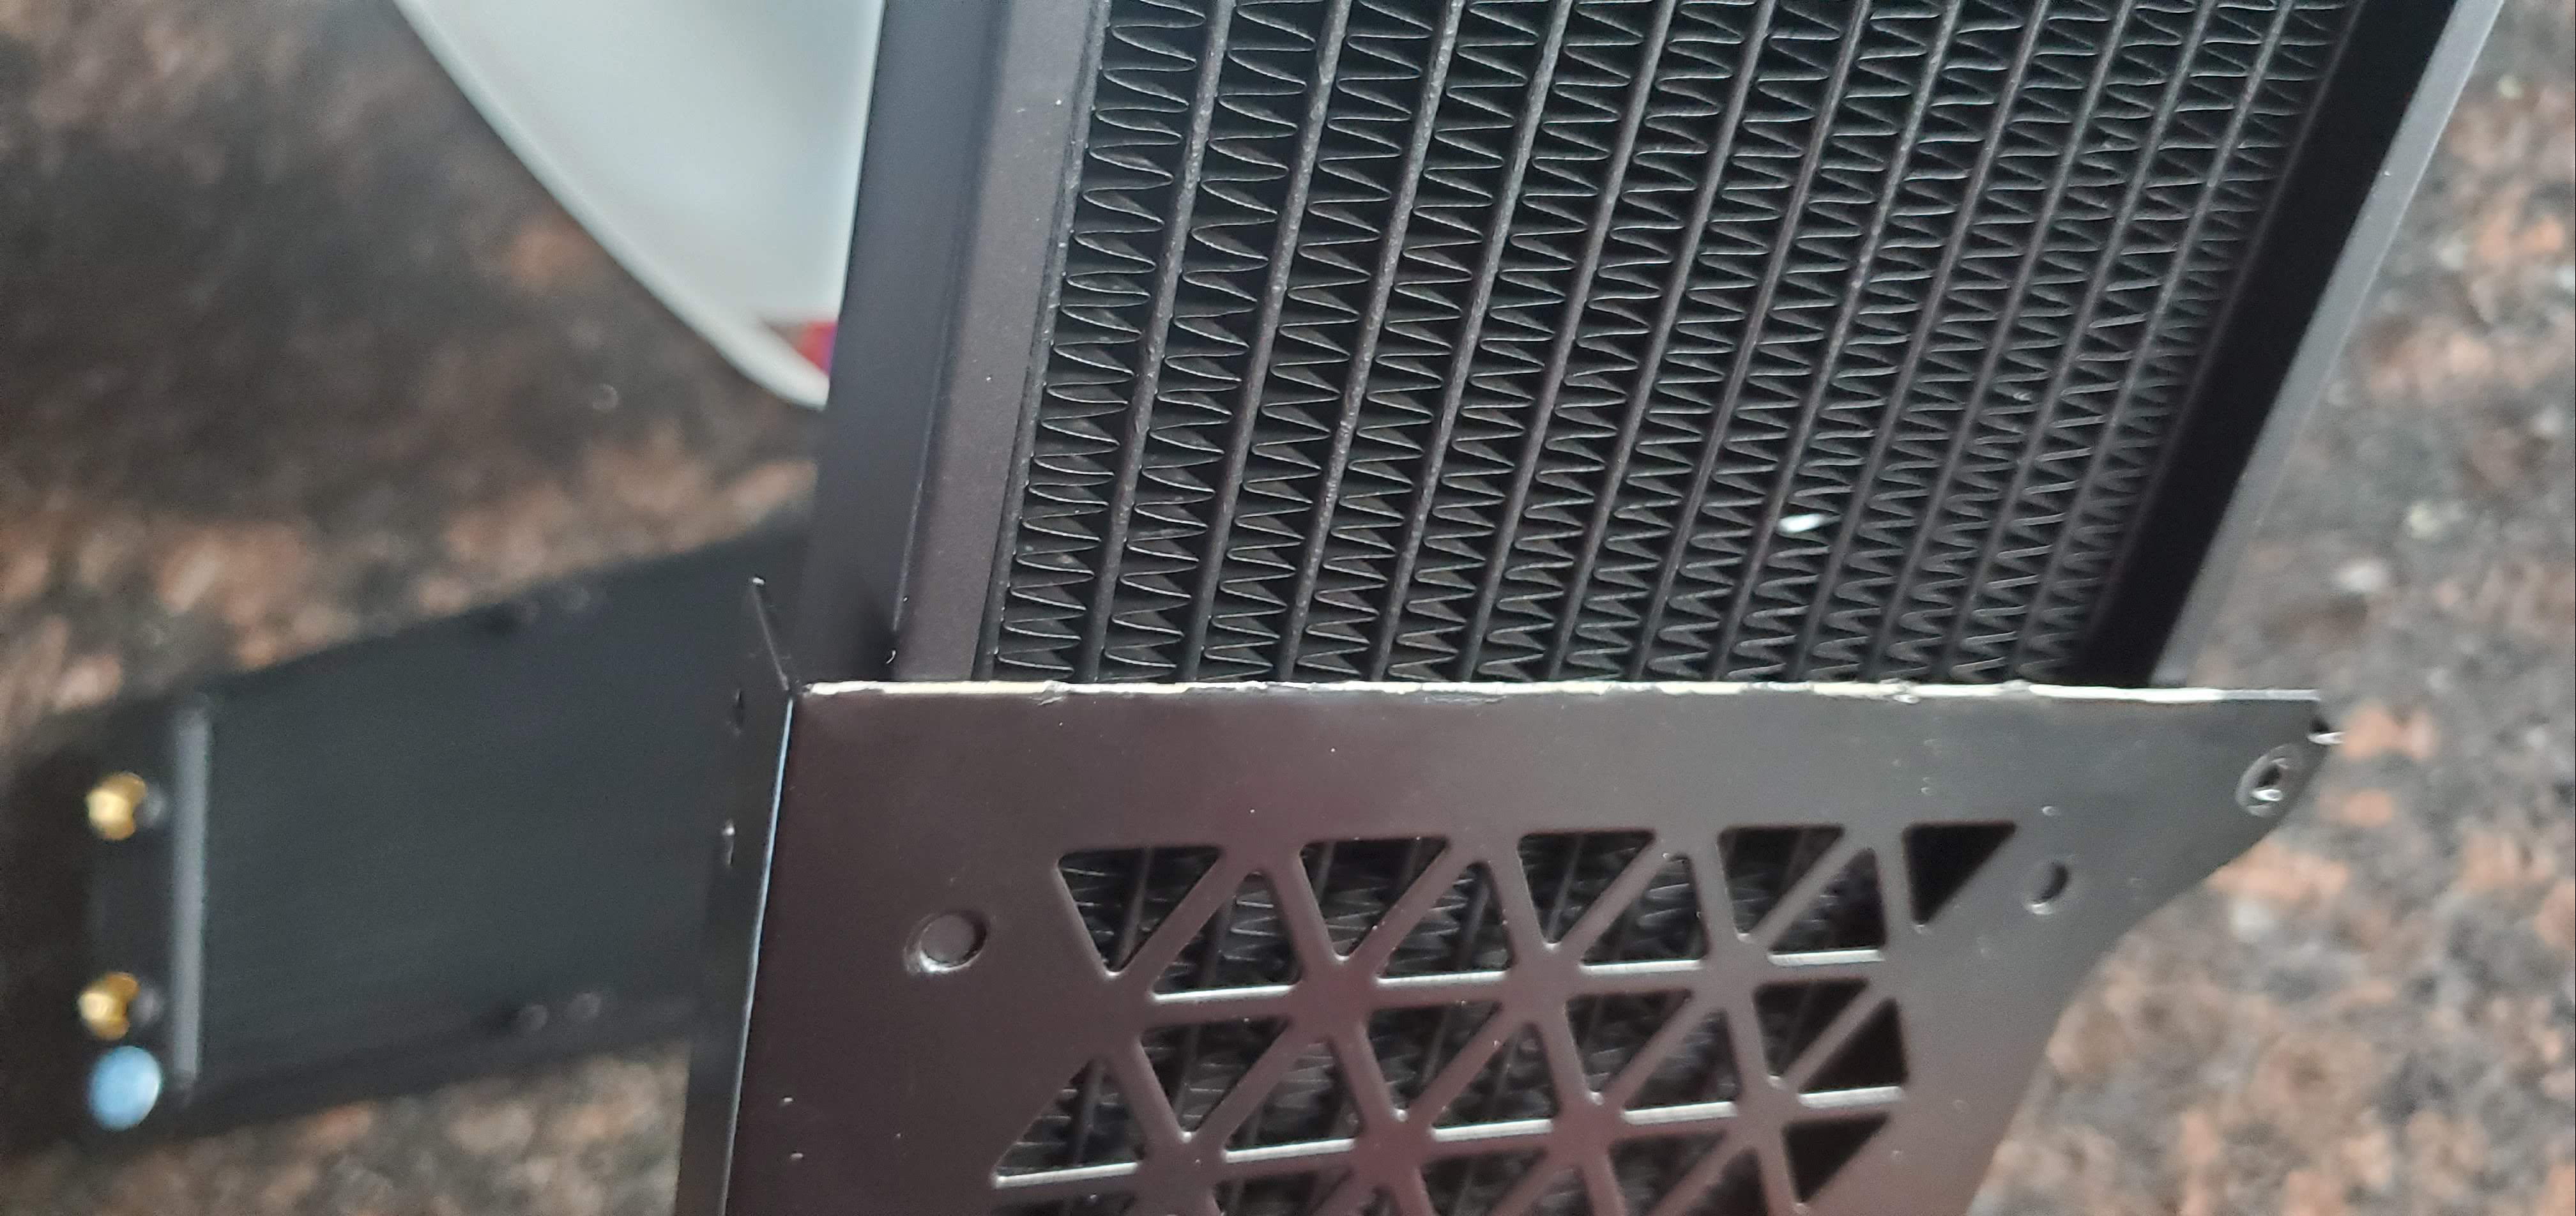
Once I had the radiators flushed and dried I was ready to install the bracket on the large radiator, the smaller one does not have a bracket because it was never meant to be installed where I’m putting it, but rules are meant to be broken and cases are meant to be modified, so we’re installing both damn it. You can see in the photo below, I removed the lip on that edge so the radiator wouldn’t hit it. I COULD theoretically touch up the bare metal with some paint, but matching the color is near impossible and in a lot of cases, it will make the difference MORE noticable, not less.
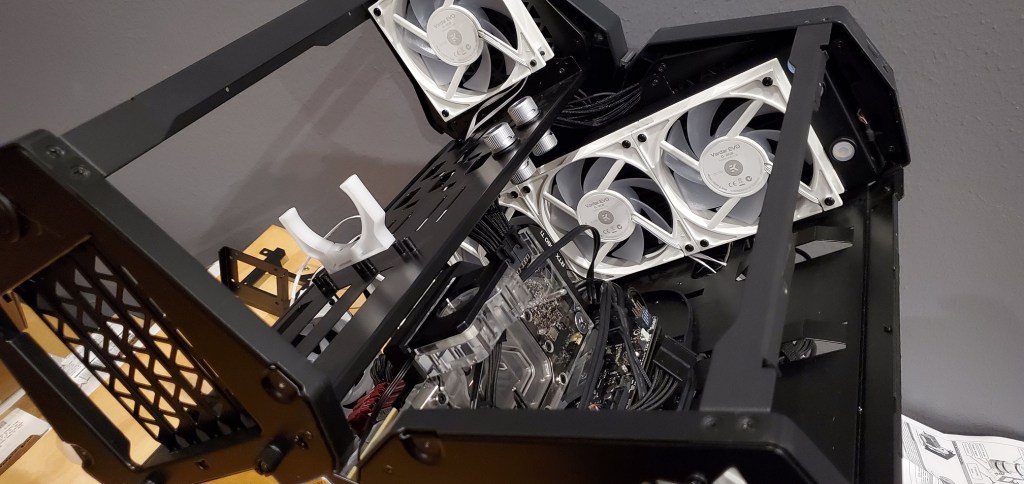
Once the radiator was attached to the bracket I gave one more test fit (since you can never test fit too much and I really, really, really did not want to have to send this radiator back too). Everything seemed to work out (just barely!) and I was ready to attach the fans to the radiators. The smaller radiator has its own fitment issues, but I wouldn’t be able to deal with those unless the fans were installed.
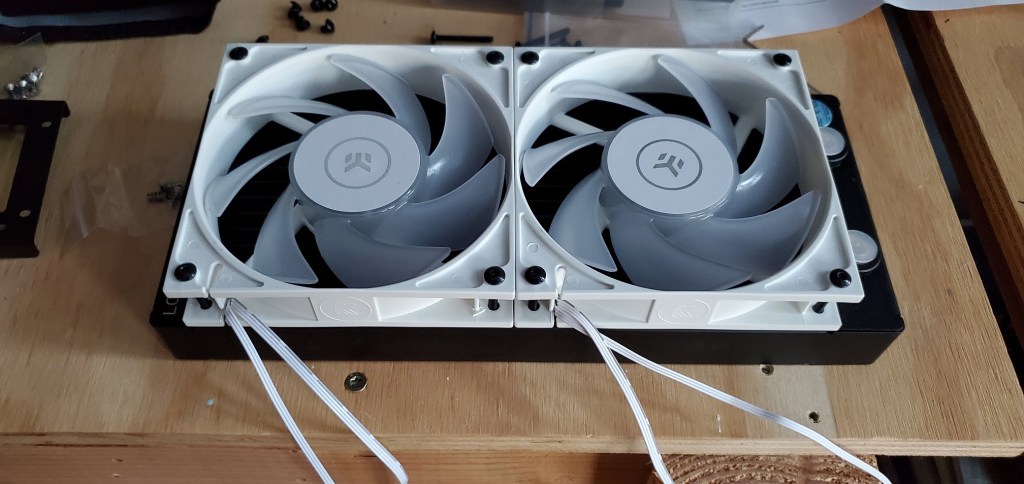
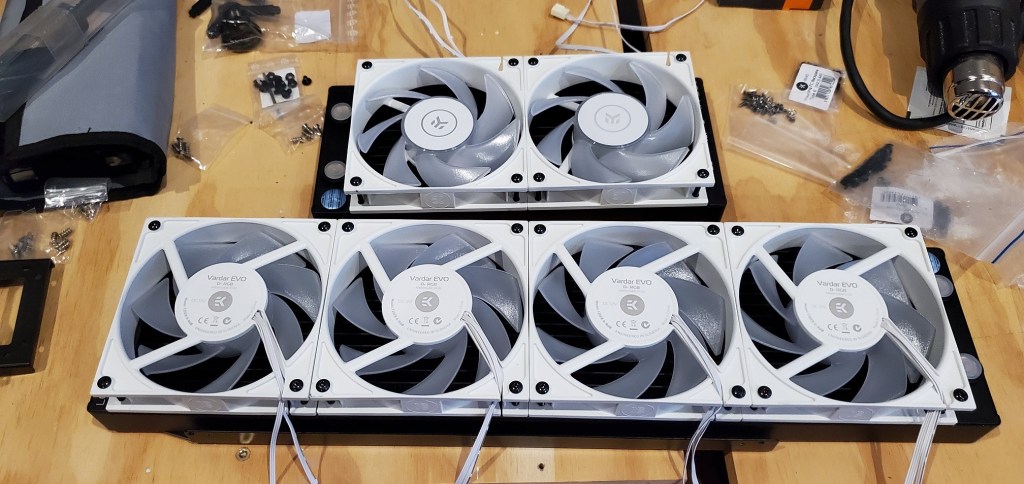
Eagle eyed readers may notice that the small radiator and the big radiator have the fans installed differently. There are two sides to a fan, one with the cage that holds the center stuff which I will call the back (seen on the large radiator) and the other, open side, which I will call the front. Air flows from front to back (hence my naming convention) always. Thus the big radiator is pulling air through the radiator (intake) and the small one is pushing air through the radiator (exhaust). This was intentional and I could’ve run them both the same, but the small radiator is going near the bottom of my case. Yes, hot air rises, but more importantly dust settles, so I wanted to exhaust air here instead of trying to pull more air into the case (I already have six fans pulling air into the case, I have enough airflow as it is!) mostly because of the dust issue.
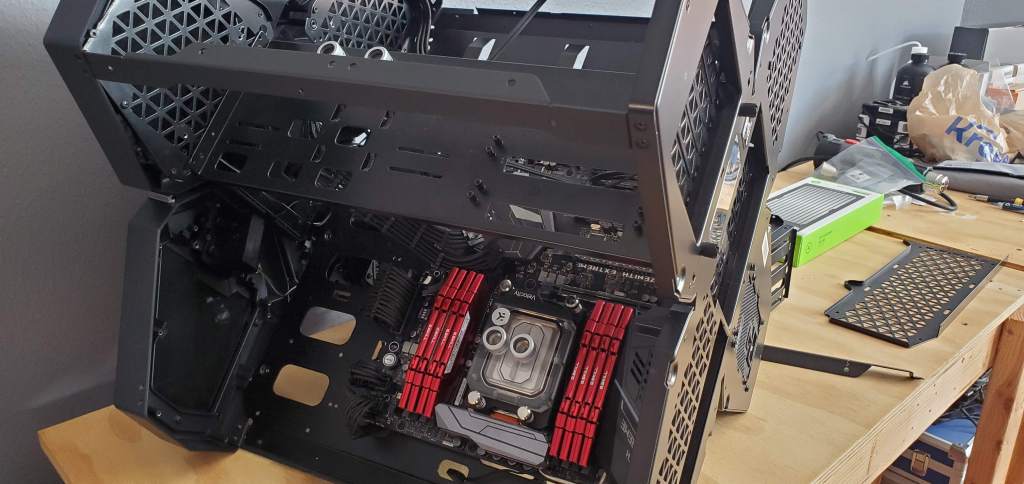
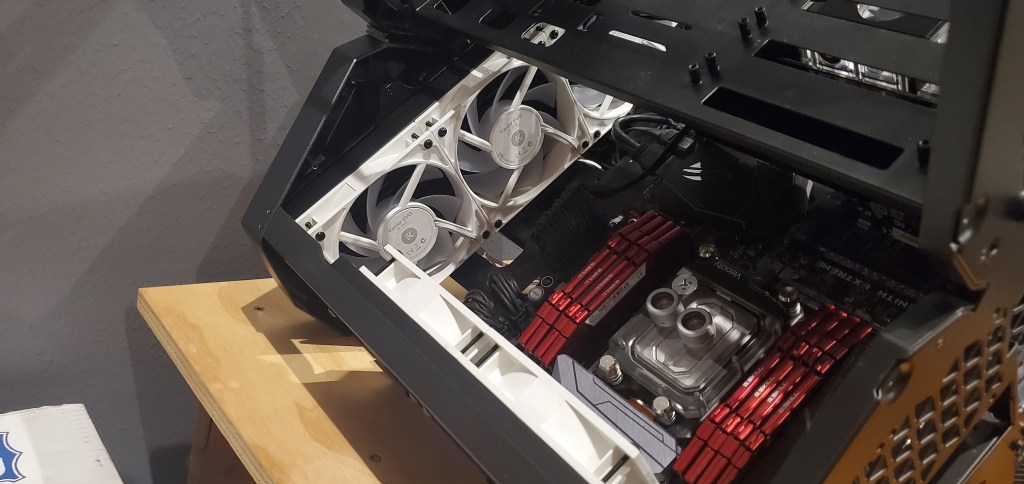
Next we could throw everything into the case and hope for the best. This would be a one and done kind of thing, meaning if everything fit I would be done with it and I wouldn’t need to take it out for any reason. This meant dealing with all the cable management stuff right away, but that’s not a huge headache… okay cable management can suck, but it wasn’t that bad.
Once again everything fit the way it needed to, but it was close. I mean really, incredibly, crap myself close. Here, let me show you the tolerance…
For a case that wasn’t designed for a 480mm radiator, it sure fits well! It will give the case a more balanced look and adds more radiator and you gotta have more radiator. So one radiator in, time to get the second one in place. You can see what I mean about dust, this is how the computer sits normally, so it would be very close to the table it sits on. Frankly, push, pull, it doesn’t matter the work done is the same so I’m good with the way I am doing this. You COULD do a push/pull with fans on both sides of the radiator, but one that’s silly, two that makes everything super thick even with a very thin radiator like the two I’m using here. I mean you can do it, people do in fact do it, but it feels a bit like overkill for minimal benefit. The real benefit is noise from the fans, not significant heat improvement.
Notice in the photo above all the fan wires are now neatly tucked away. Unfortunately they are just dangling off to the area where they are going to be wired in at. Again with the creative foreshadowing…
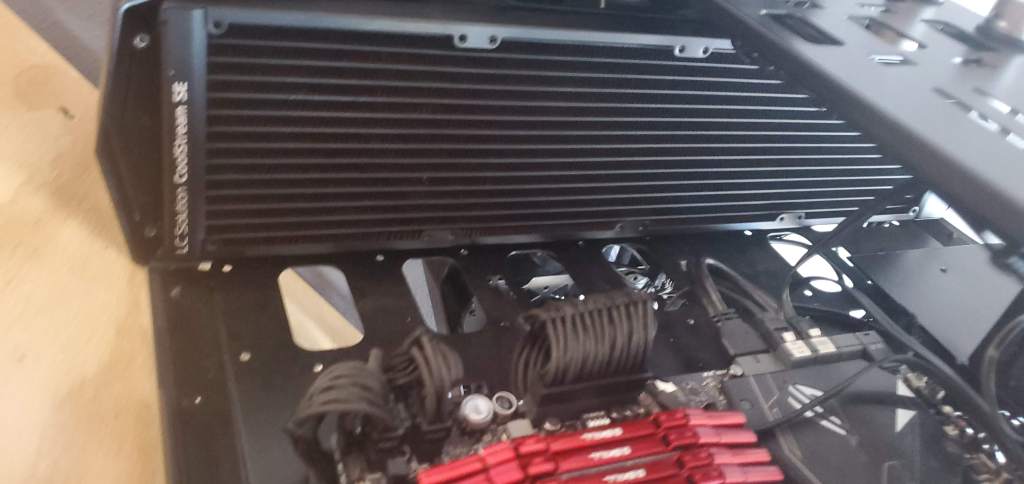
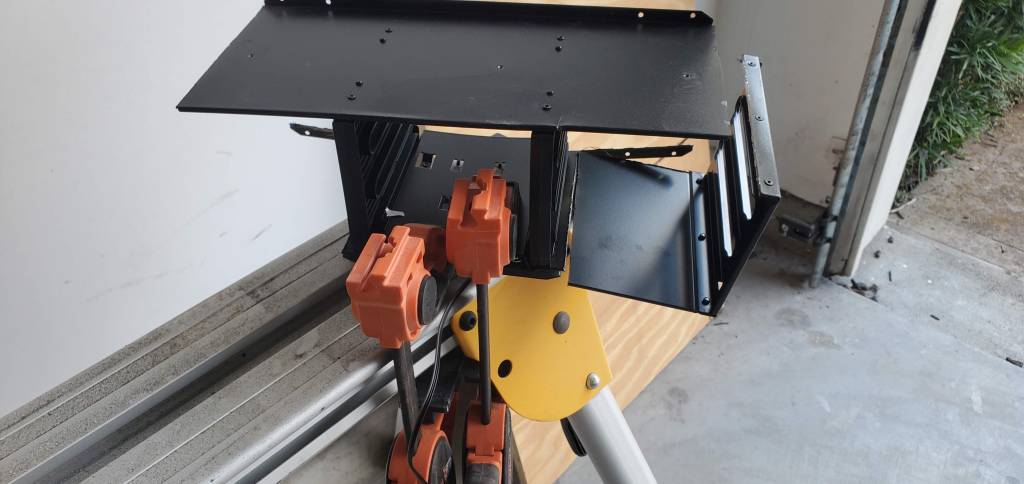
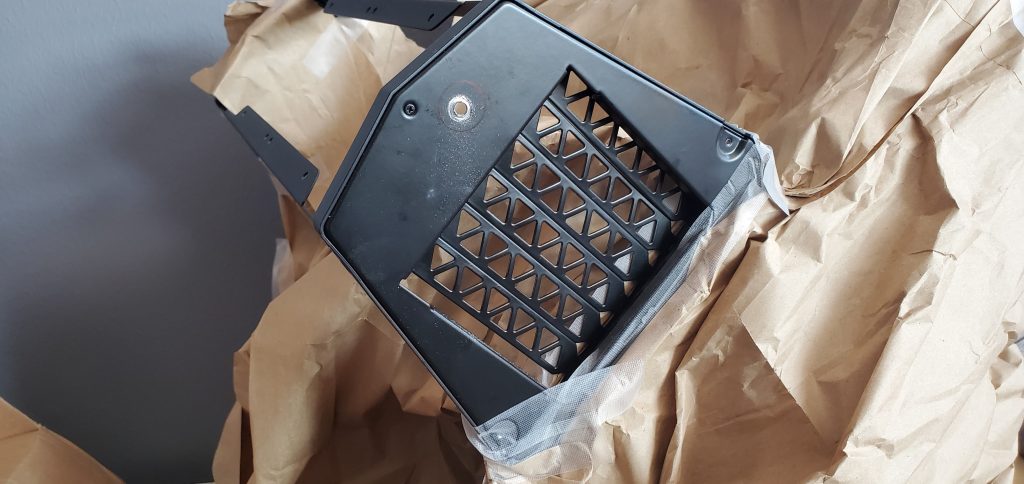
But the title of the post is extreme PC modding and we haven’t done anything particularly “extreme” yet. I did have that bracket modification, but that was nothing too crazy. So let’s get crazy. The big radiator runs the full length of my PC, but that means it will run into the storage rack that holds my hard drives (see below). I talked about this issue last post, it turns out no matter what size radiator I use (360 or 480mm) I cannot run the lines to the radiator without them being on the bottom. This means are could get trapped at the top of the radiator and would not easily be removed, so I want the lines at the top of the radiator so the air will get flushed out easier. Which means we need to do some modifying, namely we need to cut some of the frame for storage to make room. Now all I really need to do is cut one section (top in the photo below) then everything will fit.
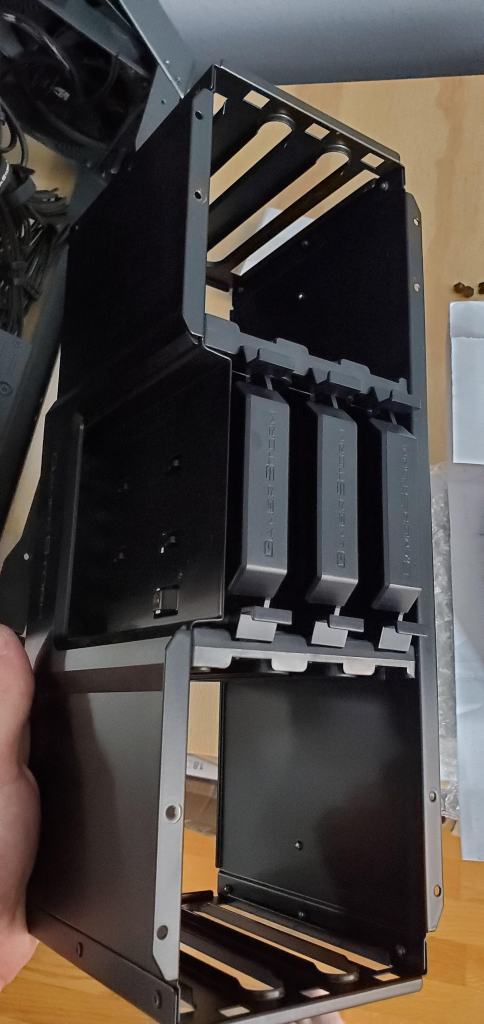
Spoiler alert, I like symmetry and it wouldn’t look very symmetrical if I just hacked off one side, so we’re cutting both sides. This will give me storage for two SSD (solid state drives, they are smaller) and two full size SATA drives. I do a lot of data processing, so I store a lot of really large files, but this is probably more than enough for my needs. If you have this same type of case (not sure they even make it anymore) you’ll need to judge for yourself if you feel the same way. Cutting sheet metal (the stuff this storage rack is made of) is super easy when you have a rotary tool, in my case I used my handy dremel that I just replaced.
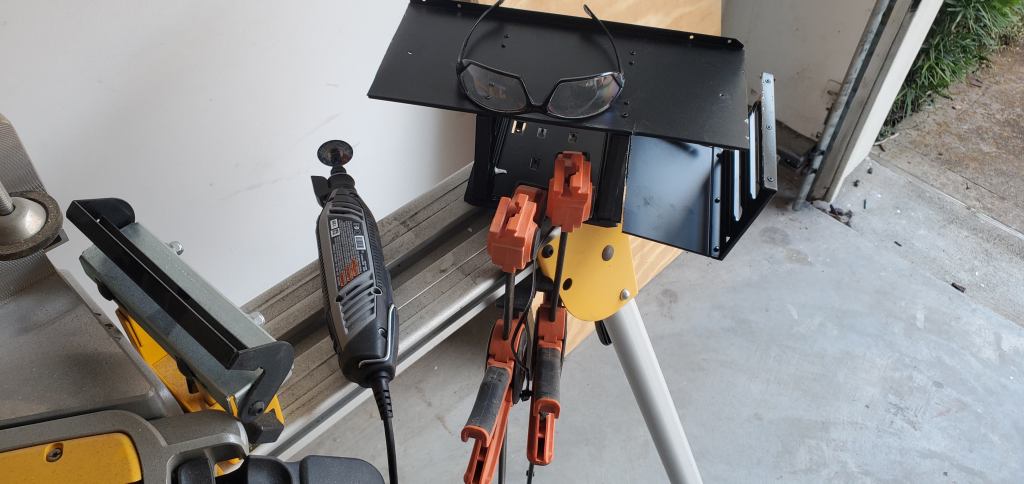
Remember when operating a high speed rotary tool, or just any sort of power tool, eye and ear protection are a must. I also recommend proper foot protection, no one wants metal splinters in their feet, trust me, speaking from experience here. Oh another bit of machining advice (almost a decade of experience speaking here) don’t wear gloves. It sounds counterintuitive, but gloves get caught on things and when those things are high speed it can make things far worse than if you just hit the tool barehanded. After a lot of filing the sharp edges, everything was ready to be put into place.
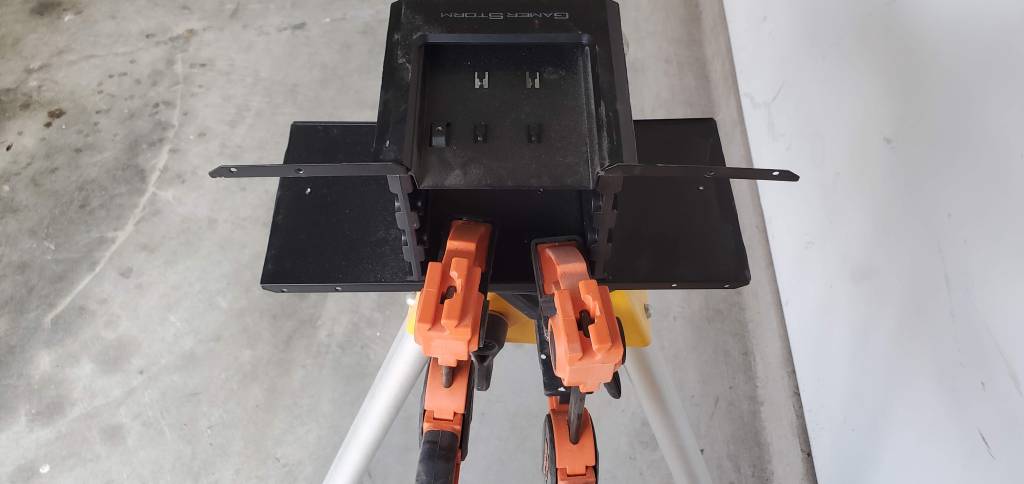
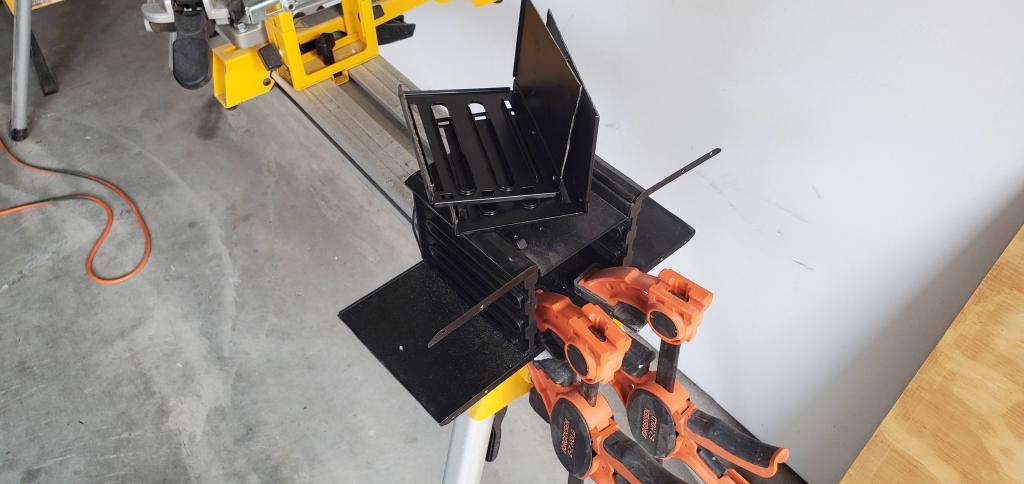
Okay side note, being me I probably went way over complicated and left the bottom plate and the little wings that hold the storage rack in place. The bottom pieces I left because it will help cover the bottom of the case and hide wires/holes/etc. Cutting things like this generates a lot of heat, heat warps metal, so as with everything I’m doing we need to test fit!
You can see here why I kept the bottom of the rack. It just makes the case look cleaner in general. But wait! There’s more!
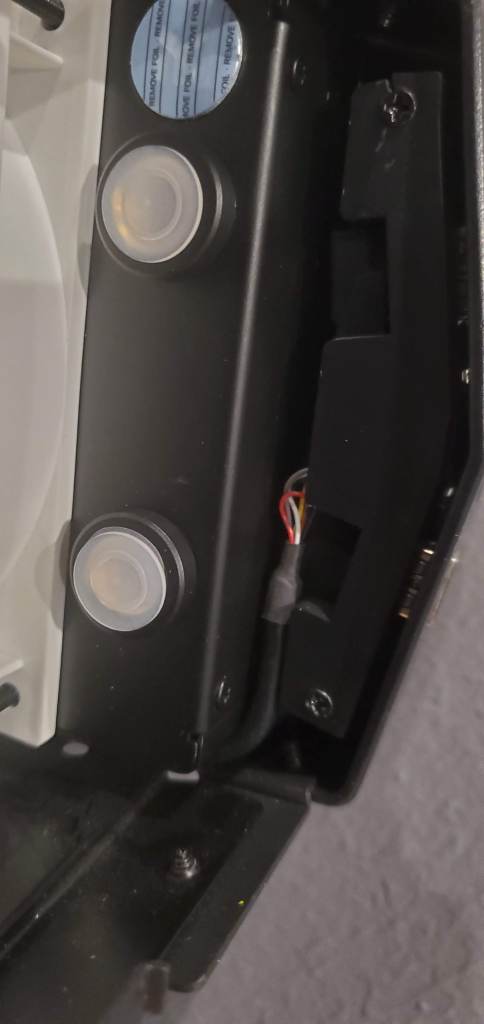
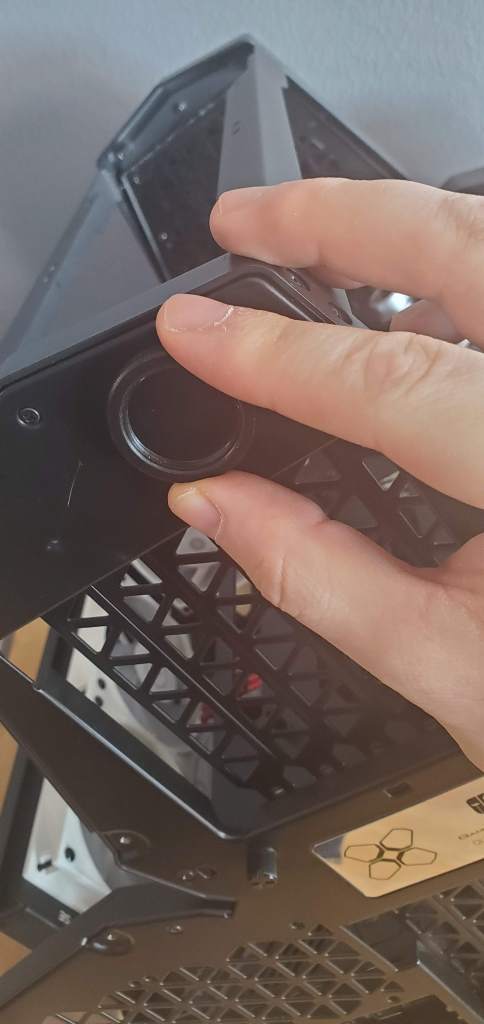
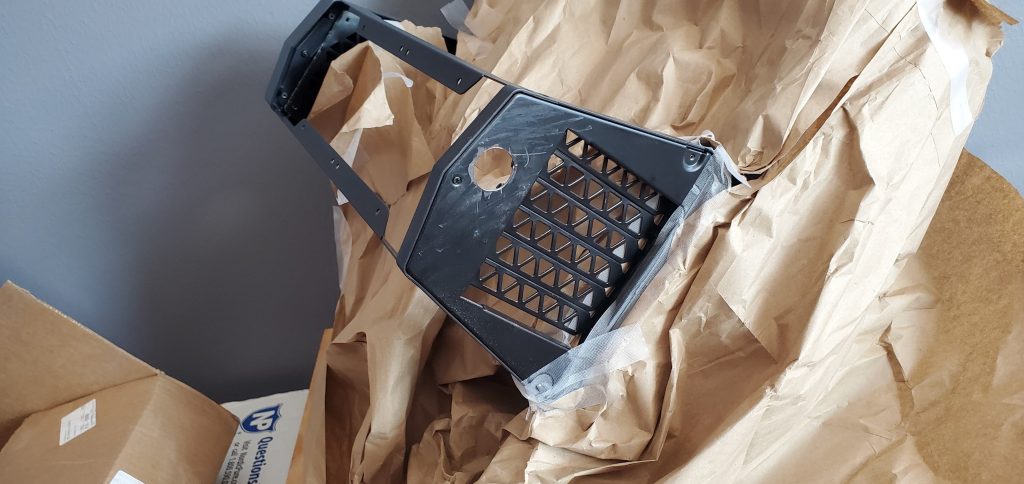
That’s right, we’re not done modding just yet. When you have a custom watercooling loop you need to think about how you’re going to do two things, drain the loop, and refill the loop. I will add a drain plug later, when I start bending the hard tubing, that doesn’t need any sort of case mod to do. The fill plug on the other hand does (or can I guess, it’s not a must). Since I’m going through the effort, I figure adding a fill plug will make my life easier in the long run when I will need to drain and fill the loop. You need to change the fluid every 6-12 months (depending on how lazy you want to be, how much you trust the fluid to not clump, and the type of fluid you’re using).
I knew where I want the fill plug to go, but the problem was there was no hole there.
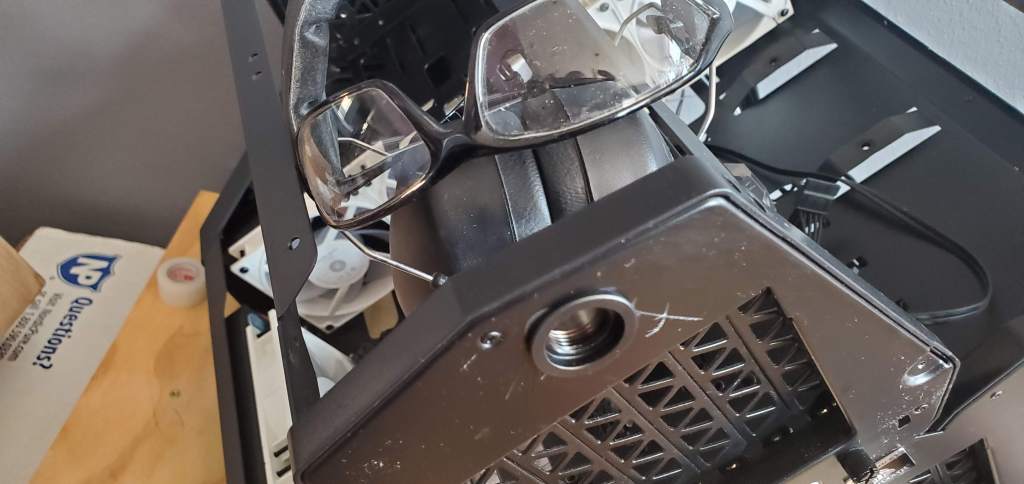
This modification was actually really hard. The metal is much thicker and I cannot easily remove the back to drill it away from the electronics. I could do it, but the amount of effort was just… a lot. So instead I decided to take the easier route and just cover everything so the metal chips didn’t get into the electronics. Thankfully I had some packing material that was just the right size for this project.
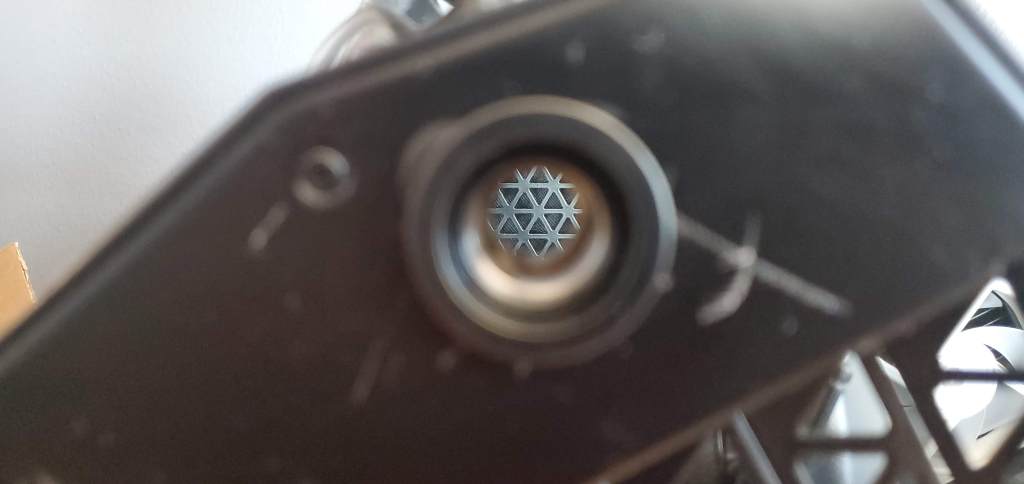
Since I didn’t have a one inch drill bit, I had to drill a pilot hole and then expand it to the correct size (notice the sharpy circle). This process took forever!!! As with before, once I had the circle cut I needed to sand down the edges to make them less rough and generally less sharp and stabby. This time I actually have a decent set of photos for the during and after.
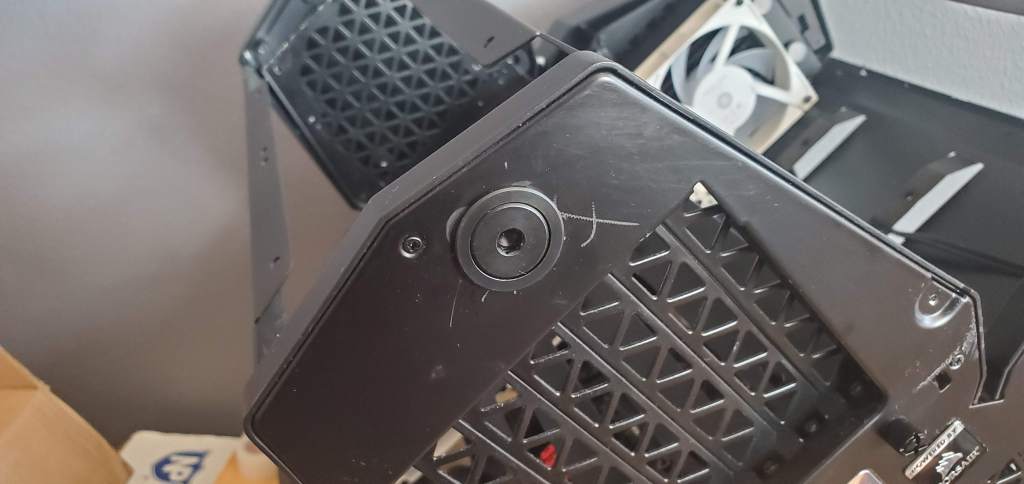
You’ll notice that there are a few battle scars from the bit slipping. I COULD have (probably) avoided this if I had taped the area before making the cut, but that’s not guaranteed and frankly because this is the back and it’s already got some dings to it from the two and a half years I’ve owned it, I didn’t care enough to prevent it. In any case, the fill plug is now installed… in the case. Yes, it’s an odd sentence, but I just wanted to make that sentence odd. Maybe I’m just tired.
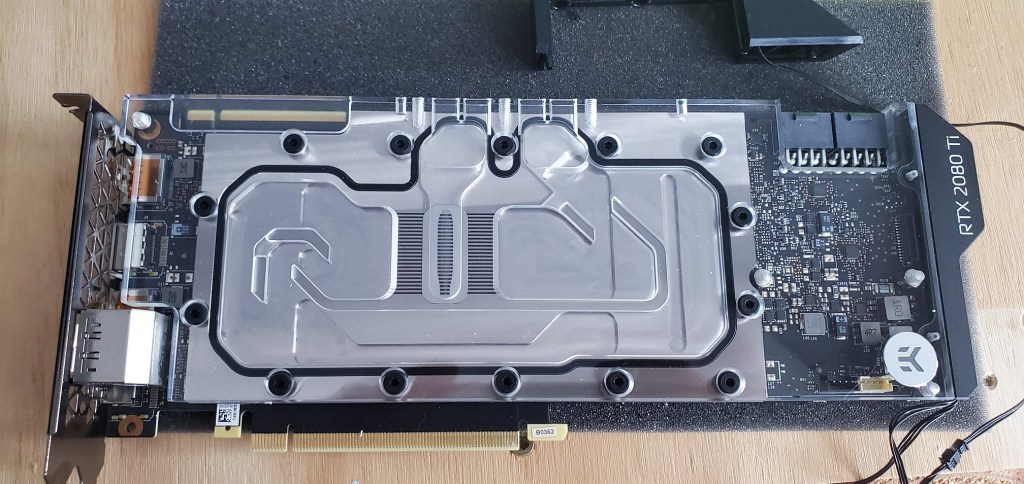
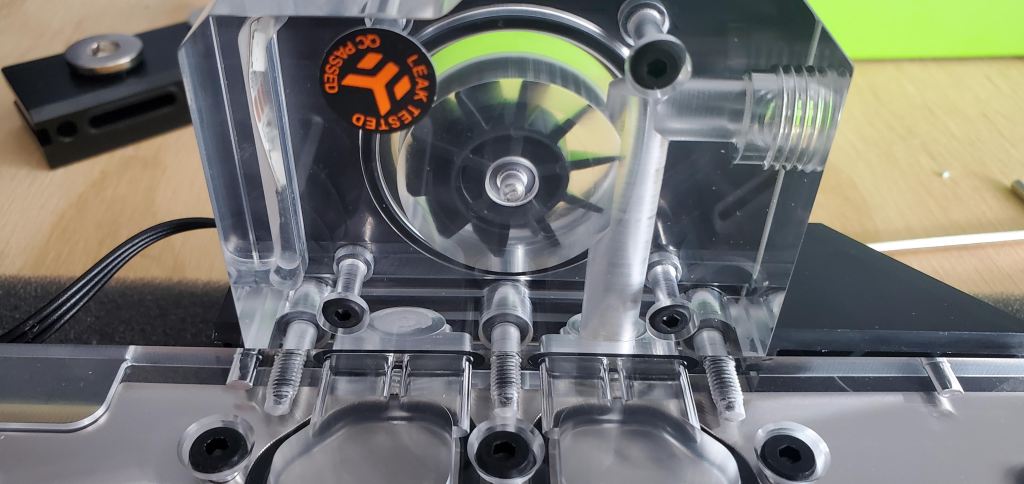
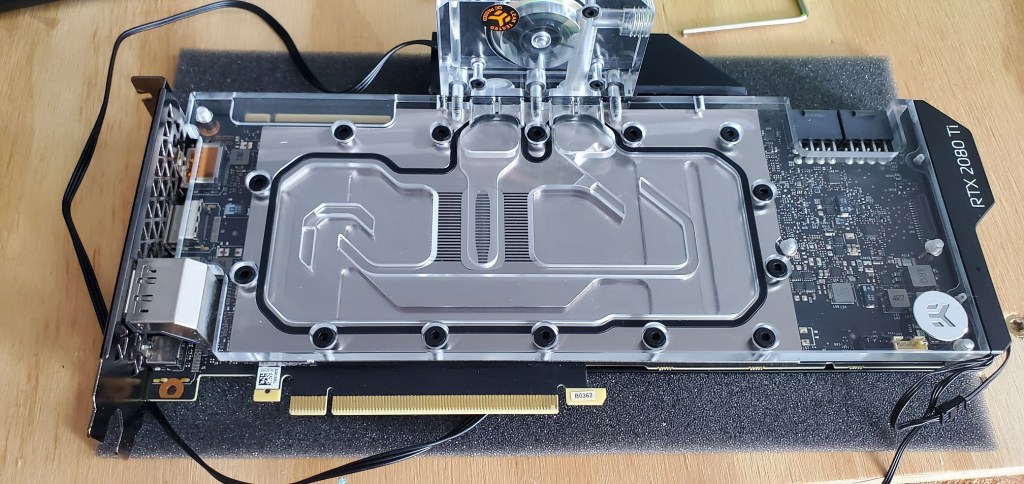
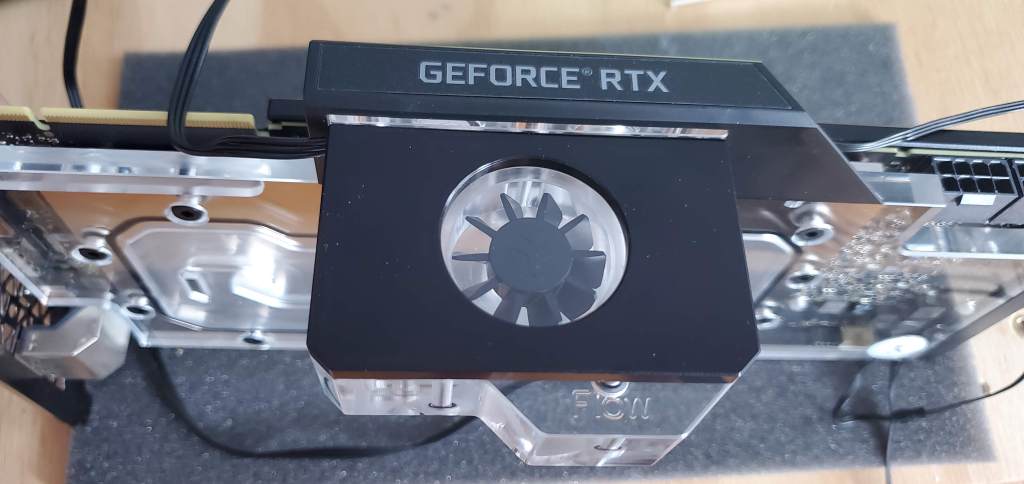
Since the radiators are now in I could add the GPU (graphics card) back to the motherboard. Previously I said you couldn’t see the flow of the liquid in the loop, this is correct, but to help diagnose problems they do make flow indicators (to help determine if the pump stops working for whatever reason). The one I got is an addon to the graphics card and it installs with two screws so nothing too exciting, but here’s some photos of how that went.
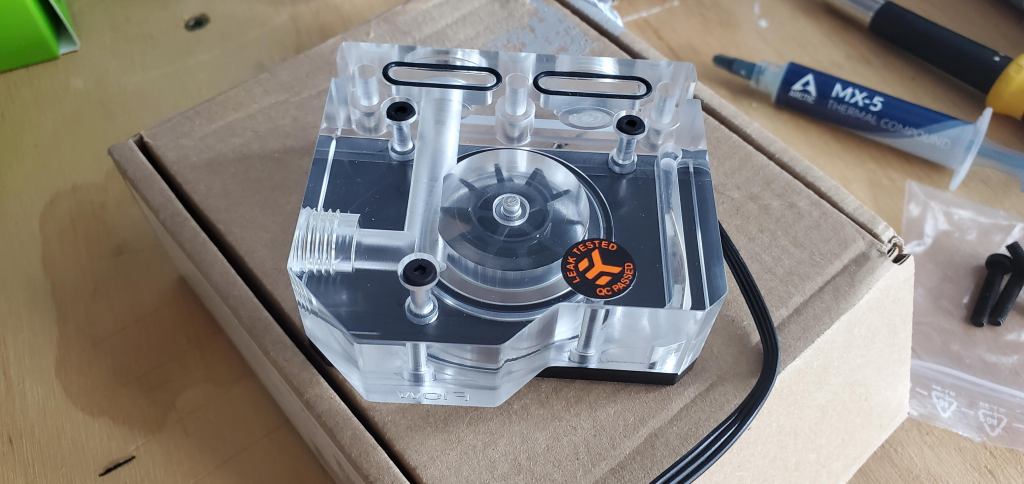

With that done I could put the finishing touches to the install. Basically all that’s left for me to do is to put the other fans in place (there are ten total for this case), install the pump, get everything plumbed and wired. It sounds like a lot and the tube bending will be an involved (probably multi-day) process, but the rest should be pretty easy.
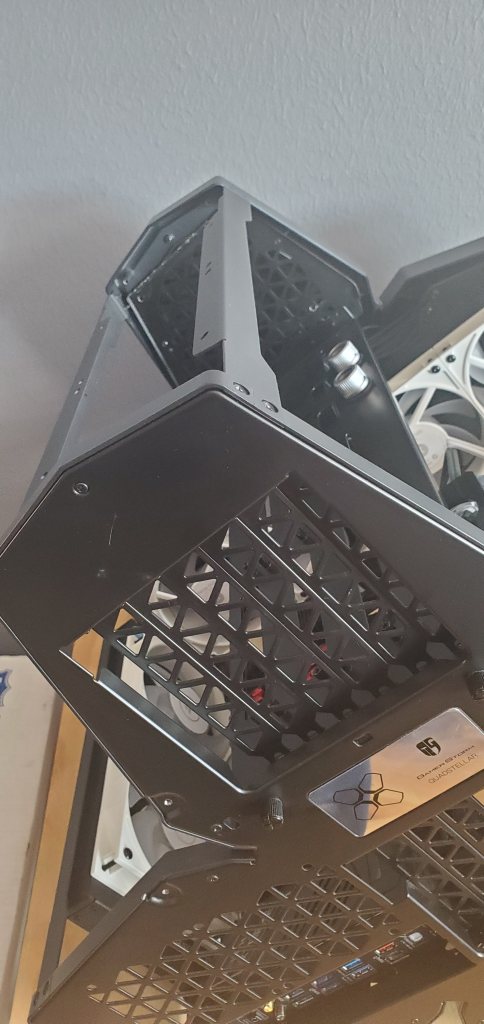
Speaking of which, here’s the rest of the fans installed (minus one which is still somewhere in the mail somehow).
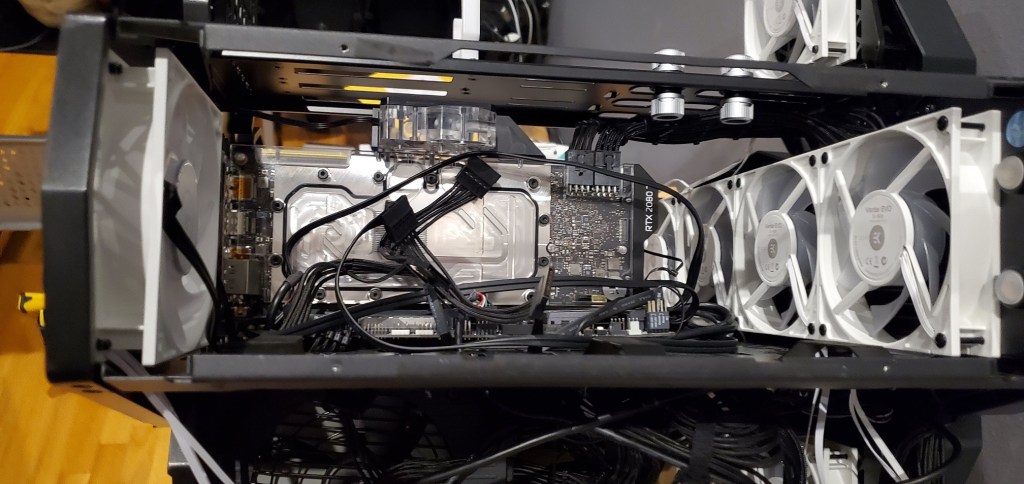
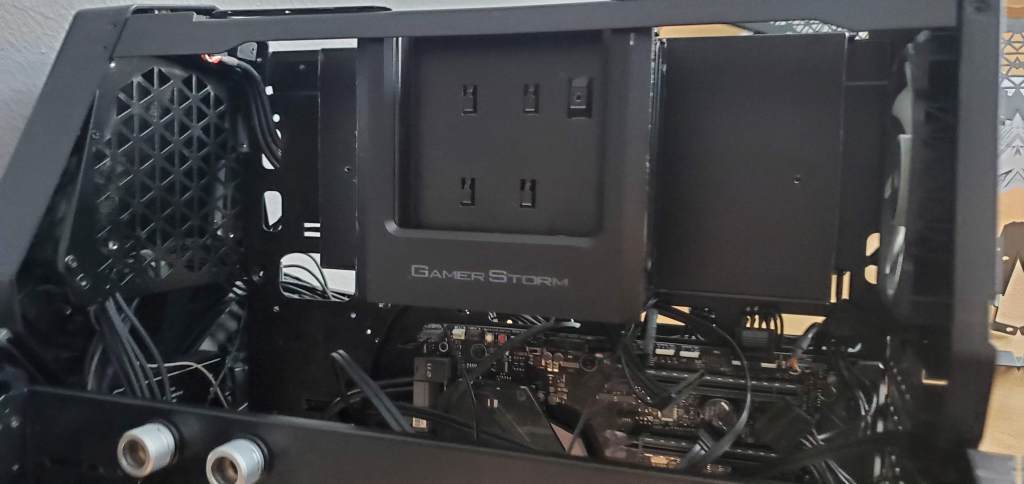
It’s hard to get a good angle that shows off everything because of the shape of the caes, but I like this shot. The flow indicator would have been obstructed by the hard drive rack, but since I cut both sides, I should be able to see it from the viewing window easily enough (or with a little work maybe). The u-shaped bracket in the middle of the top compartment is part of the holder for the pump. I haven’t shown it yet, but it’s got a long tubular tank that will hold the coolant. Since I’m mounting it horizontally, I needed something to hold the tank (or at least wanted something to support it) Hence the bracket. Between that and the mount for the pump it should be firmly held in place. I don’t suspect it will be bounced around a lot and I could probably get away without the bracket, but better safe than sorry.
So the plan for today is to install the pump and get the tube bending underway. Tomorrow I will hopefully finish the bending and will be able to pressure test, then fill the loop. I’ll probably test it for a few hours with the fluid in (even though with the pressure test it would be redundant), but as usual, I would rather be over cautious than have a problem.
Now for the bad news. The fans are all RGB lighting. This was a personal preference, I really like it and this lighting can be fun. I know some people get really uppity about it, but it’s my case and I’ll do what I want with it. Fun lighting makes me happy and now I happen to have an overabundance of lighting to deal with. Not a bad thing, just something that needs a little bit of thought.
I wanted to use corsairs’ icue software to do the lighting. It’s great software, has well designed hardware to plug all the lighting in, and would let me customize the fan speed and color scheme/effects. In short, it’s what I wanted to use… but there’s a catch. The fans are not corsair and the system only works with corsair fans. I found a workaround though! Corsair has special plugs that are not the typical RBG 3 or 4 pin plugs (mine are three), but someone designed an adaptor for them. So I ordered ten adapters so I could use my fans with the icue software and let them plug into the hardware controller. They should’ve been here yesterday and they said they were delivered, but I have nothing.
I ordered these through ebay, which was my last choice for getting adapters like this, but whatever. So I reached out to the seller and now I need to wait, but it’s ebay and I hate ebay so I don’t know how this will turn out or if I will now have the icue hardware (which cost money mind you) without anyway to use it. Plus I would be out the cost of the adaptors, which were embarrassingly not cheap.
Luckily none of this means I cannot use the computer, it just means I can’t use the RGB lighting or the fan controller I want to use. I can wire it to the motherboard and daisy chain them, but that draws a lot of power from a single plug which can cause it’s own problems, so I preferred my solution. If I decide to just wire the fans to the motherboard temporarily (hopefully the seller will resend the parts) then I will also probably just leave the case in pieces while I wait for the replacements.
It’s a real pain because I thought for sure I would have everything ready at this point, but I have one fan delayed and one part for the loop itself supposedly arriving tomorrow, so it will be down to the wire even if the missing parts show up somehow. Moral of the story, try to have your parts on hand and ready to install before to take on a project like this. It didn’t exactly matter for me because the computer was already down, but even still it’s frustrating that I don’t have everything I need at the moment.
Now if you excuse me, there’s a pump that needs my attention so we can get this thing finished sooner rather than later. I’m keeping my fingers crossed that tomorrow I will have better news for everyone, but hey progress is progress.


But enough about us, what about you?