A beginners guide to watercooling, from a beginner.
I have built a lot of computers over the years. It’s actually not that hard to do since most things are labeled and use different types of connectors so it’s hard to screw it up unless you’re not paying attention. Up until recently I’ve never watercooled a PC, at least not in the build it myself sense. The internet is full of how-to guides to help you do this, but most of them are from people who do these types of builds regularly. I find that they skip over some of the basic things that you may need to know because they’ve forgotten that it’s not common knowledge. Since I’ve successfully finished my first build and don’t like hoarding knowledge, I want to share how to do it, for beginners, by a beginner.
First let’s talk parts. Everything you buy for your custom loop will be made of metal. Different types of metals can react with each other and cause clogging, stupid metals. There are two main components that are made of metal that you need to be careful about, the first is your radiator, the other is the waterblock. The waterblock is the thing that sits on the CPU to cool it down, it pulls heat away from the CPU and into the water flowing in the loop. The radiators job is to do the opposite, it takes the heat and expels it from the water, cooling it down and the cycle continues.
You want to be sure that you’re 1) not mixing metals, and 2) that the metal composition is as close to the same as possible. For that reason I opted to buy my parts from one company. It’s not foolproof, but it gives me the best shot possible. You also have to worry (to a lesser degree) about composition of the fittings and plugs. The fittings are the things that hold the tube to the other parts (radiator, waterblock, pump, etc), the plugs seal off openings you’re not using, but could use in the future if you wanted. There are videos of fittings that have been eaten away because of the different metals and electron transfer (galvanic corrosion). If you need an example of what this looks like, plus a lot of other fun info this article is a few years old now, but it’s still very valid.
To build your first custom loop, at a minimum you will need, a radiator, a waterblock, a pump, a reservoir (or pump/reservoir combo, like I used), fans for the radiator (at a minimum), and tubing.
Let’s talk tubing for a second, there are two broad categories of tubing, hard tubing and soft tubing. As the names imply, soft tubing is soft, hard tubing is hard. They both come in different sizes and when you buy soft tubing you need to know the inside diameter and the outside diameter in order to get the correct size fittings for the tubing. Soft tubing uses a compression style fitting that inserts into the inside of the tube and has a clip that goes over the outside, when you screw it down it bites (slightly) into the tube making a firm connection that is sealed. Hard tubing on the other hand only requires the outer diameter to find the correct fittings since the fitting only attaches to the outside of the tube, if you’ve ever done any sort of plumbing on a house or apartment, you’ve seen this style fitting before. Hard tubing usually comes in 12 or 14 mm diameters, they do make other sizes, but those are hard to find (16mm is pretty common now that I think about it). I went with a 14mm tubing so that’s what the photos will show, keep that in mind when you’re shopping for tubing. The diameter doesn’t affect anything, but it does change the look a little, I chose a 14mm tubing because the case is large so it fills it in nicely.
Since I went with hard tubing most of this will focus on that, but if you’re using soft tubing it’s a lot easier to get setup since most of the work with hard tubing is bending the tubes, so I’ll touch on that close to the end.
Hard tubing comes in different materials, generally there is acrylic and PETG. Unfortunately like all things those are broad categories so your acrylic may have different material properties than mine. In fact, the stuff I used for my build is PMMA from corsair (PMMA is another name for acrylic), but it acts nothing like traditional acrylic you may encounter, it’s less brittle and requires more heat to bend. I found it very easy to work with so that would be my recommendation to anyone starting and wanting to go with hard tubing. PETG is incredibly soft, so you’re likely to scratch it, plus the heat requirement for bending is low, so you need to be careful with it. Acrylic is more rigid, but it’s very brittle so it cracks very easy. I’ve worked with acrylic for other projects in the past so I opted to avoid working with the typical acrylic found in this space. You can also get into metal tubes, copper is popular, or even glass, but those are way too advanced for someone like me so venture at your own risk!
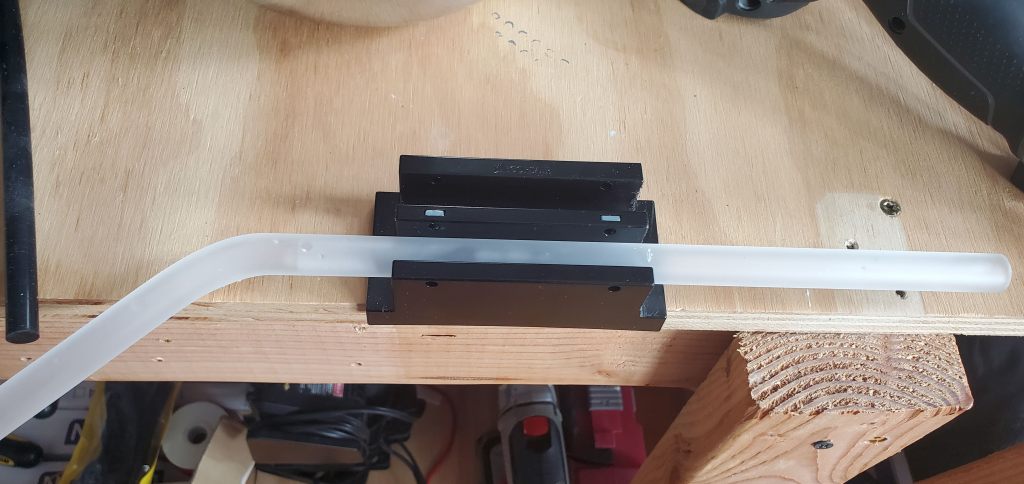
This is going to sound like a corsair commercial (reminder I do not get any sort of compensation from anyone listed here, they don’t even know I exist, I just like the products), but I bought the tubing bending kit from corsair. It comes with a tool that helps you get the correct angle bends you need (like the bend in the tube above). It comes with a core that you insert before bending, the bending tool I just mentioned, the vice (shown above), a saw to cut the tube to length, and a deburr tool to make the inside and outside of the tube smooth. I added more photos of the process below showing the full kit, the tube, the core, the bending tool and a final product.
Now a few helpful tips from me to you. First, bend a test piece or two. You’ll want to get a good feel for how the tube works, how it bends, and how much heat it takes to get a good bend. If it looks pinched or flat, you need more heat or more heat around the surrounding areas, the bend should look seamless, like it was always bent. For me, I needed to remember to keep heating past the point I thought it was ready, you’ll feel the tube give a little and think that means it’s time, it’s not trust me, you want to bring it up a little bit past that point then make your bend. Second, do not make a mark on the tube. The second you heat it you’ll stain the tube, instead use a piece of tape to mark it. I try to avoid heating where I put the tape, so I put it near the start of the bend so I new where the start should go. Below is a visual step by step (as best as I can) remember to not insert the core too far into the tube or you’ll never get it out, trust me!
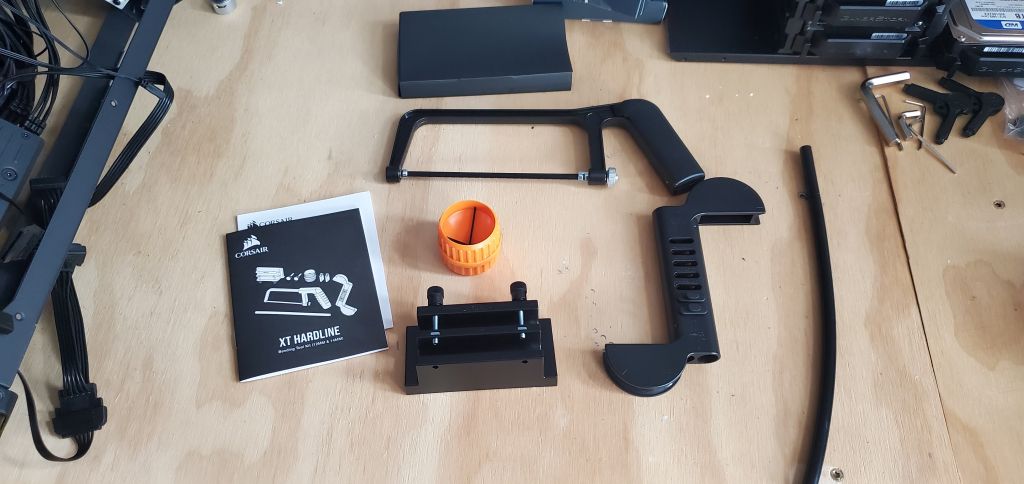
The corsair bending kit 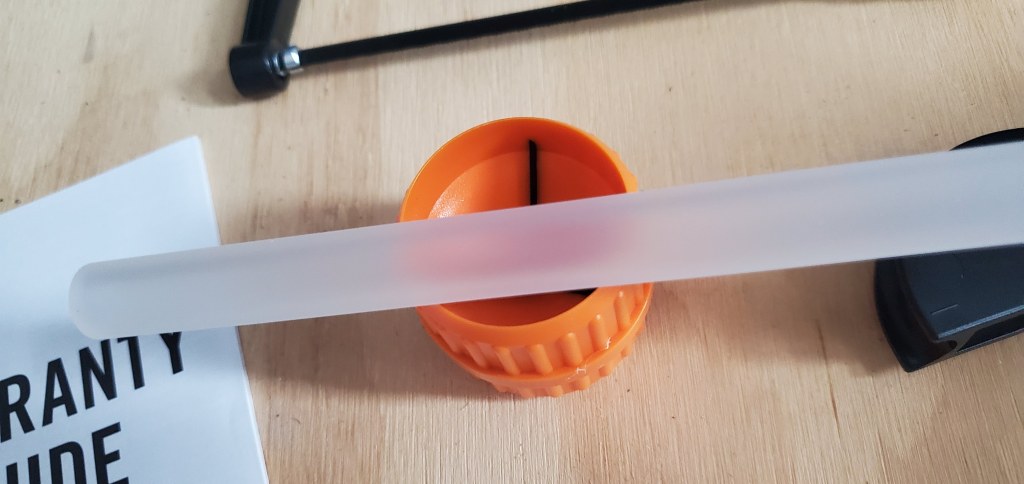
My tube sitting on the deburr tool. 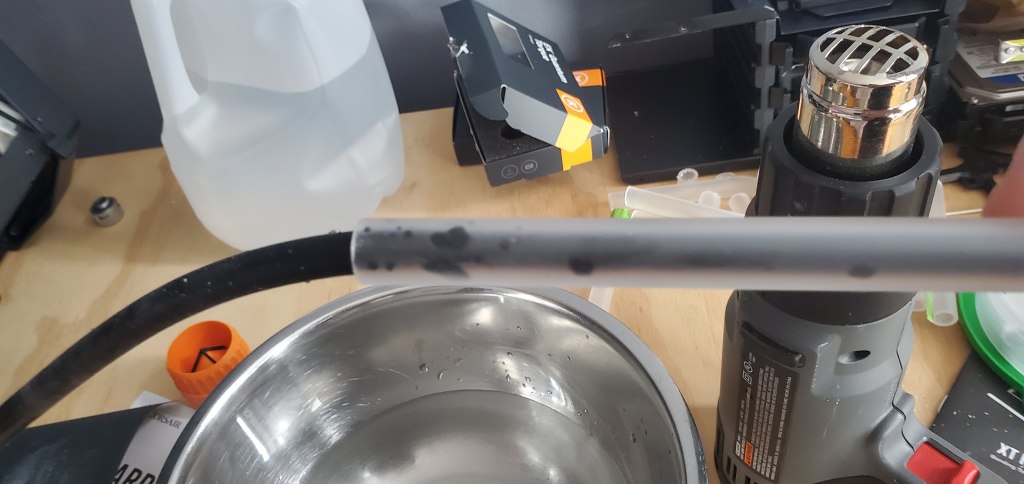
The core goes into the tube, LEAVE THE CORE HANGING OUT SO YOU CAN REMOVE IT!!!! 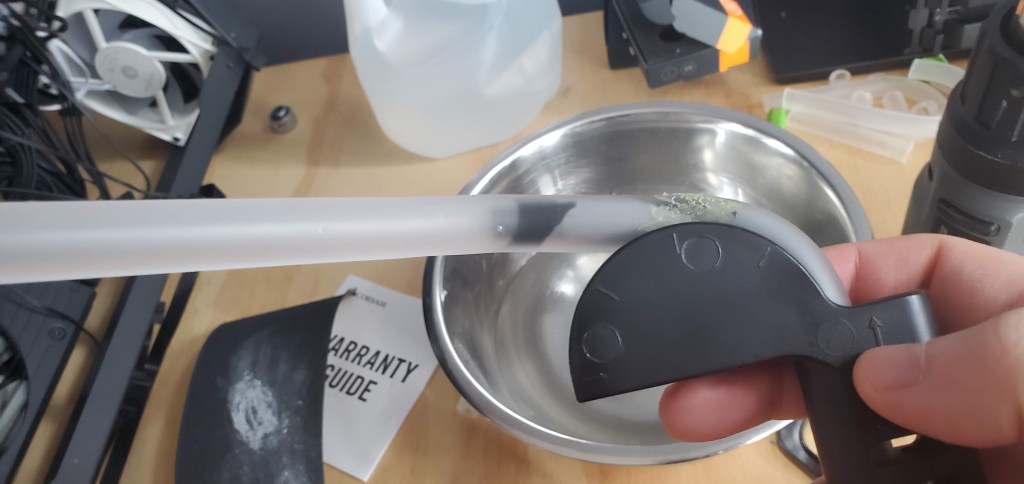
Heat (heat gun in the background) and bend, the tool is marked in increments of 45 degrees, so bend to what you need. The core is on the other side of the tool (there are two tunnels in the bending tool, one for 12mm tubing and one for 14mm tubing). 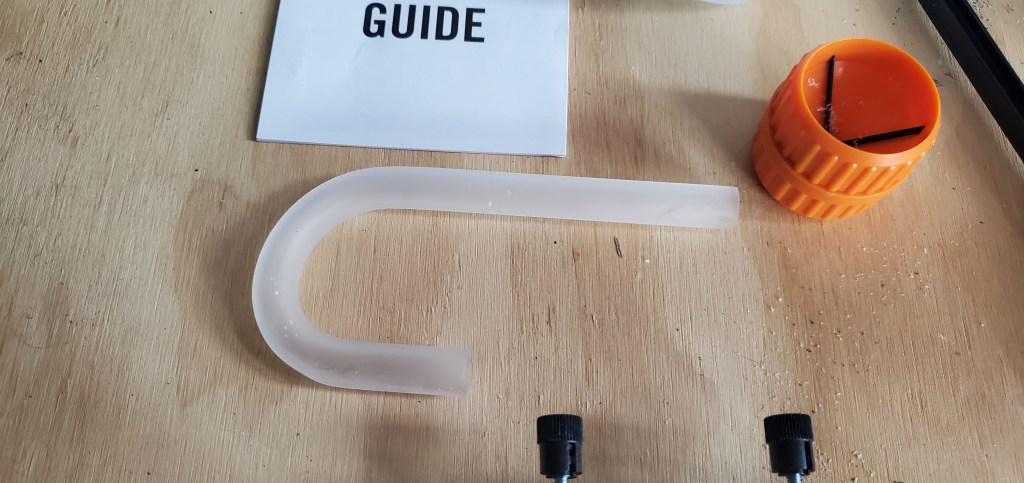
A final example, the orange thing is the deburr tool one side is for the outer tubing the other is for the inner tubing so remember to use both sides of the tool.
Everyone will have a different setup so it’s hard for me to comment on the best placement for your radiator/pump/etc. There are a lot of cases, some of them with places premade for what you’re adding, others need you to be creative. I had to get somewhat creative to get some of the parts to fit (namely a dremel was involved), but you don’t have to do that unless you want to, as long as you plan properly.
Now let’s talk about the radiator for a moment. I used two, a good rule of thumb is to have 240mm of radiator for every component you have in your loop. In my case I was water cooling my CPU and GPU (graphics card) so I had 2, meaning I would want a minimum of 480mm of radiator. Instead I went with one 480mm radiator and one 240mm radiator because you can never have too much radiator, but you can certainly have too little radiator.
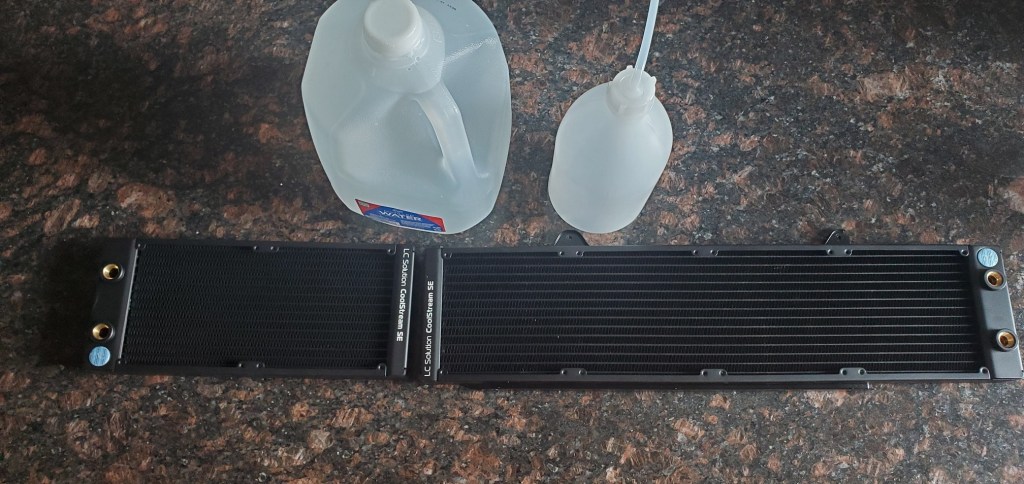
Before installing you’ll want to flush the radiators with distilled water. Don’t use anything abrasive/acidic you just want to rinse out any debris that may be inside from the construction process. I flushed both of these with the full one gallon and I probably should’ve used more, but I wasn’t getting anything out so I called it good. To flush, add water to the radiator (there are two holes, pick one) shake thoroughly or add pressure (if you have compressed air or the such) and flush it out. I’ve seen people build fancy flushing rigs with water pumps and what not, but this seemed to work well for me. Time will tell I guess since they are now in the computer.
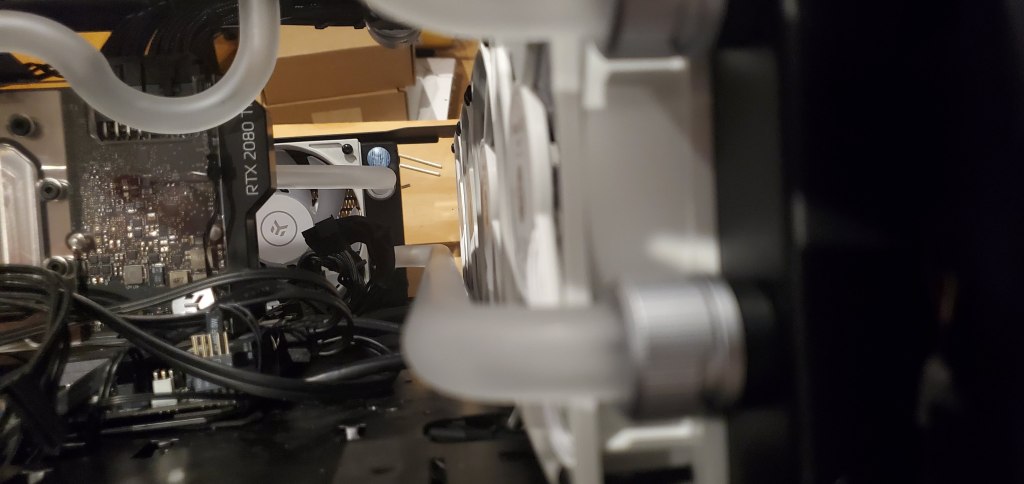
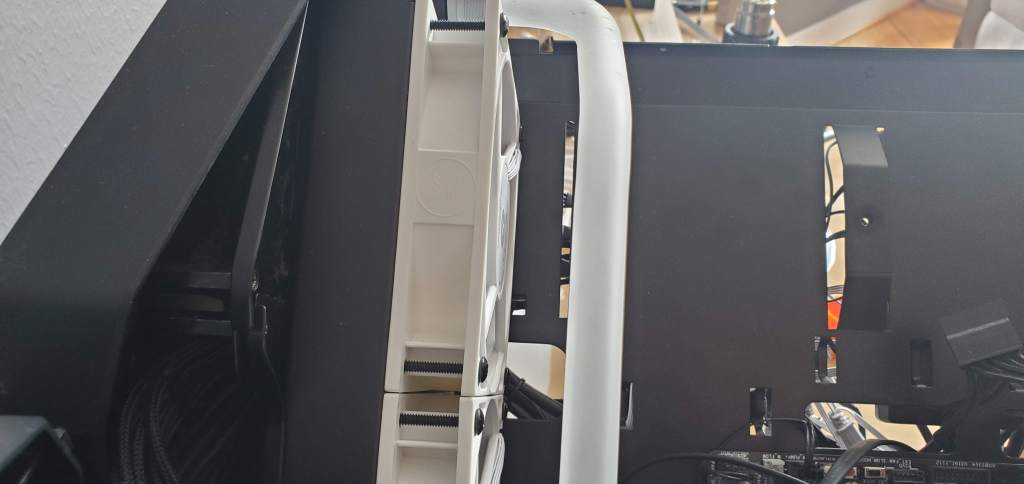
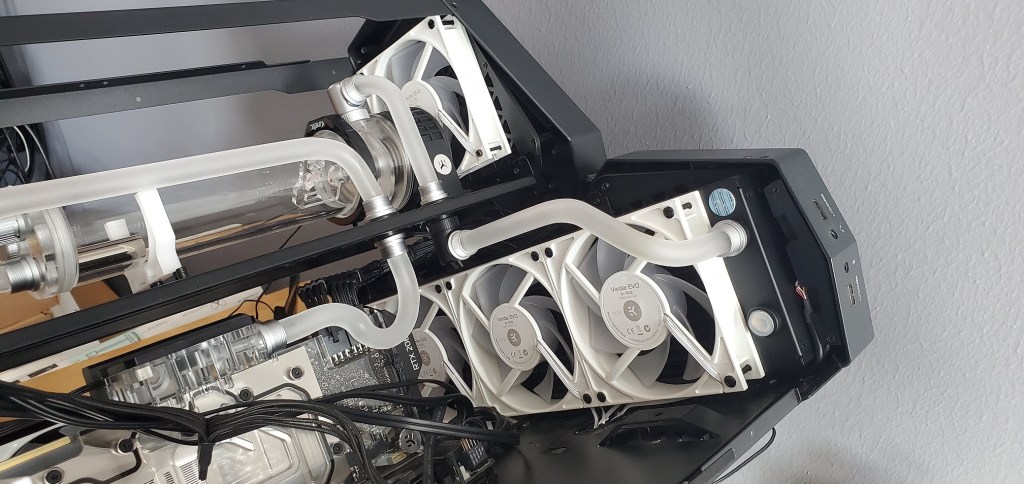
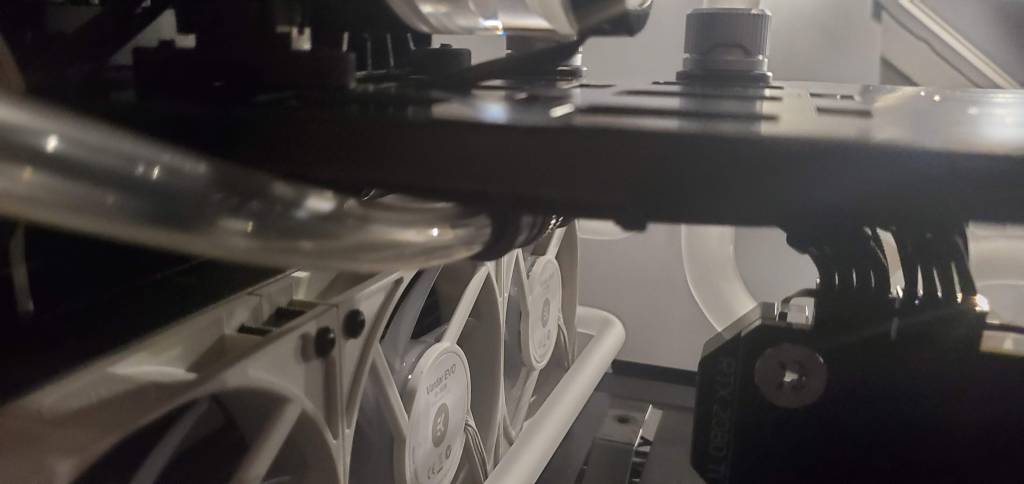
Once flushed you can install the fans and the radiators into the place they need to go.
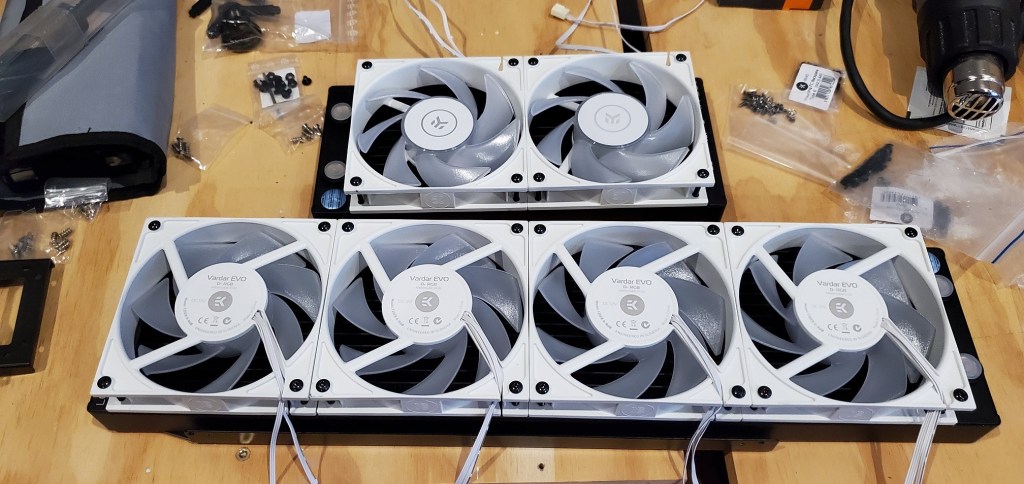
Adding my fans 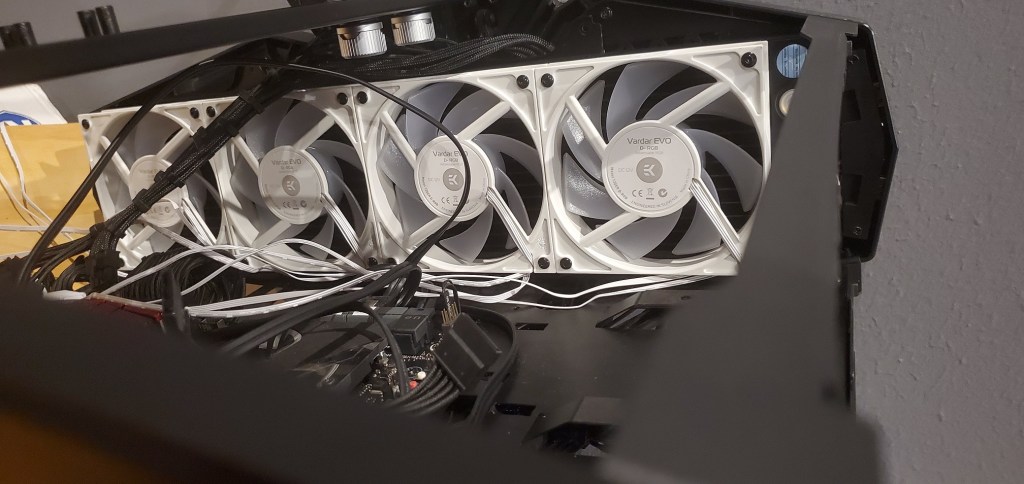
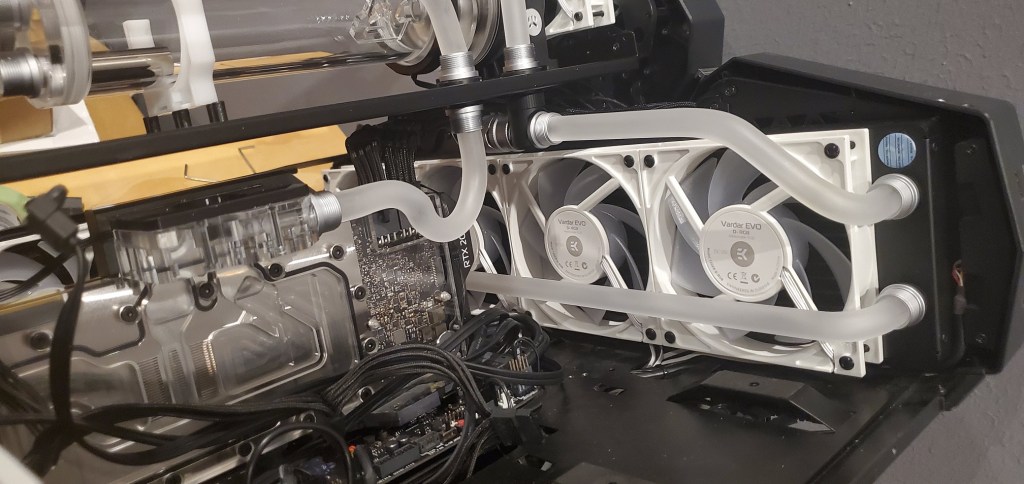
Installing the big radiator 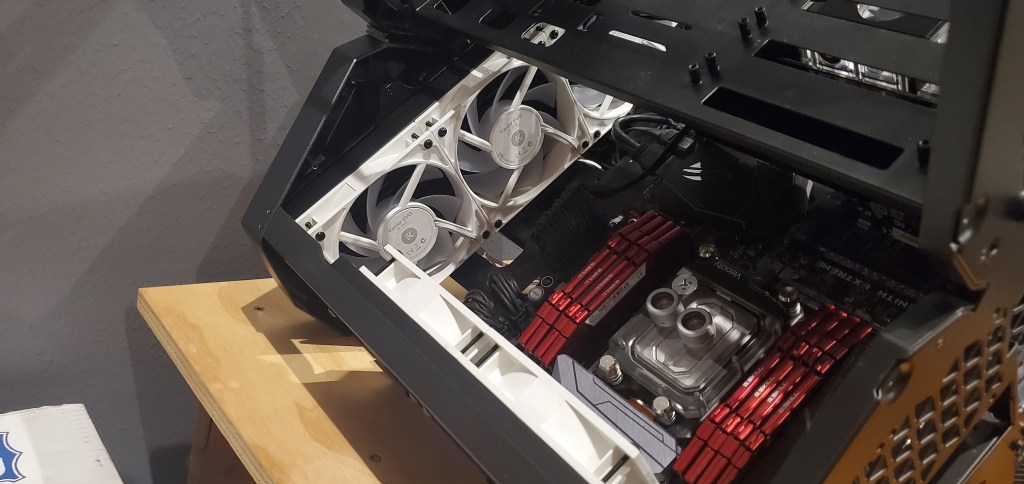
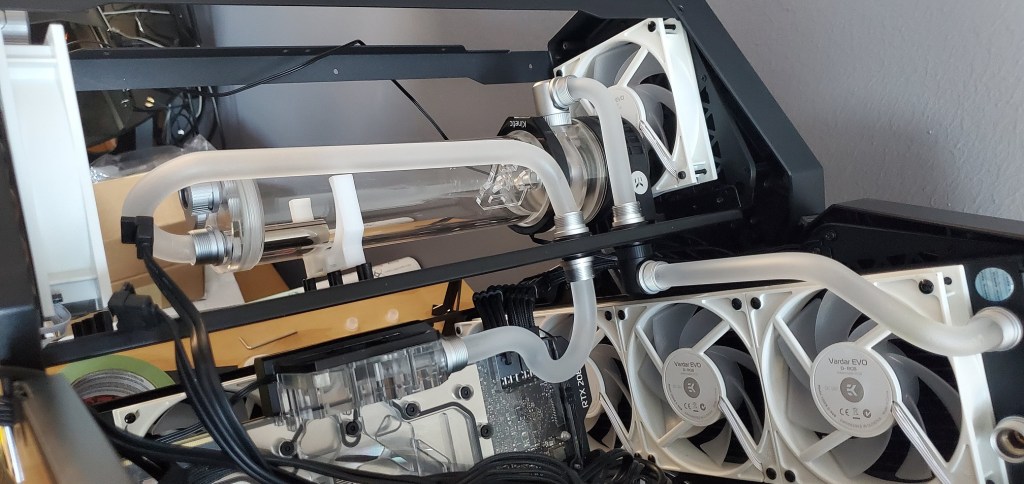
In goes the smaller one
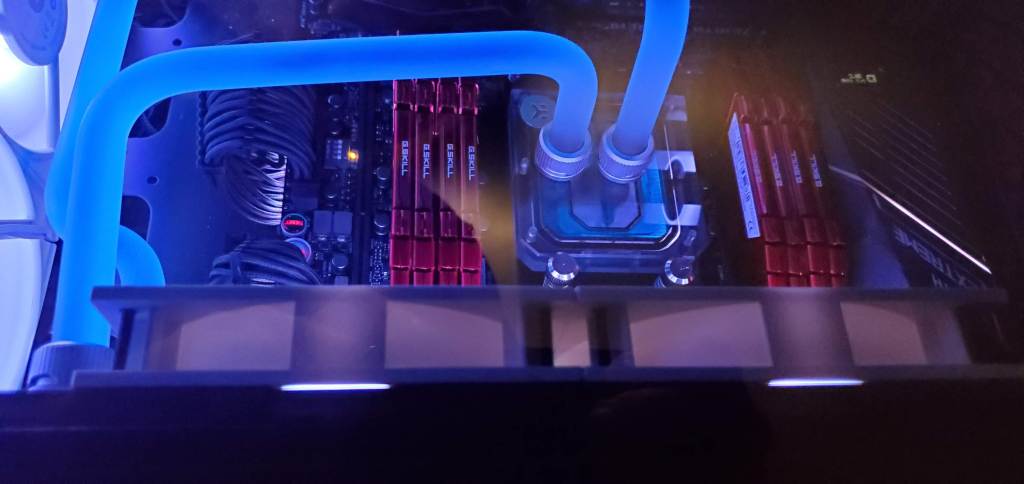
Next we can install the waterblock and since I was doing the GPU at the same time, I included photos of what that looks like. Remember to give your CPU a good cleaning before adding thermal paste, I use rubbing alcohol to clean, but I’m sure others have their own preference for what to clean with.
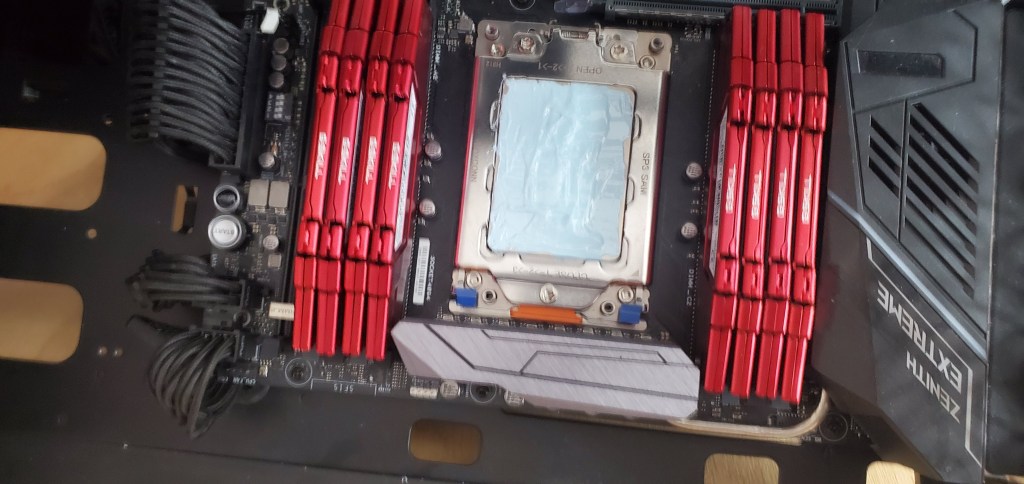
Adding thermal paste 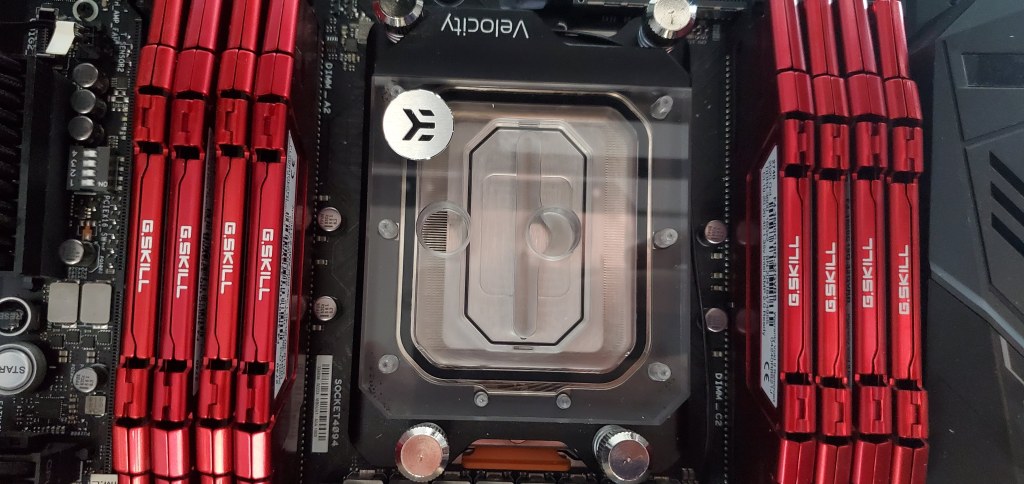
Seating the waterblock 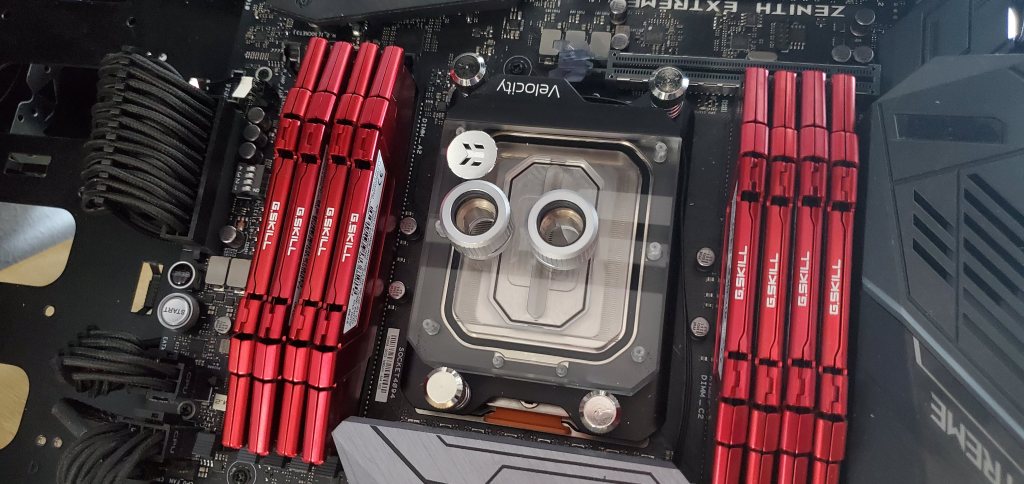
installing the fittings for the tubing 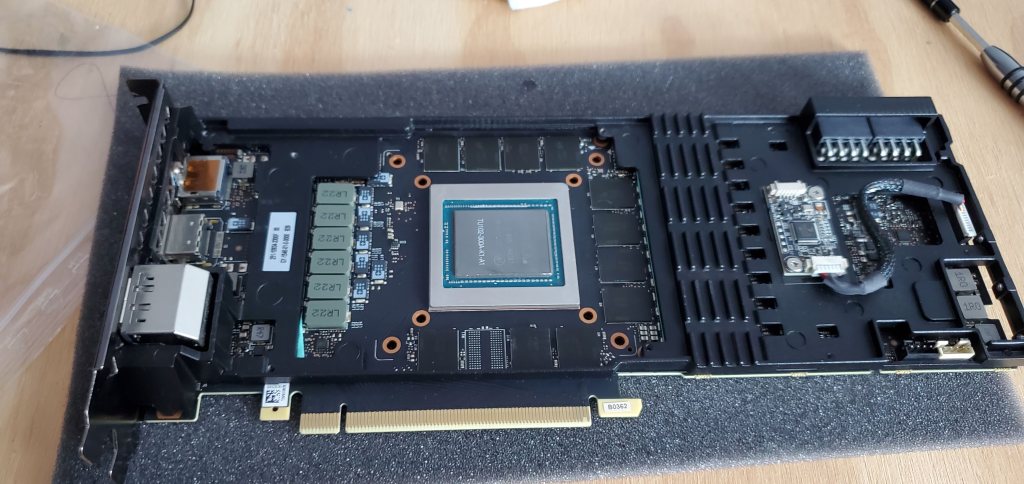
Took off the old fan/cooling system 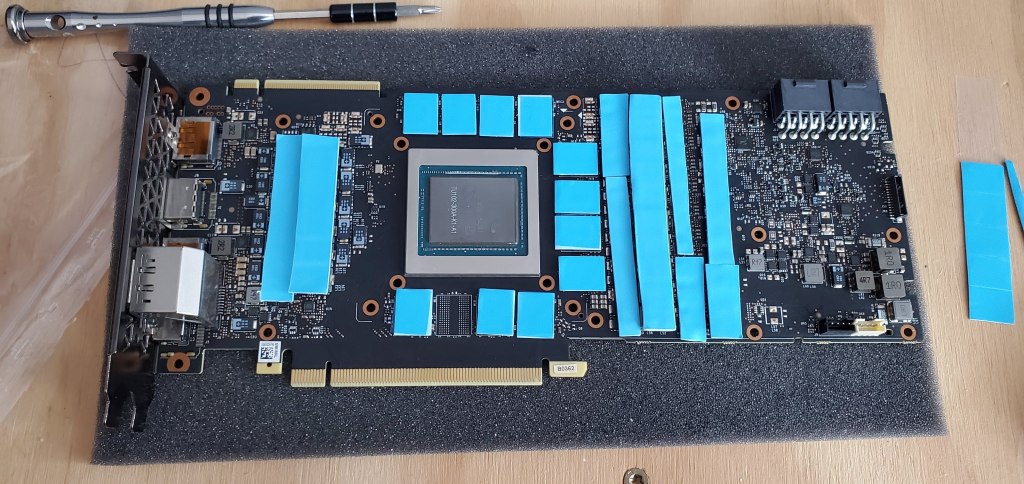
added new thermal pads 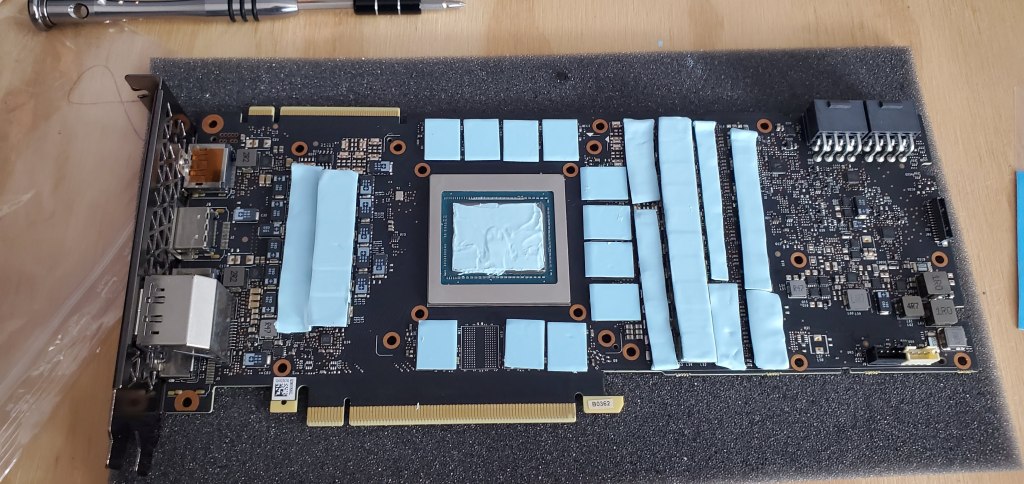
Took off the plastic on the thermal pads (do not forget to do that on anything you install!) and added thermal paste 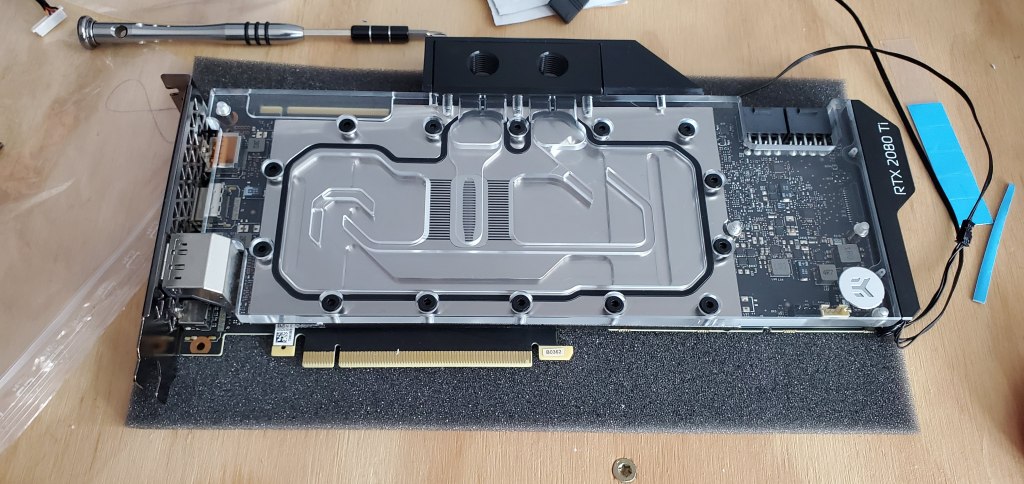
Finally had the GPU ready for wtaercooling!
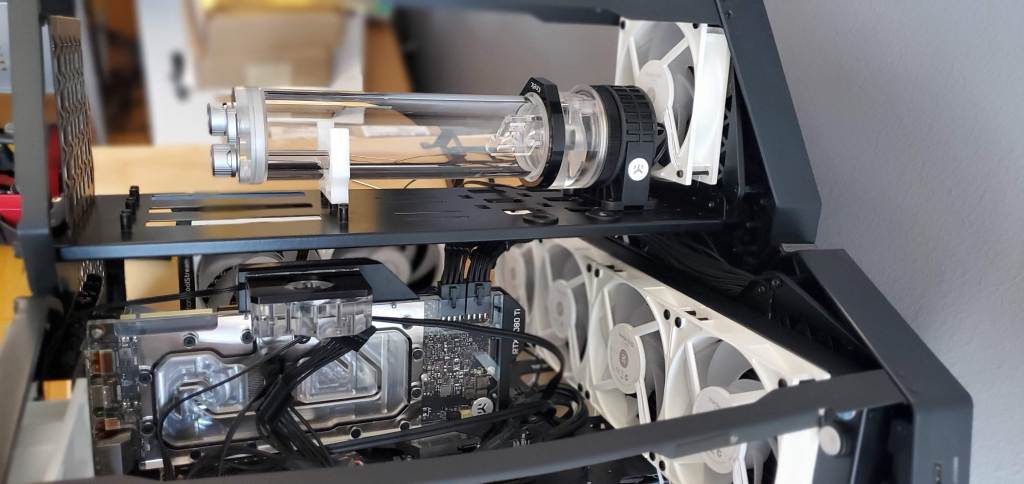
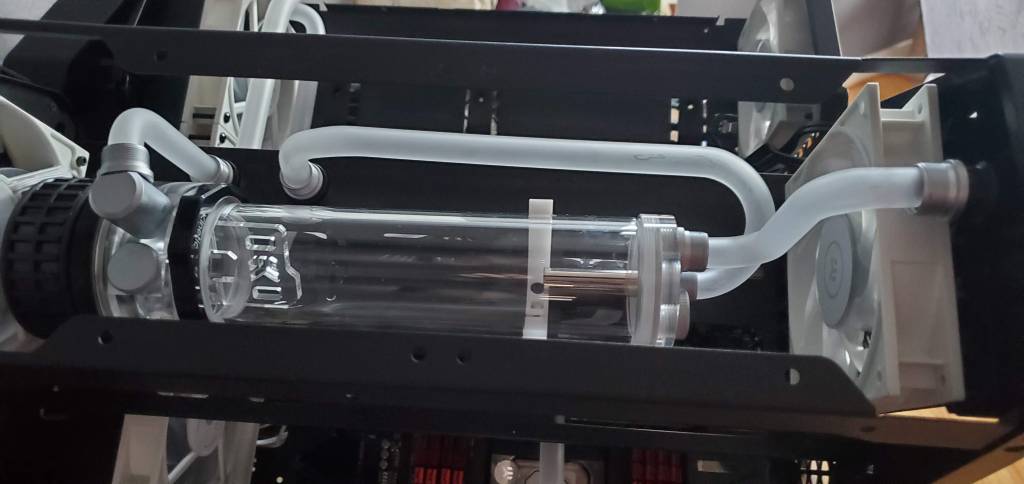
With everything ready you can install the pump and plan the tube bending adventure of your own.
Your tube bending will depend on how you have everything setup and how you think it would look good. I mean there is a certain amount of doing what looks good as well as the functional aspect here. A few tips, test fit everything, don’t put the fittings on anything until all the tubes are bent! This will save you so much headache you’ll thank me later. Take your time, I spent a few hours for days bending my tubes, I could’ve done it all in one shot if I hated myself, but I wanted it done right. Lastly, check your alignment, make sure tubes are parallel and square as you work. You probably won’t hit it perfectly (I know I did not!), but you can at least get close and it won’t look like total ass.
Oh one more tip, work from the easiest runs to the hardest, the hardest will be runs that have a lot of bends, are long, or both.


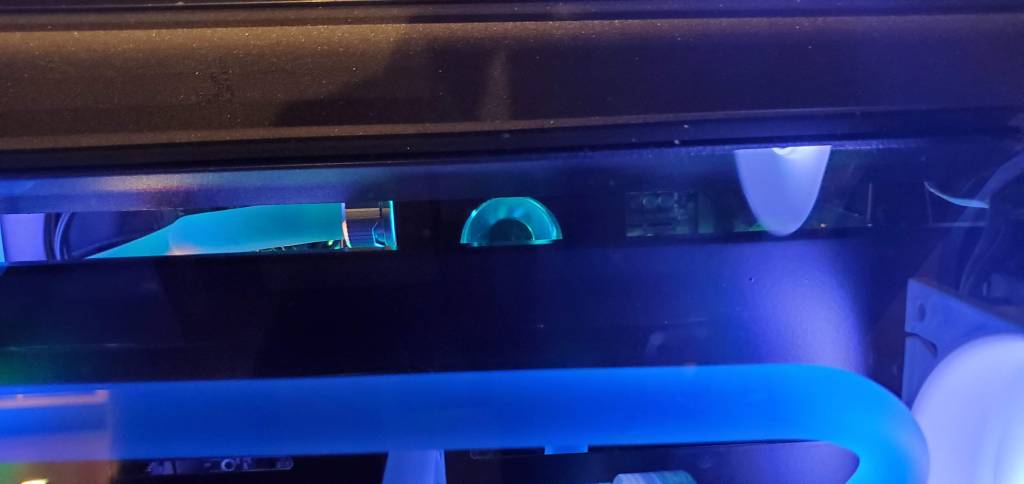
Now we’re ready to put all the fittings on and pressure test. There are two ways to do this, the correct way and the other way. The correct way (just my opinion) is to pressure test. I spent ~$25 USD on a tool that will pressurize the system and save me a ton of headaches in the long run. To use it, attach it to the loop, pump until you hit the green region, turn the shut off valve to keep it from leaking back into the pump, and walk away. If it still has pressure after 15 minutes or so, you should be good. Depending on how you set up your loop you can just jack into the drainline to pressure up the system. I bought some soft tubing to help me when I drain the loop to change the fluid (which you’ll have to do regularly), so I just used it here.
I plugged into the drainline I installed in my line to pressurize it. 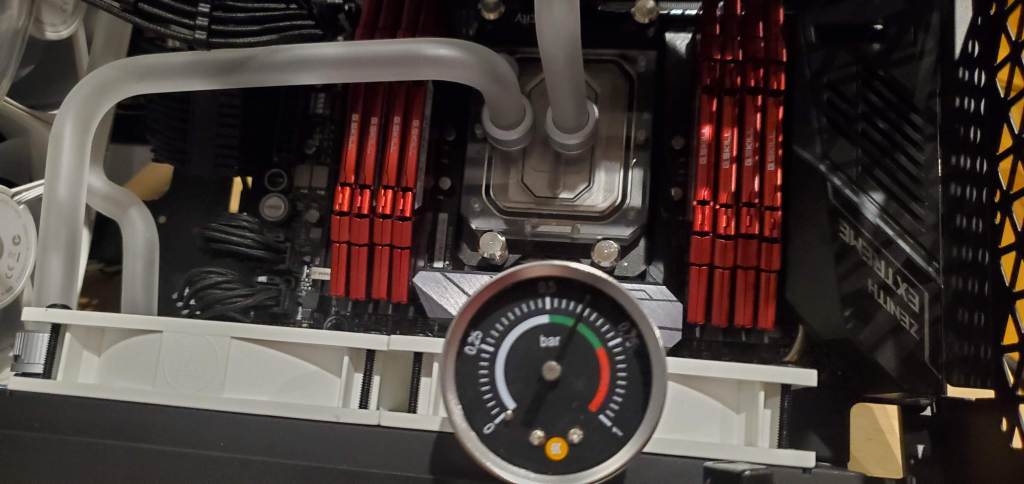
After a few troubles I got pressure to hold for 15-20 minutes.
Now I got fancy with my loop and added a fill port and drain line, you should almost always have a drainline! The fill port is optional and modding your case to fit it all is optional as well. If you (like me) have issues with the system holding pressure, I wrote a full post on figuring out how to tell where the leak is coming from (here).
You soft tubing people just need to make sure you have the right fittings for your soft tubing, then run the loop how you want! Just be sure not to kink the tubes or if you need a sharp bend, you have some way to keep it from kinking. Basically that’s all the advice you need for soft tubing, invest in some good scissors to cut it and don’t use too sharp of bends and you’re good. You’ll still want to pressure test though! Don’t get me wrong, just the tube running is a whole lot easier.
The other way to test the loop is to fill it and see if it leaks. This feels like the lazy option, pressure testing was so easy I don’t understand why you wouldn’t go that route and the tool is super cheap, so it doesn’t hurt to have the added security. The second way is to place paper towels down (preferably white to make it easier to tell if it is leaking) and run the system for a few hours/24 hours to make sure it holds fluid. Again, this seems like the silly choice, but do what you feel is best for you. Even though I pressure tested I added paper towels down just to be safe, then I filled the reservoir (do not run the pump dry), and used a bridging plug to be able to operate the system via the on/off switch on the power supply. Below is a photo of that, a quick amazon search has hits calling it a jumper bridge, but it’s a 24 pin jumper.
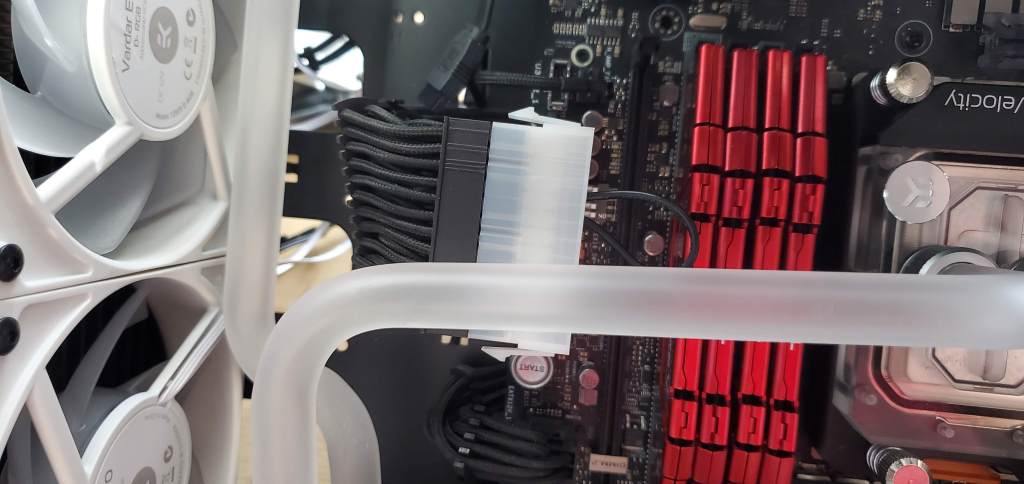
This is important because you do not want the motherboard to power on or you could ruin the system if there is a leak so this keeps your system safe if there is a leak. Now add fluid and flip the switch on the power supply.
Once the power comes on you’ll need to add more fluid pretty much right away, you can turn it off or add as it drains depending on your setup. I was able to add as I go, but if you don’t feel comfortable (or safe) doing that, then just turn it off, you won’t hurt anything. Eventually it will stop draining so quickly as the liquid fills the loop. You may notice a lot of foam, it’s okay it’s just air working out of the system.

Once the air is mostly out, you need to… jiggle the system. Seriously. I tilted this big ass computer forward, backward, and side to side. You’ll literally hear the air work its way out of the system as you do this it will sound like something broke free and is running through the tubing. I did this a few times, turned off the system, gently dropped the back of it from about an inch off the table to help break surface tension of the bubbles, then turned it on. I repeated this off/on shaking process for a good hour before I noticed most of the air was gone from the graphics card and it stopped making filling noises when I tilted it. We’re not done though, even with most of the air out, there was still a lot of microbubbles, those have to go so leave the system on and walk away. I left mine going for about three hours. Shut it off, shook it, turned it on, shook it some more, then walked away for another two or three hours. At that point no amount of shaking or on/off flipping caused the loop to make any sort of air sloshing noises so I assume I got most/all of the air out of the system at this point and could reassemble.
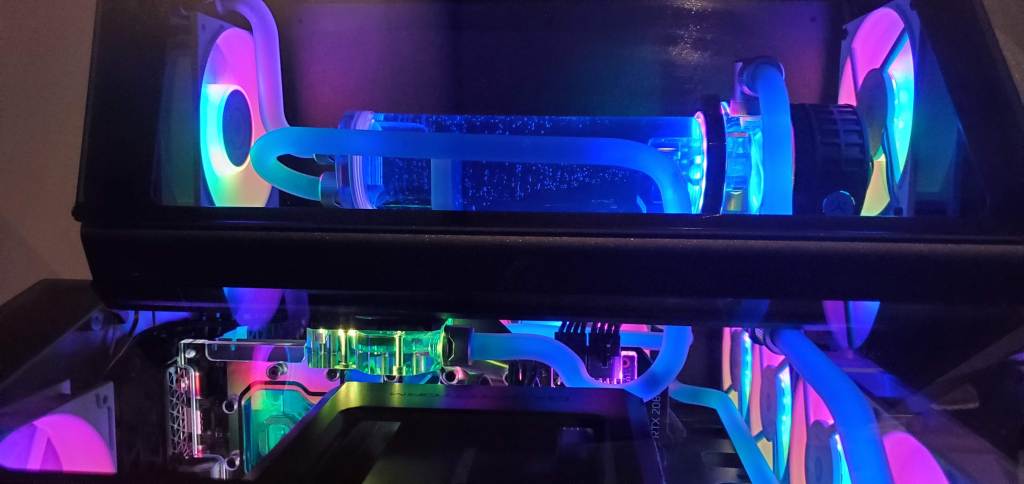
Once I saw that my paper towels were dry and that the loop was filled I was ready to throw the covers on.
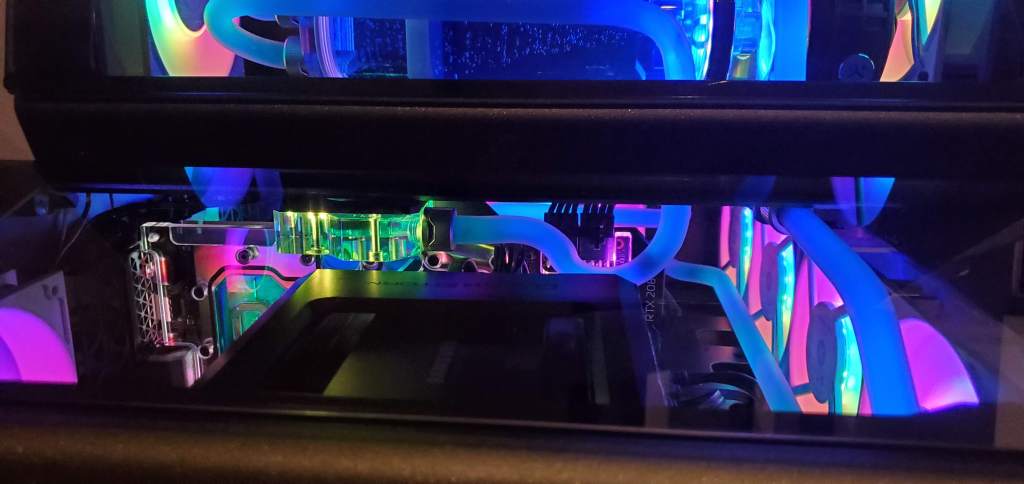
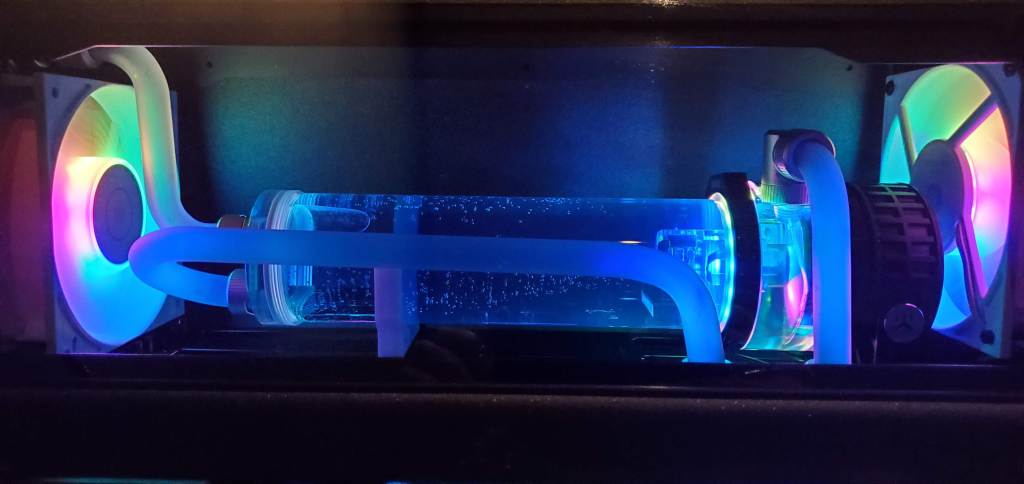

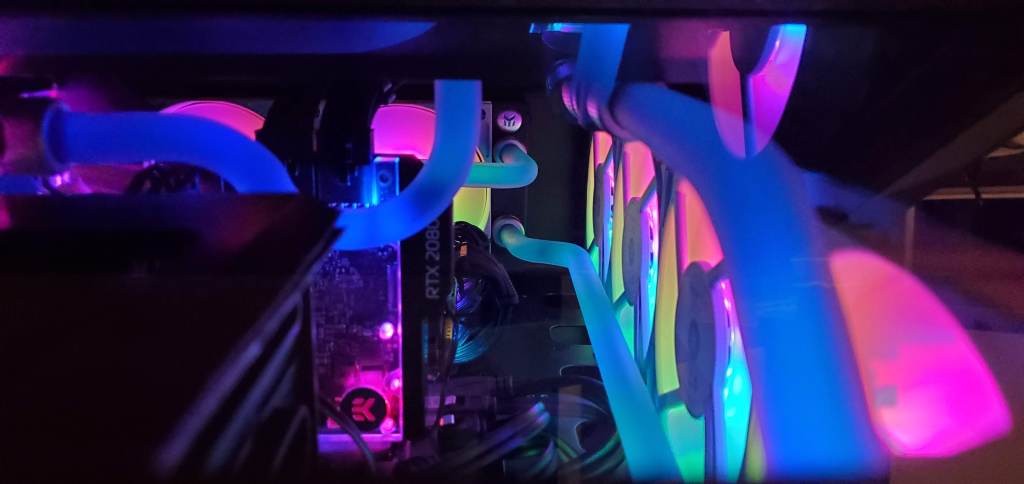
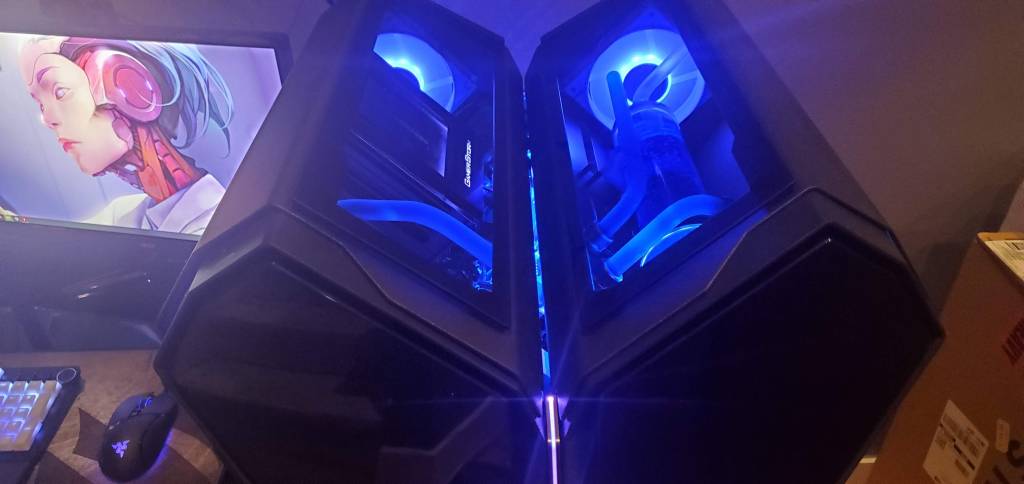
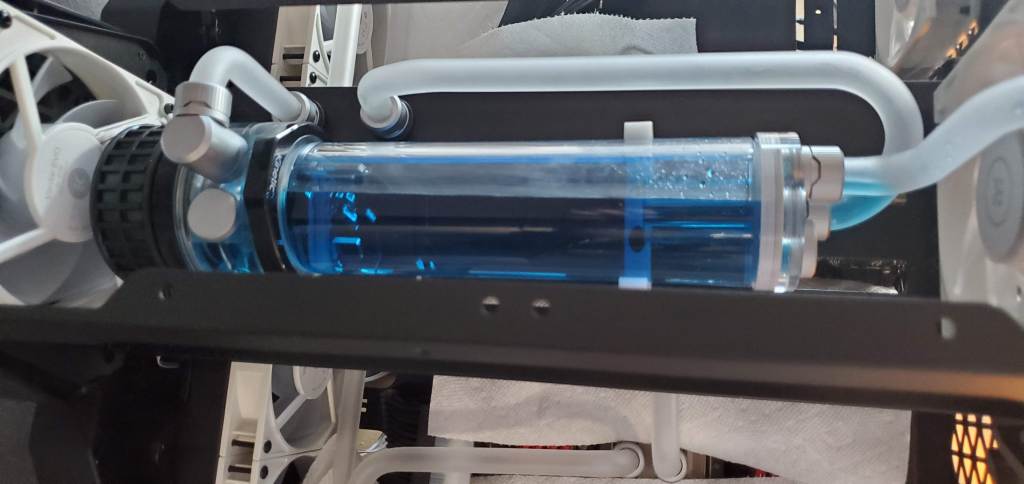
With the case on, it looks pretty good! Keep in mind soft/hard tubing is a matter of preference. I went with hard tubing because it looked better and some of the bends I needed wouldn’t be possible with soft tubing. The main things you need to worry about are the radiator size and tube size, as long as you’re using the same metal across the board you should be good! I used hydro x series xl8 coolant (in blue) for my loop and even with the two radiators and large reservoir, it only took about 1.25 L to fill so less than two 1L bottles.
One closing note on coolant. Coolant can clog your loop so be careful which type you choose. Importantly some coolant isn’t “approved” for the tubing you’re using. Make sure the coolant will work with your setup and unless you want to do a lot of maintenance I would suggest you generally avoid opaque coolants. I went with something dyed blue, but it wasn’t opaque, there’s nothing floating in the liquid to make it look solid and that means there’s nothing in the coolant that will collect in the tiny fins in the cooling fins found in the CPU/GPU waterblock or radiator. I’m lazy, so I don’t want to have to do a ton of work every time I need to change the coolant, which you’ll have to do every 6-12 months depending on how safe you feel about leaving it. I see posts of people going more than that, but they are lucky so change as often as you feel comfortable, just know you WILL have to change the coolant eventually.
This was my first build and if you go slow, work smart, plan, and take your time, you’ll make it look easy. If you want a more indepth guide I wrote extensively about this build in the computer building category. I bought my parts from EKWB and I highly recommend them to anyone who is just starting. They offer a tool that will help you get started where you add in your CPU, case, graphics card, etc. and it will give you a list of compatible parts. Even though I didn’t go with the exact recommendations, it was a very helpful tool to find the correct parts for my CPU and GPU.


But enough about us, what about you?